Archive for the ‘animation’ tag
more tweaking with the skull
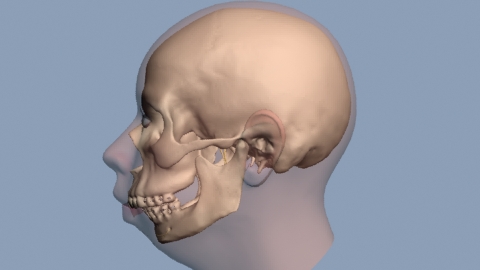
Awe yeah! That looks to me like a skull that fits entirely inside the head I made for it! It was poking out in a few places before, but now, I’d say that’s a fit I can work with. I do believe my animation’s got a matching presurgical face and skull now!
**Edit** – Actually, I got a little prematurely excited there, and have since gone back and reworked things a bit. The current model, looks more like this (keep in mind that this model features a shortened mandible)…
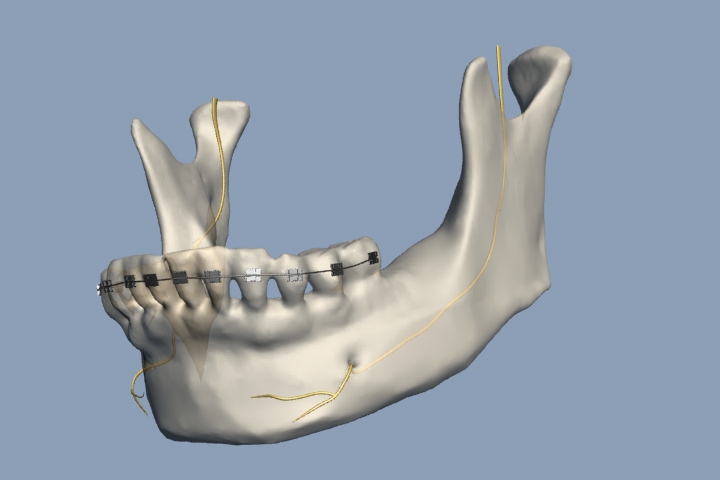
Now I will just have to go back in and realign my braces.
Modelling
Check out that inferior alveolar nerve! So this is something that I’ve been working on these past couple weeks. First it was getting the braces modeled and aligned. And then most recently, it’s been the nerve.
The race is on to get this animation on track. My time gets so divided between my work with this and my time at the clinic that it gets down right overwhelming at times. Right now, I’m doing what I can to have everything modeled and all my shots planned out and ready for render once I get to Texas. I hit the road in a week, so the countdown is on. Then I’ll be working with two clinics in Dallas while I complete the rendering and final stages of my animation, and write my final paper in preparation for my defense for graduation.
Earlier this week I wrapped up my side job, so at least that’s out of the way. It was actually really refreshing work. I was digitizing some old vhs tapes for a woman who had documented cases of thalidimide related birth defects back in the 80s. It was nostalgic for me, going through video footage like that and talking someone through the possibilities of what could be done. Plus it’s reassuring getting my old tricks figured out on the new machine. I can happily report that I am still video capable over here.
This week will be my last chance for any in person questions I may have about my project research before I go. And at the clinic I will be wrapping things up with the patients I have been seeing, and also with the new bench assignment I’ve been doing, making a finger prosthesis that matches me.
It’s a lot to get done! And I still have to pack! Eek!
Animating in a Snowstorm
The City of Chicago is buried under blankets upon blankets of snow. And I am taking the day to work on my animation project. I have literally been working on getting this skull in proper shape for months now. And it is sooooo close!
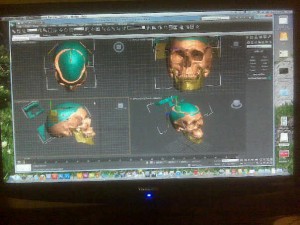
For those of you who do not work in 3D animation programs, this is the kind of screen I have been living with of late…
All that mess, and when you zoom out, it’s just…
I’ve been doing this all the way around the skull, slowly stitching edges together. And now I’m patching up the parts where the CT scattered due to metal pieces on the plastic skull we placed in there.
It’s been a long process, but I intend to finish this today. I have a bowl full of braces for modeling next, (yes, my skull is getting braces) and then I can put together an animated storyboard. I need to ask fast, because the semester is flying by and I intend to present this work for graduation in April along with a paper detailing the process and what I have learned from it. It never feels like enough time, but I still believe it can be done.
So you just keep on keepin’ on out there, Snowmageddon. I’ve got plenty to do right here inside.
200 Countries, 200 Years, 4 Minutes
So, this is a pretty interesting animated statistical representation of world health over the last 200 years…
Blood Vessel Fly Through
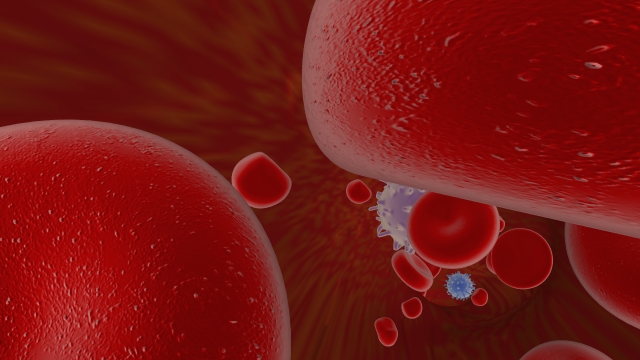
I’ve mentioned here before that I’ve been working on this blood vessel fly through animation for my first animation in Maya. Well, just last week, I got my render passes and started compositing them in After Effects. Really, this just amounted to using a standard beauty pass, and a luminance depth pass.
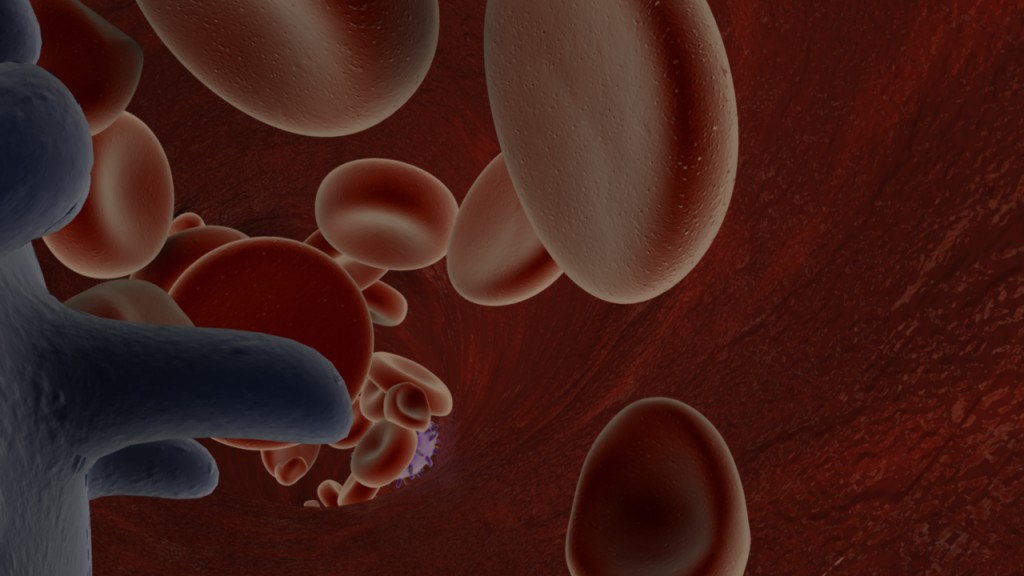
If you’re new to 3D animation, a beauty pass, or it may also be called your master layer, is the basic image you’re rendering out of your scene. For instance, this is frame #38 from that pass…
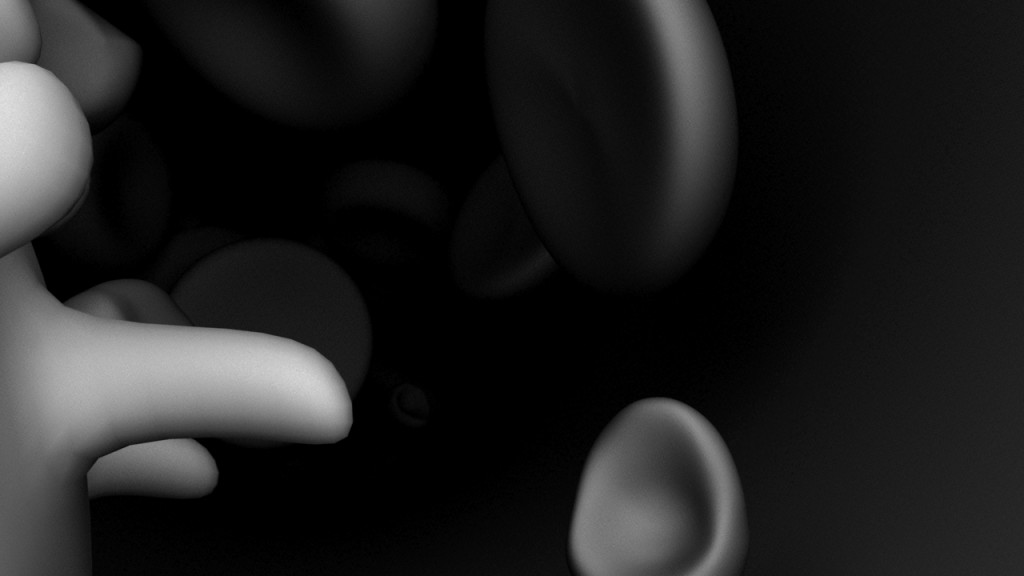
A luminance depth pass on the other hand, is a black and white gradation representing the distance of objects in your scene to the camera. In 3DsMax this is called a z-depth pass. But in Maya, it’s best to use a luminance depth pass (yet another of the subtle differences between the two programs). My luminance depth pass for frame #38 looks like this…
Using the program After Effects, you can place a luminance depth layer in your timeline. Hide it, because it’s not that interesting to look at in and of itself. And then create an adjustment layer and apply a blur effect. In my case I chose the lens blur, but I understand that there are different ways of going about this. Once you are in your lens blur settings you can point that layer at your hidden layer, and it will use the black and white gradient as a guide or mask to set the blur according to the distance of objects. You’ll have to play with your settings a bit to get it right, but I’m happy with the subtle blur I got in the background of my animation in the end.
I had also intended to use an ambient occlusion pass, but mine came out too dark to make use of it. Again, if you are unfamiliar with this idea, the principle is that your render produces images based on the proximity of objects to the camera and each other. The image is darkest where things are in close proximity and lightest where they are not. They are also lighter when they are closer to the camera and fade off into the background as they get further away. Here is my frame #38 again to better illustrate the idea…
Because my scene is so dense and crowded, much of my ambient occlusion pass just came out black, so I wound up not using it at all. If I had, I would have placed it as a layer in After Effects, turned down the opacity, and set the blend mode to multiply so that the shadows would come through just lightly over the scene.
I also put a quick title card at the beginning of the clip and then exported the whole thing as a quicktime movie. This allowed me to bring it all in to my editing software (Final Cut Pro). There I made a few final tweaks, and added sound.
And here is the end result, hosted on Vimeo. I’ve also got it up on YouTube, so feel free to take a look there if Vimeo isn’t working for any reason.
Blood Vessel Fly Through from sara egner on Vimeo.
So yeah, pretty neat! And it feels great to have the big project for my Maya class taken care of so I can focus on my other work this last couple weeks of the fall semester.
More Work On My Research Project Animation
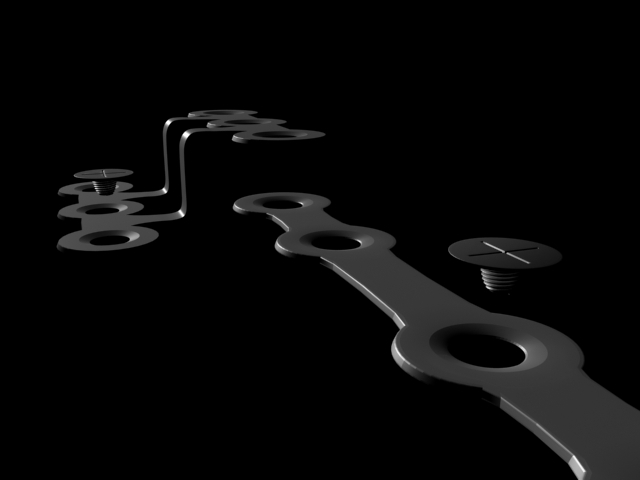
Well, it’s been a working weekend, and most of that work has gone towards my animation on orthagnathic surgery. Yesterday I got my surgical plates and screws mostly together, though they could still use a few tweaks to get out the faceting, and there is one angle in the chin plate that I would still like to soften. But mostly, this is what I’m going for.
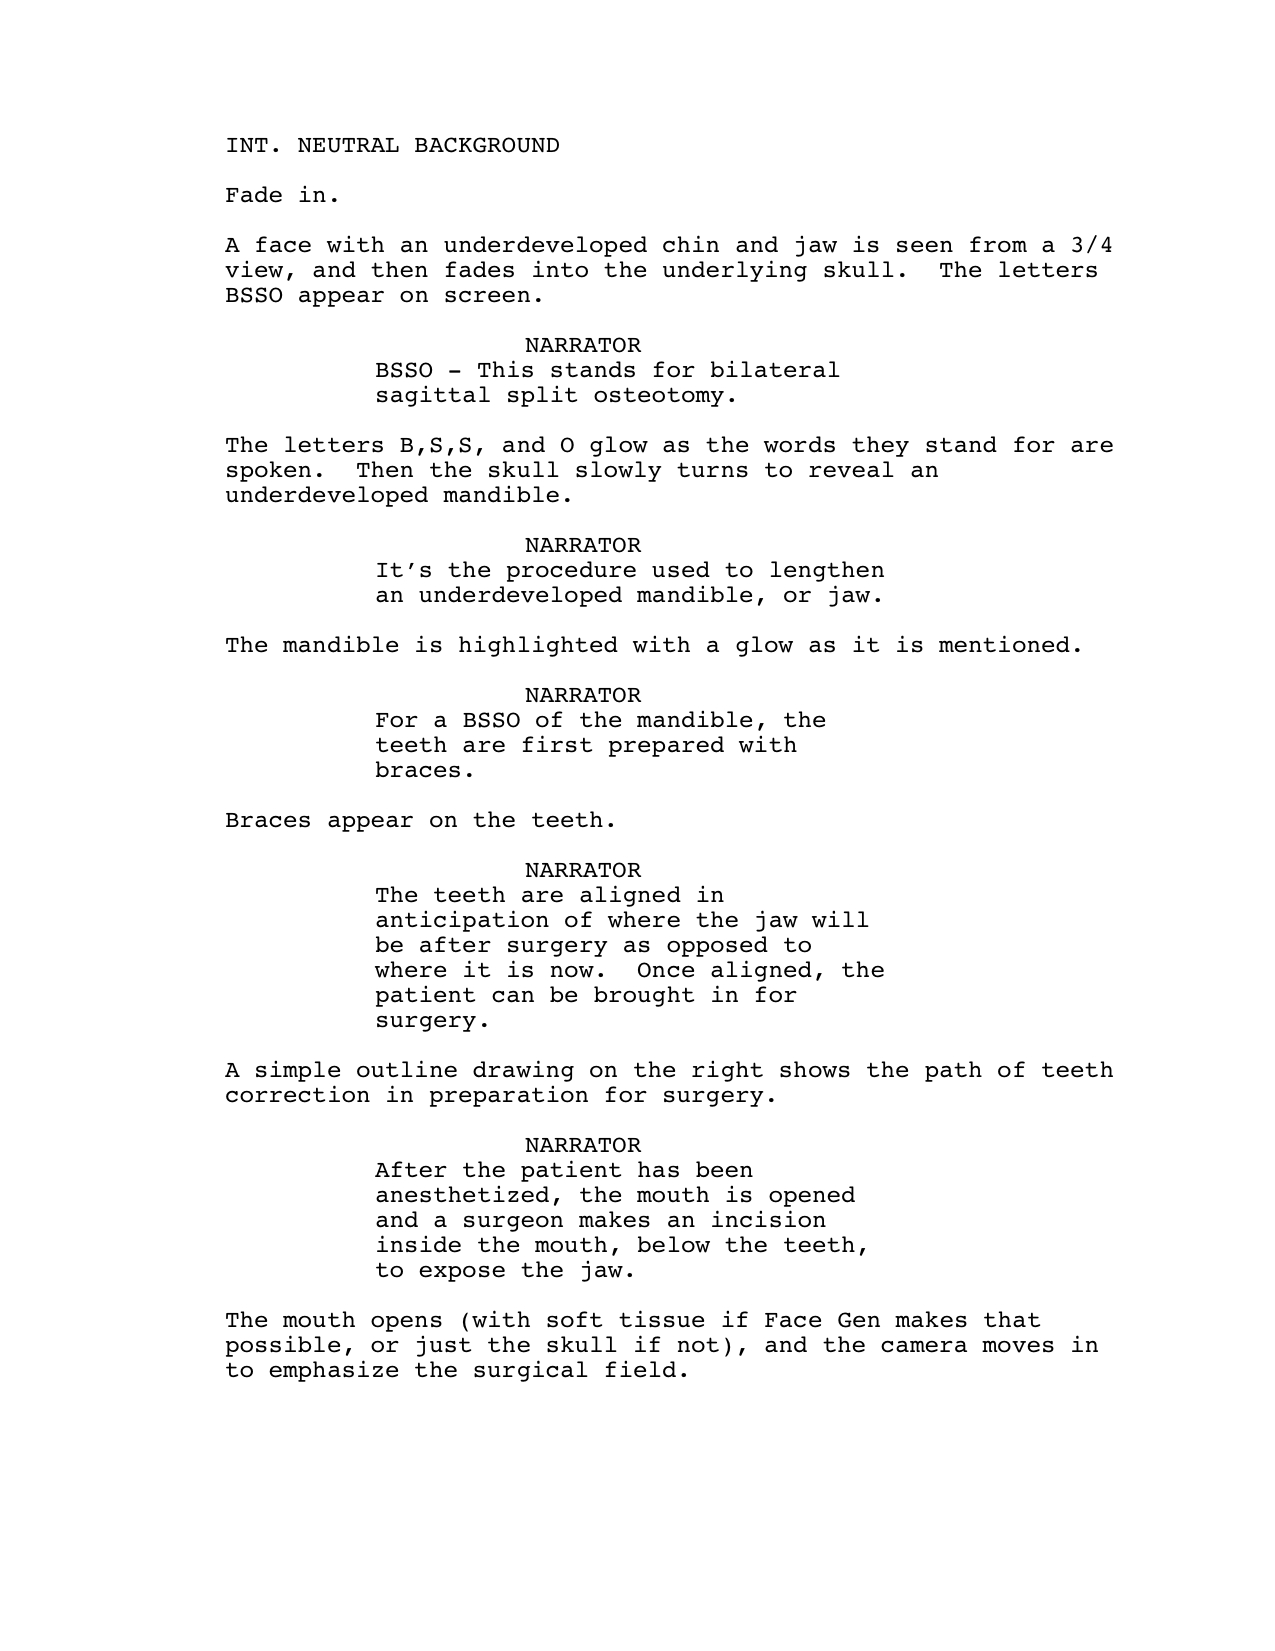
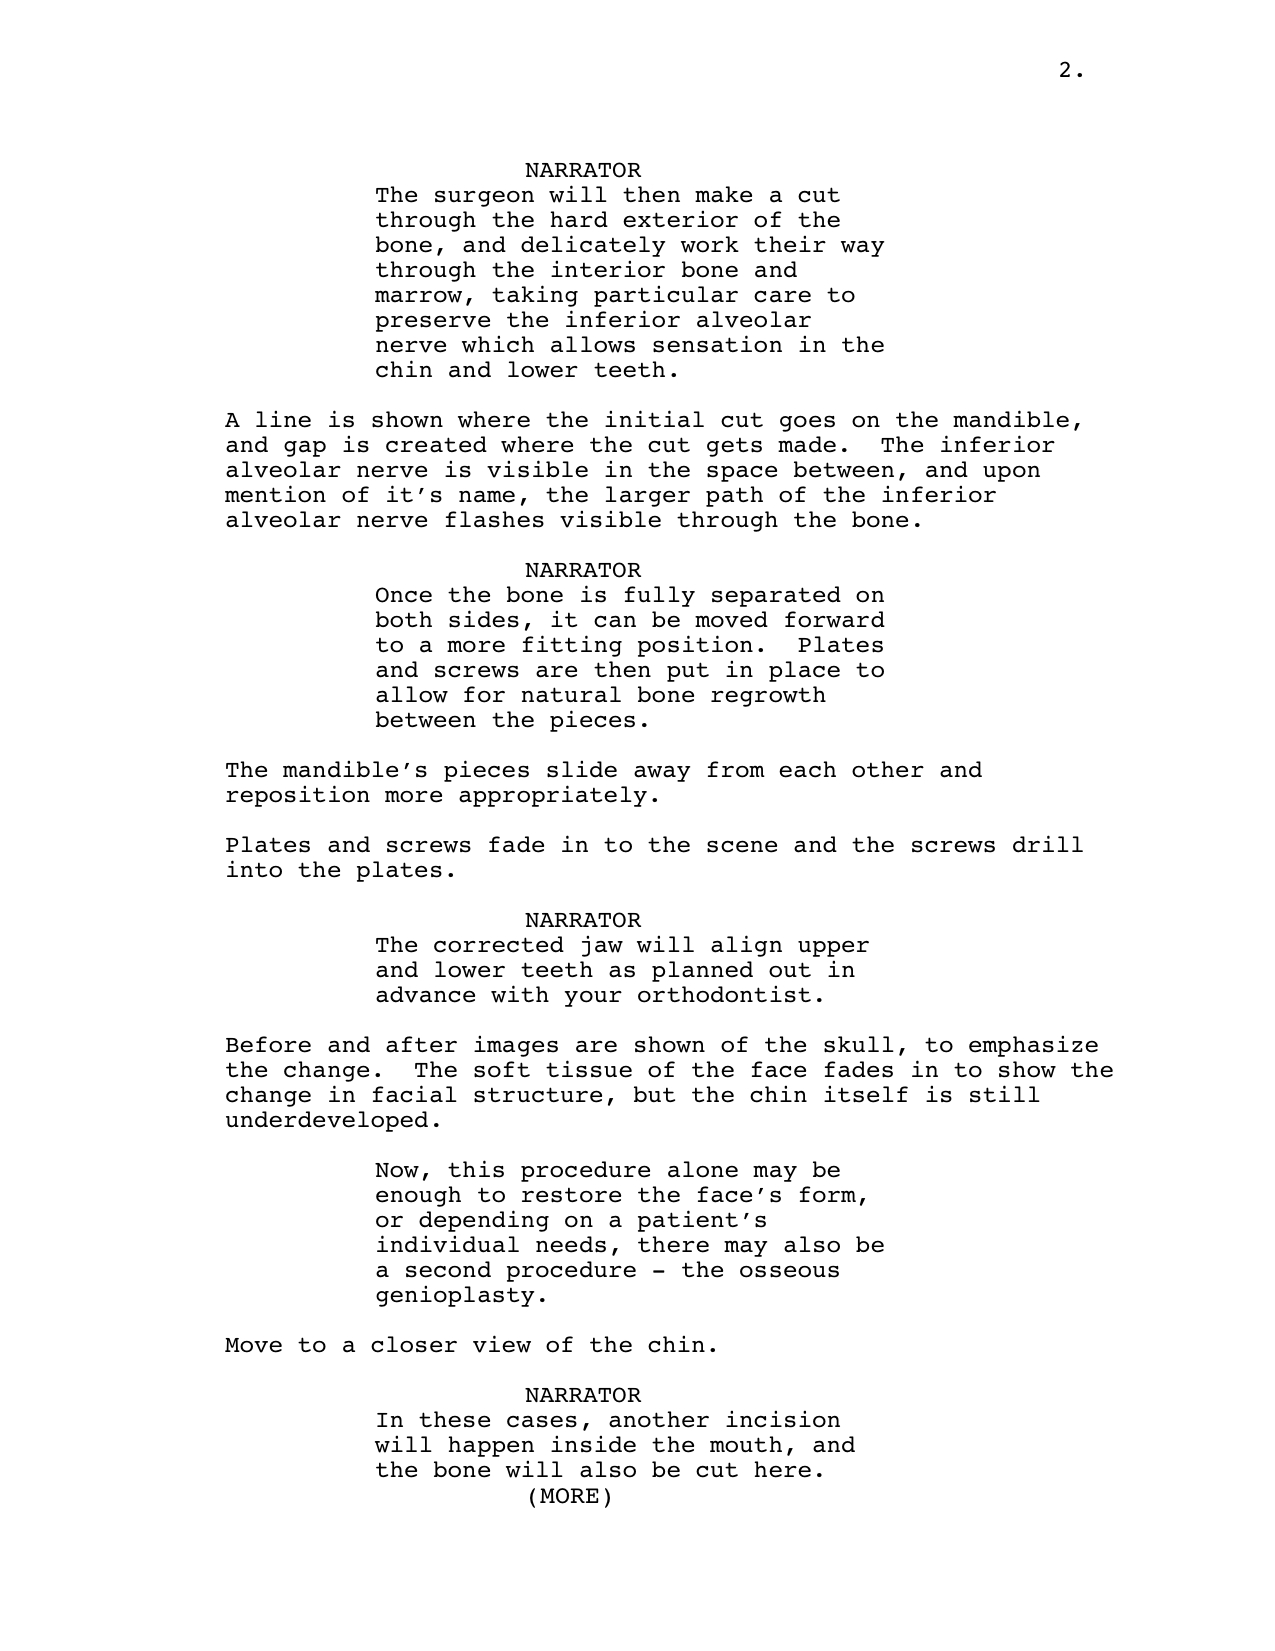
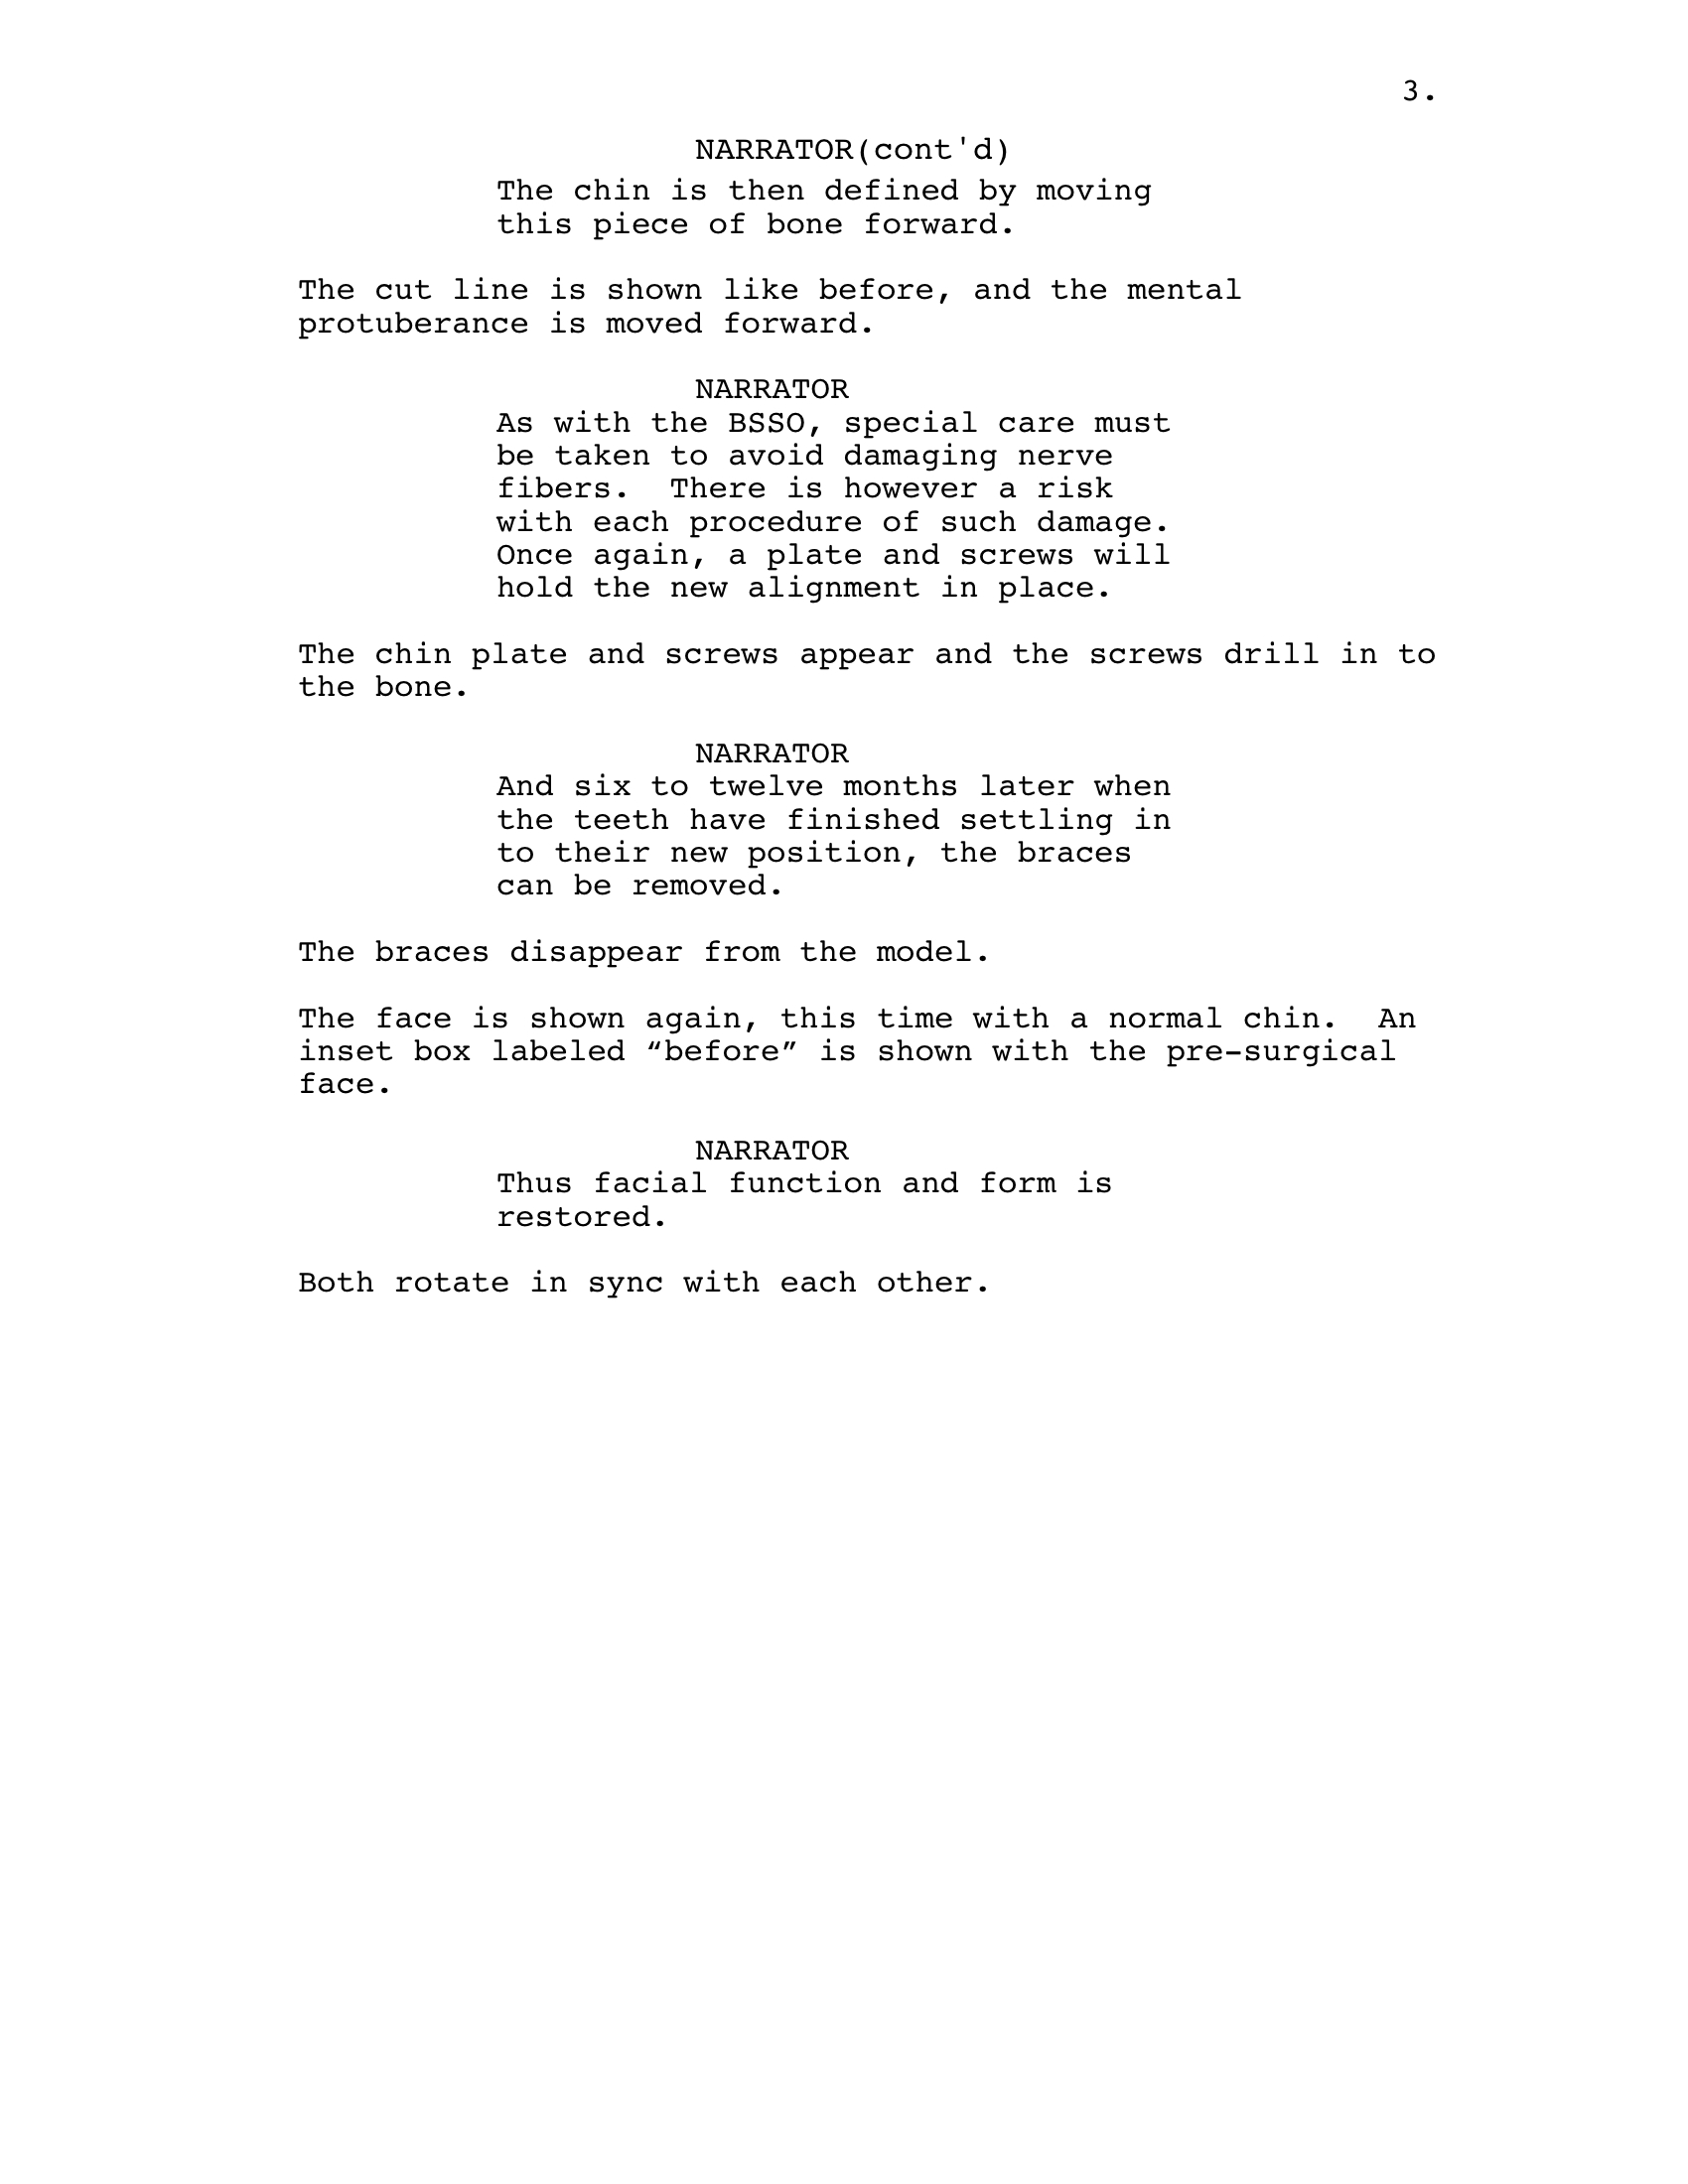
And then today I finished my re-write on the script. I’d still like to warn patients about the breathing tube and catheter, but it just doesn’t sink up with the animation visually or in terms of the type of information being given. I’m hoping that I will have time to create some kind of Know Before You Go page that can be included in the dvd, or even printed out and given to patients with the animation disk. Anyway, here is the script as it currently stands. I think it works.
Meanderings of times to come
I often find myself thinking about where this whole scholastic track that I’ve put myself on will lead. Will I actually get to be an anaplastologist? Will I find myself working in animation? Will I discover new innovations in how 3D animation software can be utilized to design and develop prostheses? Will my time in the clinic afford me important experience with which to make educational animations and films? Will I wind up doing something completely different? The truth is, I just don’t know. I came out here to get in to anaplastology with the intention of focusing on hands and fingers as a specialty, and just within the year medicare and various insurance companies stopped covering somato (and therefore finger and hand) patients for any anaplastologist not actively working with a licenced prosthetist. Who could have anticipated that? To keep competitive in facial prostheses I need to stay in practice with osseo integrated prostheses. Next year I will be an intern, either with the clinic where I spend so much time now, or somewhere else. While the thought of moving is daunting, I can’t help craving another view at this new world I’ve found. This March I will be attending the annual International Association of Anaplastology conference for the first time. It was a tough decision signing up for anything in March when I don’t know where I’d be living and therefore traveling from to attend yet, but I’m glad now that I registered. I’m really looking forward to connecting with others in the business and getting more pieces in how the whole puzzle fits together. Anyway, these are the meanderings of your sleepy blogger tonight. Goodnight to you all.
Sliding Filament Video, Still Being Watched Apparently
Wow, my first YouTube video to surpass 20,000 views, and it’s my educational piece about the sliding filament theory of muscle contractions from my Animation 1 class with Greg Blew. Neat. I just wish I had said adenosine right, instead of muddling the word into adenine as I’d thought it was supposed to be said at the time. Just the same, it seems to be helping people understand the process.
Through a Blood Vessel
Last week I finally managed to export a playblast from Maya of my blood vessel project. It’s nothing too impressive at this stage, but I’m liking the roller coaster ride feeling of it…
Here are a few stills to give you a better idea of what the final render will look like…
I recently decided to end the ride with the blood cells being pulled off course up into a blood clot. Seemed like a fitting end to the journey. But I’m currently having some difficulty with rendering images that use a jpeg in the color channel. I’m still not certain if this is a matter of my laptop’s capabillity or some limitation of the Maya Hardware renderer which has allowed me to do some other tricks with my textures that I really don’t want to give up. Anyway, here is a screen shot of that final clot area as it stands now.
I still need to model some fibrin in there to really say blood clot, but the rendering difficulties have made it very difficult to do anything lately. I’m trying to change up the texture of the vessel walls themselves as well. Fingers crossed for awesome results!
3DsMax From Home
This weekend I installed the Autodesk Education Suite for Entertainment Creation 2011 into my new desktop computer. There may still be a couple things to sort out, but overall, my office has taken a right leap in terms of capabilities over these past few weeks. Just tonight I brought in the .stl files I have been working on at school with Mimics. There they are!
To get these, we ran a cat scan on a plastic skull model over at the craniofacial clinic. The dicom data was then put onto disk and taken back to the biomedical visualization computer lab. There I imported the files into Mimics and began the tedious process of sorting out the wanted bits from the unwanted bits, and deciphering layer by layer the mandible from the whole of the skull. I have to say, the teeth were tricky to get right, but it looks like it came out pretty well.
Once the Mimics files were set up, I was able to create 3D models and export .stl files and save them to a thumb drive. Tonight I imported those .stl files into my very own copy of 3DsMax and began sorting through extraneous polygons. If you haven’t worked with these programs before, you might think of this as the 3D version of cleaning up the edges and unwanted specks from everything. I still have quite a bit more of this to do.
I also got everything lined up. The mandible and majority of the skull were from the same cat scan so they imported in perfect alignment, but the calvarium was done separately on account of the I-Cat not being large enough to scan the whole skull in one take (it is mostly used for dental purposes over there).
So far so good, and I’m looking forward to working with this model for my upcoming animation. I decided to go with the plastic model in the end, rather than the actual patient data because it is more normalized, and I can alter it to create the pathology I want to focus on without a lot of other distracting anomalies getting in the way. Actual people rarely come so standardized, especially the ones who are coming in for craniofacial surgery. Plus I am able to get a much cleaner scan because there is no soft tissue to weed out of the data, and I’m also able to get cleaner teeth without distortion from metal braces, which any patient preparing for the procedure I will be animating would be wearing.
All in all, I think this is the best way to go, and I’m excited to get to start working on this from home now, rather than trying to remember the best hours to work in the computer lab at school. And oh, after so much work in Maya recently, I’m surprised at how nice it is opening up 3DsMax again. Yay.

