Archive for the ‘eye’ tag
Dilating Artificial Eyes
Last summer I met an occularist, Fred Harwin, and got to talking about the possibilities of making an artificial eye dilate. The idea is that if you found light reactive or UV reactive pigments, that perhaps you could bring out the iris when in bright sunlight, and then that paint could disappear in darker situations thus simulating the natural dilation of an eye. Well, the other night my old friend Ian Coulter called me about some reading he had been doing to this end. I’d asked him some months back about if he’d ever come across anything like that in his years of sculpting. Nothing came to mind at the time, but he got back with me the other day with a few links of interest.
http://www.pburch.net/dyeing/dyeblog/C763608095/E20100908081145/index.html
http://www.forscher.com.br/ingles/index_ingles.htm
http://www.solarcolordust.com/Site/Products.html
Now I know, throwing down a bunch of links isn’t exactly quality journalism. But the truth of the matter is, I want to keep track of them here for later reference myself.
It seems like no one is really designing these kinds of pigments for use in eyes, but I think that even making a bright purple eye would be worth it. If it worked, you’d have something to go back to the company with and surely more natural colors could be designed. Solar Color even offers free samples if you’re ready to show off a good project. What could be cooler than this?
Today We Made Eyes
Today was ocular day in the anaplastology lab with Bob! First we painted irises and pupils. Then we chose from a drawer full of template shapes and made a mold. Typically with a patient you would do this from an impression. You can actually use algenate right on the eyeball itself. After we made molds, we mixed up acrylic and put it all together. The iris I chose to use is currently curing in low heat water and pressure, but here was my second choice. I would have gone with this one, but I rushed the pupil at the end there, and went back to the previous one.
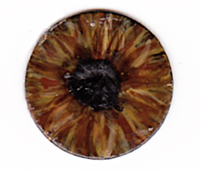 It’s actually kind of tricky painting a light brown eye. White tends to come up blue. And yellow often comes out green. So you have to play up the red and ochre. You actually use basic oil paints along with a liquid we just called monopoly. It’s technically acrylic but at a very strong monomer to polymer ratio.
I’m looking forward to seeing what comes out tomorrow!
Eye and Nose Anatomy
We were asked to sketch out the eye and nose with anatomical labels for my anaplastology class this week. I thought I’d share my drawing here.
I know it’s a little busy. But if you’re studying these structures too, hopefully it can help us both. If you’re having trouble reading any of the labels, try clicking on the image for a clearer view. My references include Netter’s Anatomy Flash Cards, Fundamentals of Facial Prosthetics, The Anatomy Coloring Book, and Wikipedia.
Phacoemulsification – the video!
It’s official. We have a new medical animation!!!
Now presenting Phacoemulsification!!!
It’s funny, we’ve been working on this all semester long, but only just last night did it hit me that we really have this whole awesome animation.
You may remember previous posts about this one, in particular my work with Otis, aka Simon…
Remember Simon?
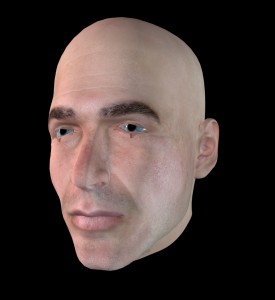 I originally wrote about him here.
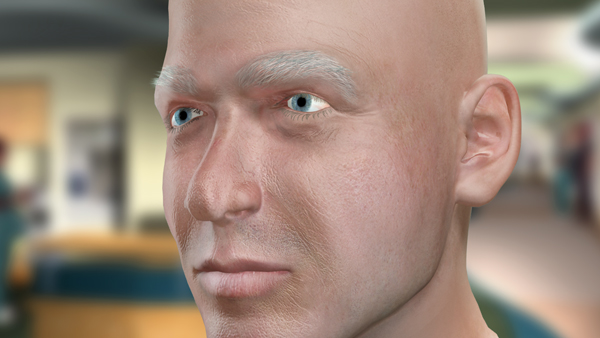
Well he’s come a long way what with the wrinkles and the eyebrow fur, and the subsurface scattering. And now he’s the Otis you see in our phacoemulsification video.
Really the whole thing has come such a long way, looking back just two months ago when we were at the animatic stage.
The eyes themselves were done by Josy Conklin, who handled most of the procedural animation along with Matt Cirigliano. Matt also did a good deal of the compositing of those procedural shots, along wtih Eric Small, who did a lot of the special effects, shared most of the instrument modeling with Matt, and who also took on the molecular sequence in Maya.
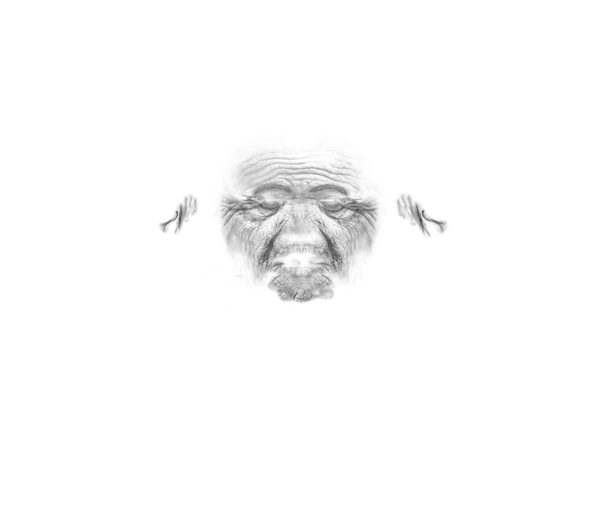
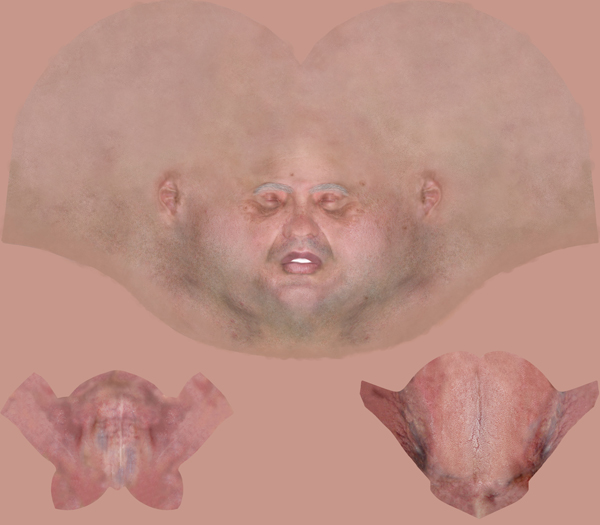
The only modeling I really did was that of the eye speculum, and just tweaking the pre-fab head our of Poser guy into old age. That was mostly a texturing job though. If anything I hope I didn’t wind up toning all those wrinkles down too far for all the work that went into placing them just so.
The final bump map went something like this…
And the final color map like this…
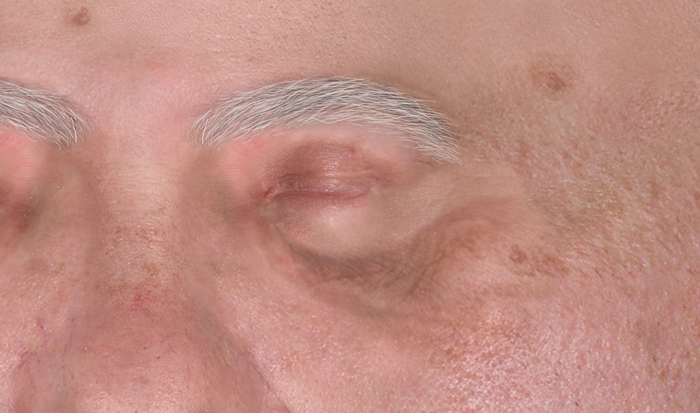
I had to do a lot of tweaking right around the eyes to avoid distortion with as close as we came in with the camera in 3DsMax. This would be the part where I started using a lot of my house guest’s skin texture in high res photographs to pump up our resolution, while maintaining a blend of aged skin images in the surrounding eye area wherever possible…
There wound up being three main After Effects renders which were then compiled using Premiere. Matt and I are really the most sound effect obsessed, so after compiling our various renders, he and I tackled sound, and also tag teamed on the various titles needed.
All in all, I think the project is a big success. Our instructor suggested this morning that we submit the piece to this summer’s AMI annual meeting in Portland. I think we will.
Surgery
Yesterday morning I did my first surgical observation. The four of us taking Animation II this semester decided to go in and witness first hand a cataract surgery in preparation for the animation we are creating. It was pretty amazing. There was a lot of prep and making sure that everything was in order. The patient was nerve blocked, but fully conscious the entire time. I couldn’t help wondering what that all could possibly have looked like from his perspective. All in all, I think the surgery went on about an hour. They used a Leica system for viewing. I had the opportunity to look through the lens myself, and you can really see just amazing detail through the microscope. After the lens was emulsified, vacuumed out, and replaced, they used tiny stitches to close the incisions, and wrapped the eye in gauze. When they were done, the patient just said “thank you” and they wheeled him out. We wanted to ask the patient about his experience, but he was taken away too quickly. So last night I called my grandmother, who has been through the same surgery herself. In her case, she said she was given some kind of sedative, though she was awake. As for her view of the procedure while being worked on, she described it as mostly a blur of twinkling lights. I can’t say as I’m anxious to be the one on the table any time soon, but it was fascinating to witness surgery from the OR like that.

