Archive for the ‘Maya’ tag
Awesome Image
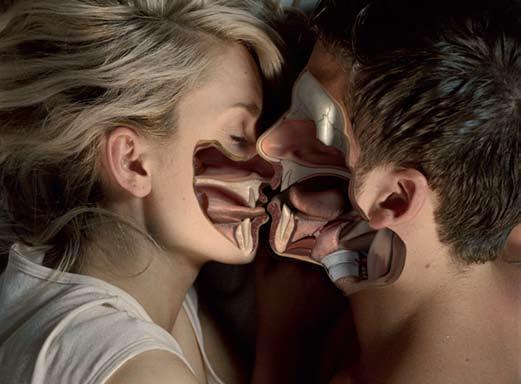
Last night I stumbled into this image while I was looking for something else. It was listed with other pieces created in Maya. I love it. I wish I had an artist to link to in credit of it. If anyone knows who created this, let me know and I will happily edit this post to include that information.
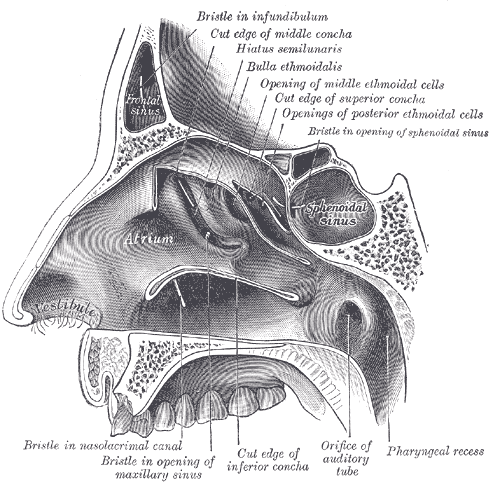
I remember back in gross anatomy, my first dissections of heads, and how strange a perspective it was on the tongue in particular when you see it in it’s full form. This image doesn’t fully display the tongue to the level of bulk I once found shocking (we seriously have a lot of tongue in us!), but it is a very nicely created image. I think I’m most impressed by the faint suggestion of the man’s closed eye, that might also be the semilunar hiatus. That’s just a nice touch, that.
Here is an old image out of Grey’s Anatomy if you’re not familiar with what I mean (this is also the image that Wikipedia gives you if you follow that semilunar hiatus link.)
Free Autodesk Software
I don’t know whether to be angry about this, because my student edition software certainly wasn’t free, or happy at the idea of being able to get this software on others’ computers, like when I’m in Texas and I’ll be literally driving over the only computer I have licensed with such software without knowing another soul out that way who has it should anything happen to this machine. Regardless, it’s certainly worth shining a light on…
Free Autodesk software to students and faculty. It’s a three year license, so you can’t count on using it forever, but three years isn’t bad at all.
Blood Vessel Fly Through
I’ve mentioned here before that I’ve been working on this blood vessel fly through animation for my first animation in Maya. Well, just last week, I got my render passes and started compositing them in After Effects. Really, this just amounted to using a standard beauty pass, and a luminance depth pass.
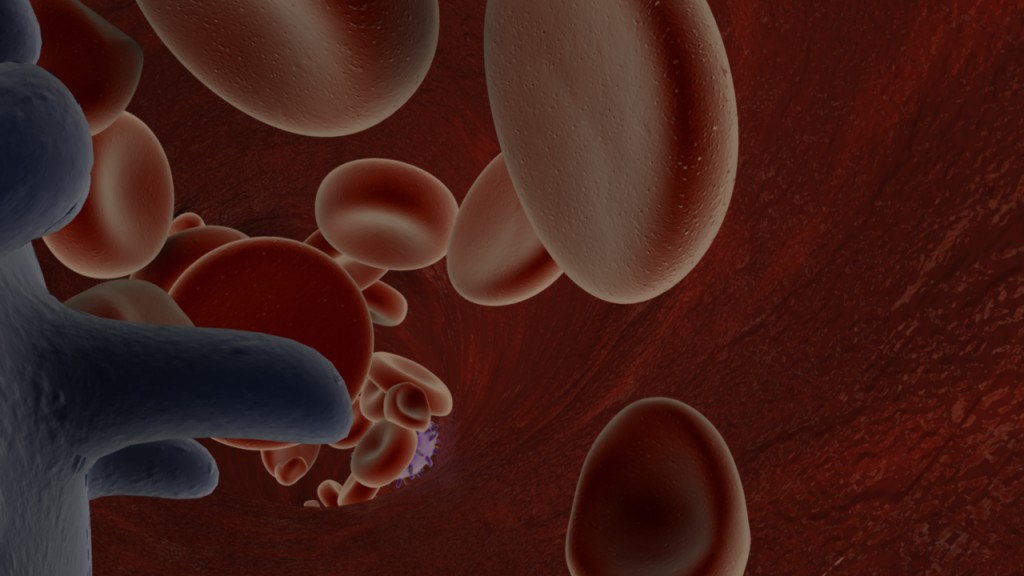
If you’re new to 3D animation, a beauty pass, or it may also be called your master layer, is the basic image you’re rendering out of your scene. For instance, this is frame #38 from that pass…
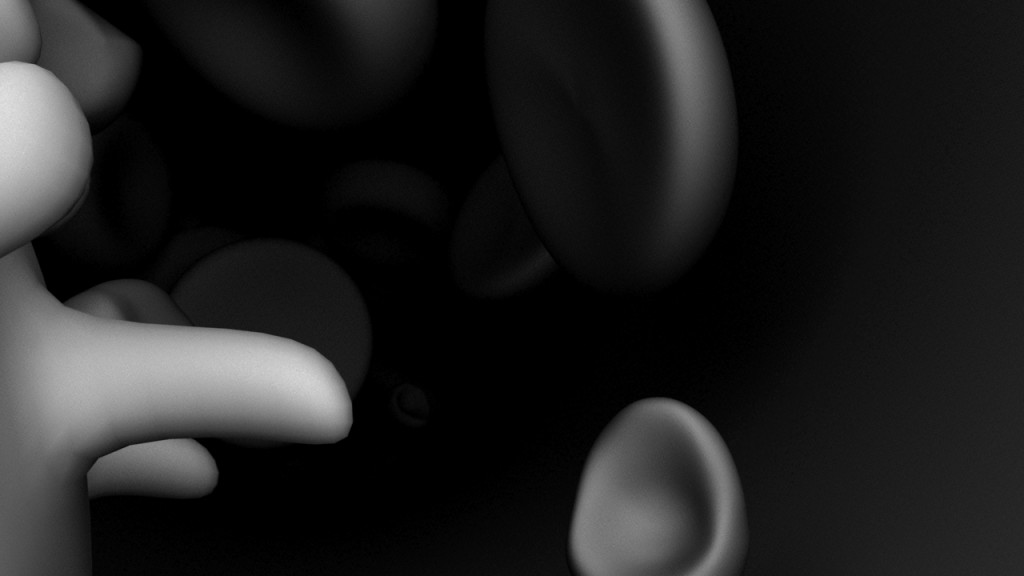
A luminance depth pass on the other hand, is a black and white gradation representing the distance of objects in your scene to the camera. In 3DsMax this is called a z-depth pass. But in Maya, it’s best to use a luminance depth pass (yet another of the subtle differences between the two programs). My luminance depth pass for frame #38 looks like this…
Using the program After Effects, you can place a luminance depth layer in your timeline. Hide it, because it’s not that interesting to look at in and of itself. And then create an adjustment layer and apply a blur effect. In my case I chose the lens blur, but I understand that there are different ways of going about this. Once you are in your lens blur settings you can point that layer at your hidden layer, and it will use the black and white gradient as a guide or mask to set the blur according to the distance of objects. You’ll have to play with your settings a bit to get it right, but I’m happy with the subtle blur I got in the background of my animation in the end.
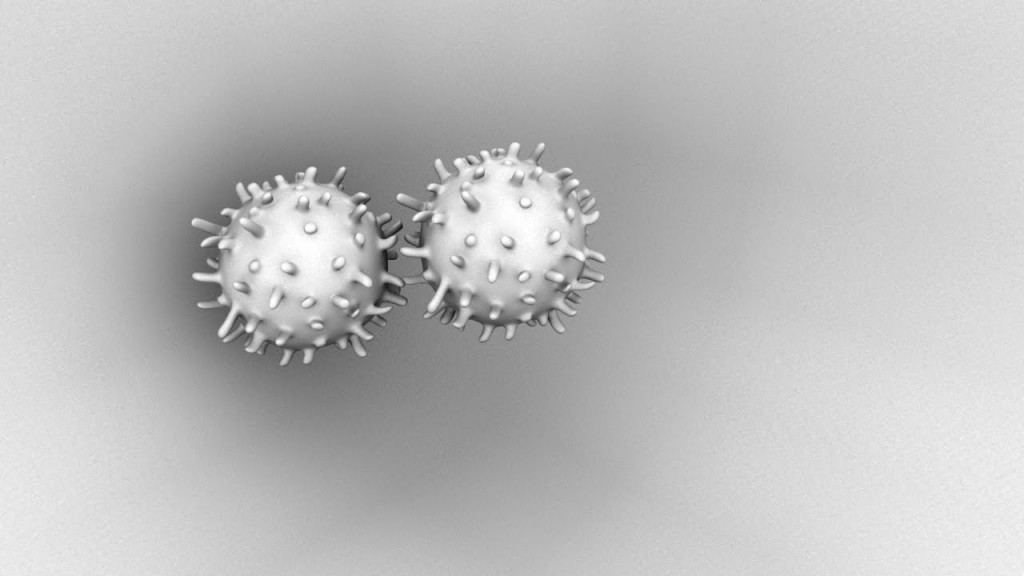
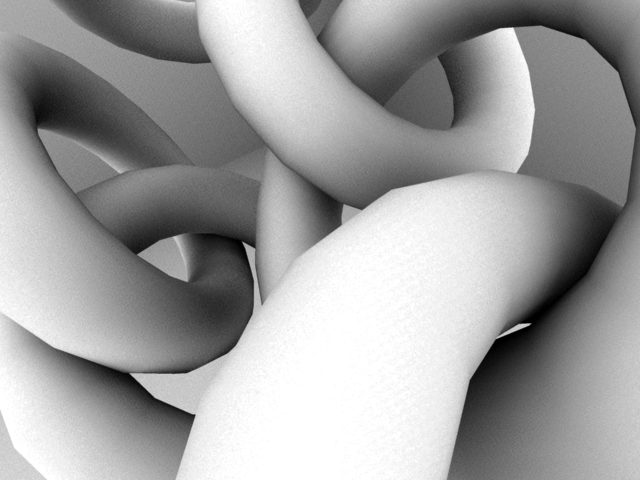
I had also intended to use an ambient occlusion pass, but mine came out too dark to make use of it. Again, if you are unfamiliar with this idea, the principle is that your render produces images based on the proximity of objects to the camera and each other. The image is darkest where things are in close proximity and lightest where they are not. They are also lighter when they are closer to the camera and fade off into the background as they get further away. Here is my frame #38 again to better illustrate the idea…
Because my scene is so dense and crowded, much of my ambient occlusion pass just came out black, so I wound up not using it at all. If I had, I would have placed it as a layer in After Effects, turned down the opacity, and set the blend mode to multiply so that the shadows would come through just lightly over the scene.
I also put a quick title card at the beginning of the clip and then exported the whole thing as a quicktime movie. This allowed me to bring it all in to my editing software (Final Cut Pro). There I made a few final tweaks, and added sound.
And here is the end result, hosted on Vimeo. I’ve also got it up on YouTube, so feel free to take a look there if Vimeo isn’t working for any reason.
Blood Vessel Fly Through from sara egner on Vimeo.
So yeah, pretty neat! And it feels great to have the big project for my Maya class taken care of so I can focus on my other work this last couple weeks of the fall semester.
Variations in Lighting and Render Passes
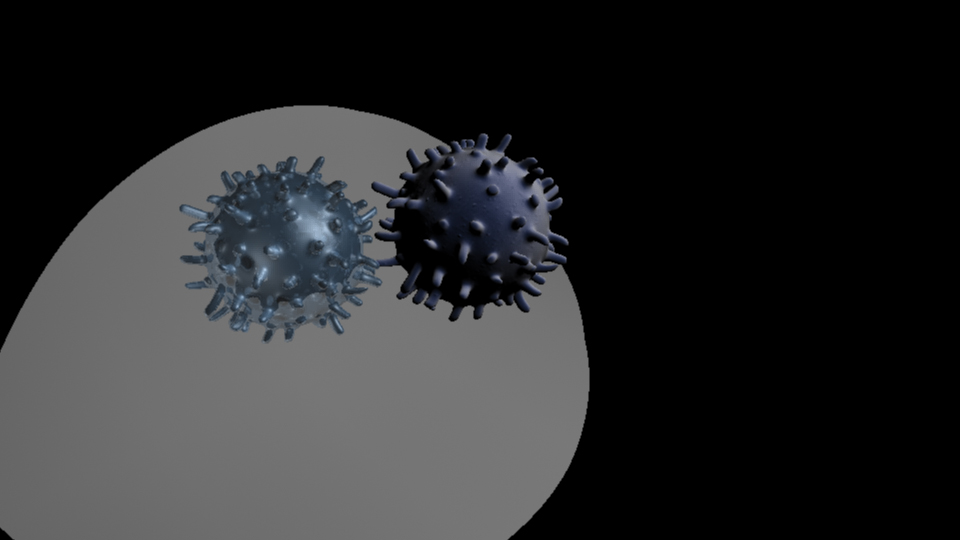
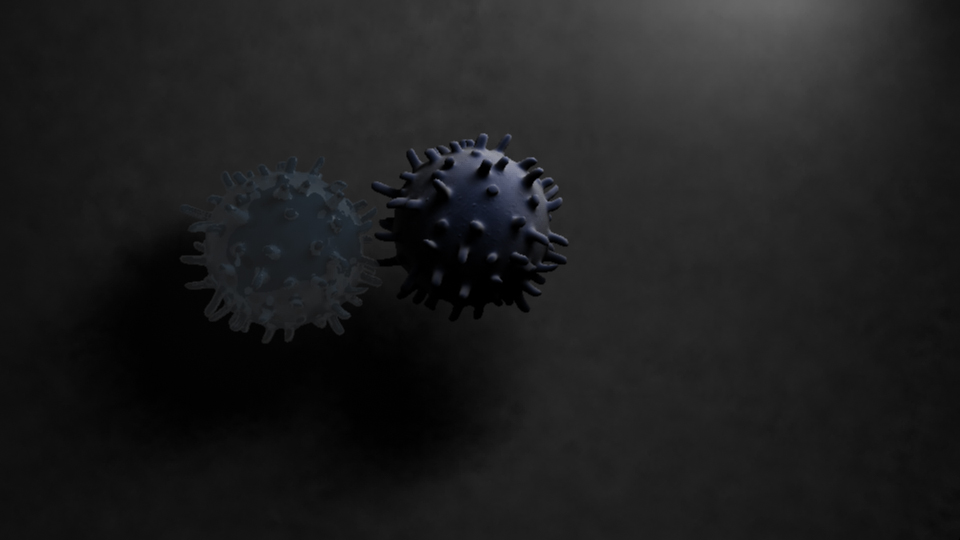
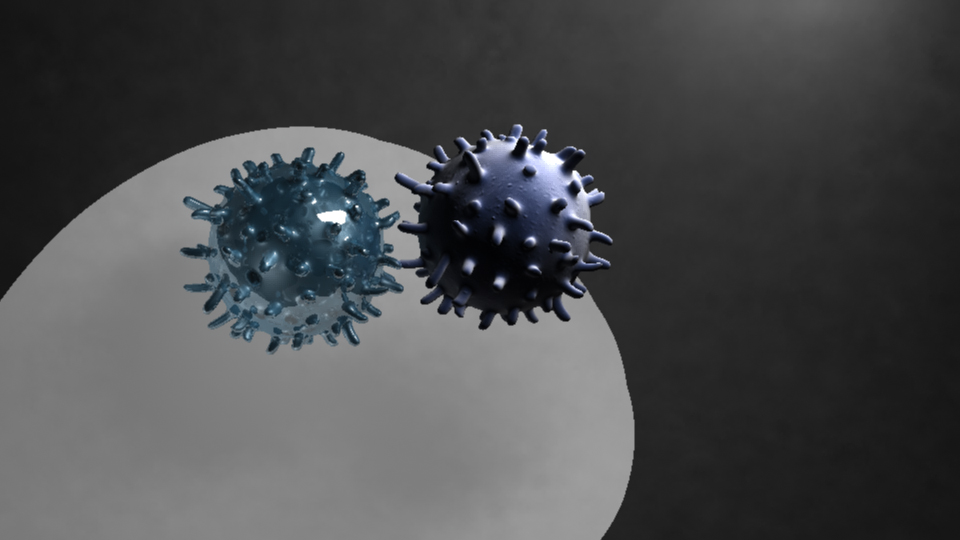
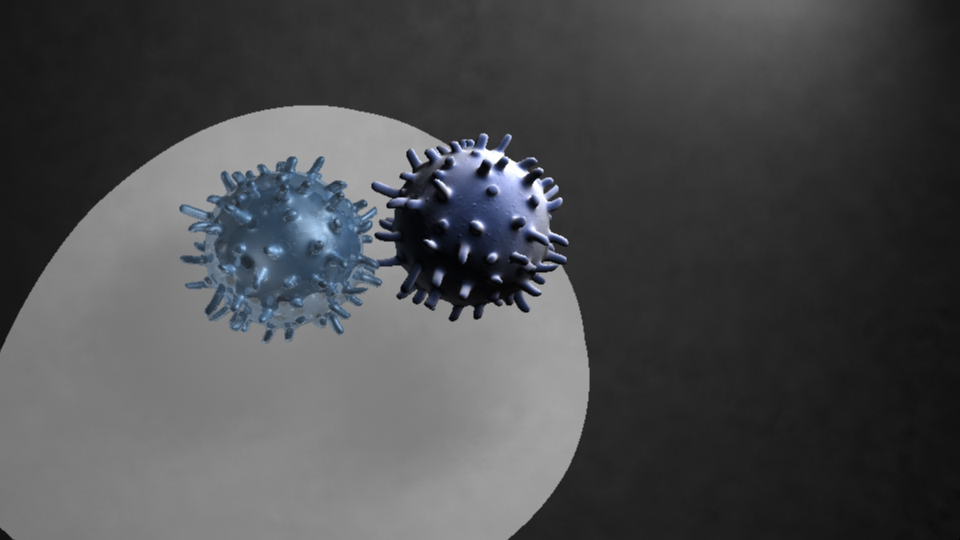
They say the devil is in the details, and ain’t that the truth. We recently did an assignment for my Maya class where we took a model from our final projects and used different lighting techniques and types of render passes for identical scenes. It’s pretty clear here that one can achieve some really different looks by knowing what they are doing in their render settings. Better still is that some of these can be combined later in After Effects to create a combination of looks as desired.
This first one is just standard raytracing.
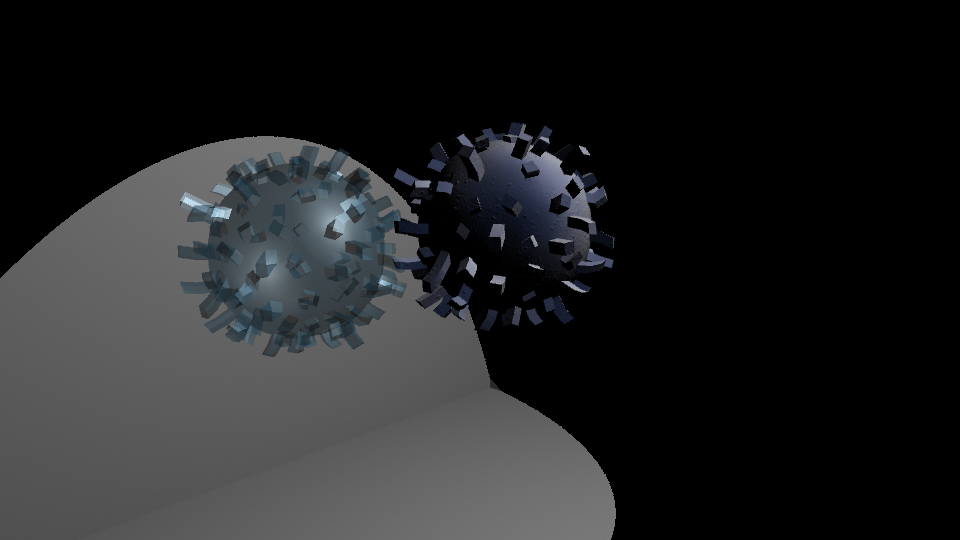
This one is just with final gather, using a pumped up surface shader for a light, like the movie theater example.
Still in the Mental Ray renderer, this one uses both the final gathering shader applied to a plane, and also a standard spot light.
In this one, everything is on.
This is using the Maya Software renderer. As you can see, I’ve lost the soft effect entirely from the modeling.
And lastly the ambient occlusion pass.
Pretty neat!
Maya – learning about textures and lighting
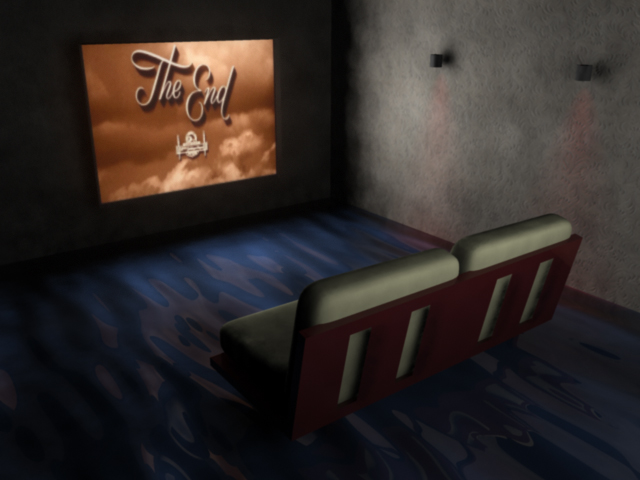
Been working with lighting and textures lately in Maya. Inevitable technical frustrations aside, some of this stuff is actually pretty cool. This particular scene is lit (with the exception of two small low intensity red spot lights against the wall) completely with planes textured with a surface shader. The surface shaders were turned up to white and then the value increased in the settings until the texture itself (and thus the plane) was actually projecting a nice white light. The planes themselves have their primary visibility turned off within their render stats. One is just in front of the glowing screen, and the other is behind the room to cast light as if it were coming from another room or area.
You’ll also notice the use of an ocean shader for the flooring. I mean, who wouldn’t want a home entertainment den that was also it’s own fountain or pool? This is just simple use of the ocean shader that comes with Maya. You can pick your colors. I grabbed reflective colors from around the room (particularly the movie playing, which by the way is the last frame of The Wizard of Oz – in case you were curious.)
Sometimes it’s fun doing things that aren’t anatomical at all.
Through a Blood Vessel
Last week I finally managed to export a playblast from Maya of my blood vessel project. It’s nothing too impressive at this stage, but I’m liking the roller coaster ride feeling of it…
Here are a few stills to give you a better idea of what the final render will look like…
I recently decided to end the ride with the blood cells being pulled off course up into a blood clot. Seemed like a fitting end to the journey. But I’m currently having some difficulty with rendering images that use a jpeg in the color channel. I’m still not certain if this is a matter of my laptop’s capabillity or some limitation of the Maya Hardware renderer which has allowed me to do some other tricks with my textures that I really don’t want to give up. Anyway, here is a screen shot of that final clot area as it stands now.
I still need to model some fibrin in there to really say blood clot, but the rendering difficulties have made it very difficult to do anything lately. I’m trying to change up the texture of the vessel walls themselves as well. Fingers crossed for awesome results!
Autodesk Nighmare
Well, it would appear that that last bit of enthusiasm for 3DsMax was undeserved. I worked in it for about two hours and have not been able to access the program since. I am at present, a week behind in work from working my ass off on trying to fix this. Autodesk has so thoroughly disappointed me with their technical support for students that I can’t help thinking I should have just pirated it. I don’t see that I’ve gotten anything more than extra hassle for the money I’ve paid.
The installation support line is 918-747-9333.
They will tell you right off that they don’t do technical support though and since their regular guy is out, you get Doug.
Doug is at 918-770-0164.
I haven’t been able to reach Doug so far today. He may have simply given up on talking to me. I don’t know.
The regular guy I can only reach by email and I don’t know his name. He thinks I should try this on different computers, but I can’t because I don’t have a room full of computers capable of running this stuff, and even if I did, my licensing is only toward one machine. That’s the student license deal. You only get one. That’s why I bought this new computer. I wanted it to be that one.
That guy also recommends Autodesk Customer Service at 1-800-538-6401, and I have spoken to them. I may get a replacement sent to me. But they can’t help me establish if that is the problem or not.
He also sent me to Autodesk Registration at 1-800-551-1490. There a man named Rain sent me to the Douglas Stewart Co. This was supposed to resolve any activation problems.
See I thought I might be having an activation problem now, because today I uninstalled everything from the Windows side of my computer including Windows and Parallels in the hope of starting over completely. I was told that the problem may be my version of Windows. I can’t exchange my version of Windows now, but I could buy a new one outright and see if that works.
By the way, the Parallels support number is 888-811-2489.
So after uninstalling *everything* on the Windows side I attempted to install on the Mac side of the computer the two programs that were working on the Windows side, Mudbox and Maya. Mudbox loaded up just fine, but Maya keeps failing on exit, whatever that means. So I suspected that the serial number was the problem and that it was showing the previous registration on the Windows side of my computer which according to Parallels shouldn’t have worked in the first place because of my Windows version and which now does not exist.
So getting back to the Douglass Stewart Co., they actually don’t handle anything of the sort. The woman there could only give me the installation support line 918-747-93333, which is the number I started with in the first place.
I’ve probably spent the most amount of time with the people working for Parallels from India. Their phone system is a little shaky, but two of the people I’ve spoken to over there have been very helpful. Just no one seems to be able to fix the problem. They are the ones now recommending that I purchase Windows 7 64-bit Professional instead of the Windows 7 64-bit Home edition I currently have. I did research that before purchasing in the first place, but nothing online indicated that one would be better than the other so long as I was in 64-bit. But the disks, now that I have them, do suggest Windows 7 Professional 64-bit (now that I have opened them), so maybe that is the problem there.
But regardless, Maya now won’t install on the Mac side of my computer, which has nothing at all to do with Windows, and points back at the Autodesk software possibly being corrupt. Or perhaps my previous attempts to install have now done something to make this not work. I currently have Mudbox up and running, and that’s all I seem to be able to get. I am currently waiting on a phone call back from someone named Barbara who may or may not tell me anything useful.
I’m quite certain I sound like a complete lunatic to anyone answering the phone at this point, and they would probably be right to think that. Presently I need a shower, and I need to eat something, but I can’t seem to get around to either while I have all this in front of me. It’s almost been a full week since I installed all of this, and it still isn’t working, and I still don’t know why, and I still can’t get the help I need.
This has become such a nightmare.
Maya Continued
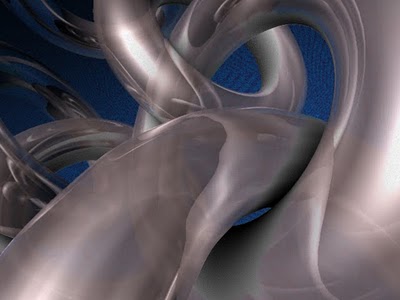
I wasn’t crazy about my 2nd assignment, but for my 3rd I revisited those rings from the first and spruced them up a little…
Pretty neat!
Maya
Two days ago I started a class in Maya. I’d actually tried to take this one last year, but found the schedule didn’t agree with Gross Anatomy’s schedule, so I put it off. Well now I have my 2nd chance. The new teacher is requiring participation over at a Blogspot blog. Fingers crossed that this won’t turn out to be a terrible idea posting the link here, but check it out if you would like…
http://3dspacefall2010.blogspot.com/
So far, we’ve all just posted out first assignment images. For this one we were asked to create a simple composition using the basic shapes, or variations of them if we wanted to try some modeling, and render using an occlusion pass. As you can see there is a pretty huge range of experience and skill levels in the class. For mine, I worked with the basic torus shape and created a composition from that.
Today I am going through a couple of the intro tutorials on Lynda.com and trying to get some good basics down. I don’t have a copy of Maya at home yet, but the new computer I intend to install it on could be coming any minute now (oh boy!) and I do believe I should have both 3DsMax and Maya on my home machine before the semester ends. I’m pretty excited about it. Autodesk’s student software package makes it a really worthwhile deal.
