Archive for the ‘3dsMax’ tag
The Bilateral Sagittal Split Osteotomy and Osseous Genioplasty
So, I was going to wait until I’d shown this in my big presentation next month, but I just couldn’t. I put it up tonight.
Introducing, The Bilateral Sagittal Split Osteotomy and Osseous Genioplasty…
And if that doesn’t work, here’s a direct link to the YouTube page itself – http://www.youtube.com/watch?v=oQI8L5Sxa6w
A Long Saga of Gimbal Entrapment and the Horrors of Hotfix 4
Oh Readers,
Last night I think I broke my brain again.
It took me a week to get that rotational issue settled. I went from trying various gizmo alignments, to scouring tutorial after tutorial, and then basically waving my arms in the air begging for advice from the world, which lead to a focus in learning how to set up helpers and then when that didn’t work, going through every rotational instruction I could find. In the end, I used the Euler rotations from the pull down menu and changed the settings from the standard XYZ to ZXZ. This spins your object off in a new direction, but I readjusted the object and was finally able to control it’s rotation again and finish the shot. To me, this seemed like a positively insane solution. According to the readings I must have been gimbal locked, and resetting the orientation gave me a clean slate of sorts. At least that’s my current understanding of it. I could be way off base.
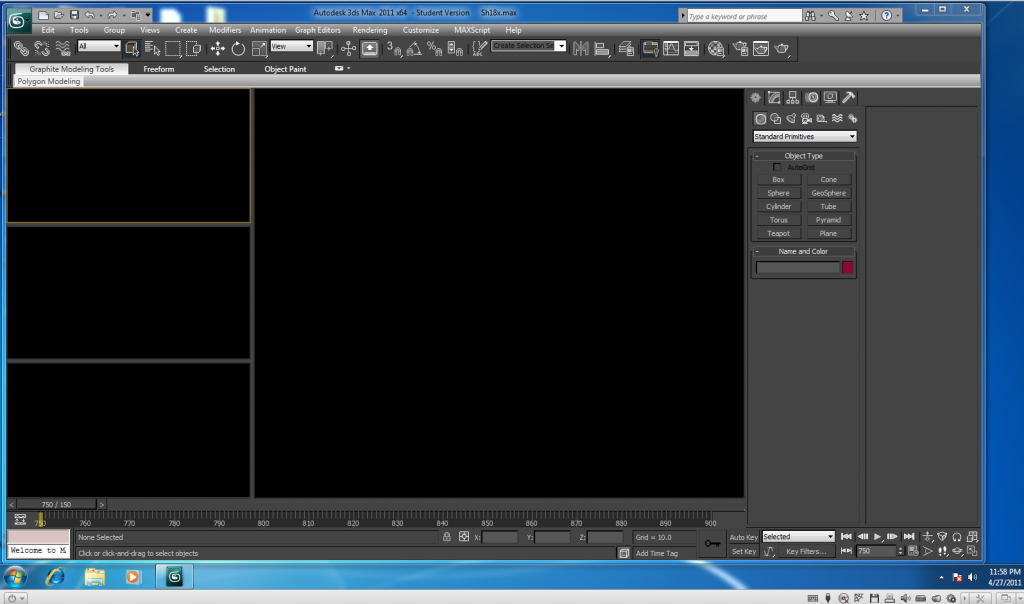
Regardless, this was a difficult saga for me. So what a relief to finally be through that and rendering the shots already, right? But then the renders kept crashing, and after the third error report sent to Autodesk I get this update recommendation. So I click to install it, and the next thing I know, my project looks like this…
So much for going to bed then right? Now I know that the worst thing that you can do in the event of something like this is to panic, but readers I must confess, I hit panic mode last night. It had finally been working and then just like that, boom, blackness, and my entire grad school experience flashed before me, and I didn’t know what to do.
Apparently the update was the Hotfix 4 from Autodesk, and it’s done this to a few other people as well. Advice ranges from uninstalling 3DsMax entirely and reinstalling without the upgrade to changing the graphics drivers away from the recommended system in the preferences, or even upgrading or downgrading your computer’s drivers over all. And well, this is the kind of talk that tends to make me feel in over my head. This is the kind of talk that sends me tirading about the ruins of an overly technological society.
If you are reading this because you are having the same problem now, I can first tell you that going into preferences and the viewports tab and hitting the button towards the bottom of the window that says something about installing or changing drivers (it’s no longer in front of me), you can in fact change to the Open GL driver, and if you are running on 32 bit, I hear that you may want to select the Software driver (the link to where I read that here.) Anyway, that will let you see again, but I found that my objects kept going away when I was trying to select anything in the scene in that mode. So, while it does make you feel better that all of your hard work has not been lost somehow, it still doesn’t restore the functionality you had before the “upgrade.”
Well this morning I was able to get someone from Autodesk on the phone. Under the student license, they don’t let you speak first hand with technical support, but the woman on the phone was nice enough to ask around herself for me and relay what she could learn. As it turns out, you can actually uninstall the upgrade. Get rid of it, and you can use the recommended 3D graphics driver again and get back to work already.
To do this, you go through the Start menu, the Control Panel, Programs, Then I believe it is Programs and Upgrades, and you can select the horrible mistake you made last night and simply uninstall it. I don’t know if this is something that Windows generally offers for most upgrades, or only for some. But it’s a great feature, and I think it makes a lot more sense than all the other workarounds. Just remove the problem. Yeah.
Oh, and if you’re struggling with rotations like I was earlier this week and last week, this is a good write up about how some of that stuff works.
I don’t know if this is helpful for anyone else out there, or if I’m just making myself look bad in a public forum by putting my technical problems and frustrations out there for all to see. I suppose it wouldn’t be the first time for either of those to be the case.
Still Going With It…
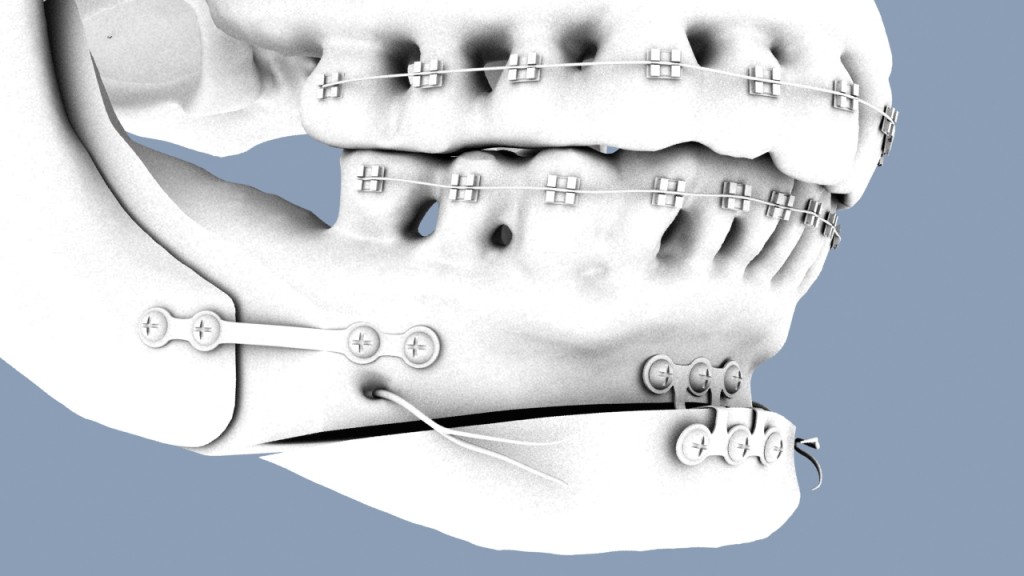
Feels like I’ve been spending all this time at the computer lately, but not as much time posting here. That could just be a perception thing, but I thought I’d post another image from my animation anyways. This is an ambient occlusion pass from my recent work. It features the plates and screws in place for both the BSSO and osseous genioplasty procedures.
At present I am struggling with making the screws enter the bone in a reasonable manner. They are happy to rotate all over the place, but I am having a Hell of a time getting them to simply screw in here. The still looks nice though. And the motion will come.
I’m actually very close to finally getting through my shot list for this animation and being able to put the finishing touches on it. Keep your fingers crossed for me readers, I need all the luck I can get with this one.
Setting Up Ambient Occlusion in 3DsMax
If you are anything like me, you spend a lot of time trying to remember how to do things. Because I rely on them so heavily, I thought I’d try my hand at posting some instructions on setting up an ambient occlusion pass in 3DsMax.
So, first of all, for those of you who have no idea what I’m talking about, an ambient occlusion pass is a nifty compositing trick wherein you render out an image, or series of images if you are making an animation such that objects closest to one another create shadows between them. It’s the kind of touch that can really sell the look of your objects all being in proximity. By itself, an ambient occlusion pass might look like this…
Which is neat and all, but actually gets useful when laid over your standard rendering, or beauty pass (see below)
 (without ambient occlusion pass)
So wow, that’s amazing, right?! And even if you don’t think it’s amazing, maybe you still think it’s nice and maybe you want this for your project too. It’s actually even cooler if you are rendering out a room, or some sort of scene with lots of objects. You’ll note that my background remains blue throughout these. That’s because I set my background that way in 3DsMax’s render settings and I’m not using a backdrop in this scene.
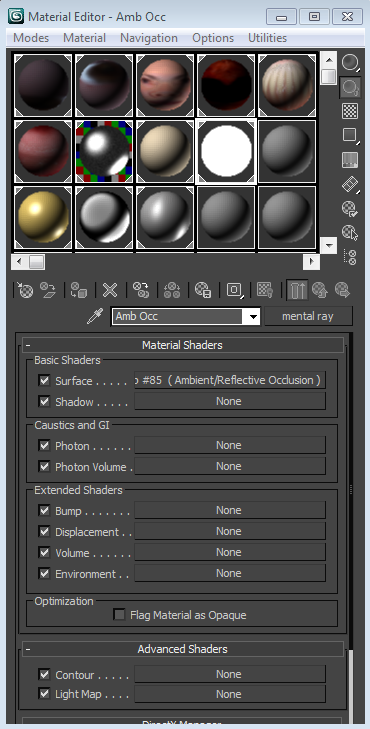
So, get your scene going in 3DsMax. That part is all up to you. Again, the more stuff, the more fun this is. Then press the M key to pull up your materials window. Fantastic. Now pick an empty globe up there to make into your ambient occlusion material. Go ahead and give it a name too. In my case I went with Amb Occ. Next to your material’s name, there should be a button that says “standard.” Go ahead and click that and under the Mental Ray texture options, click Mental Ray.
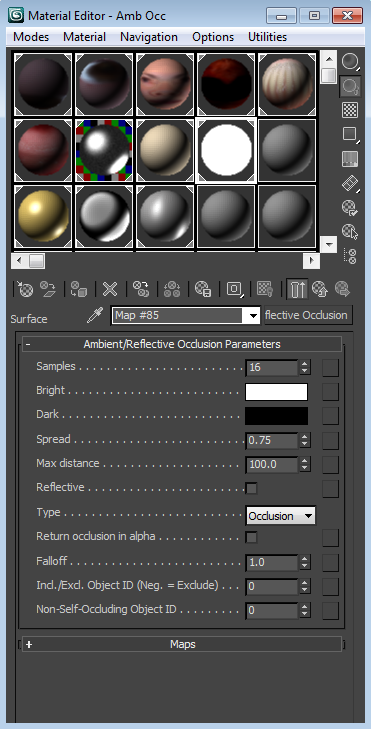
Next you’re going to click on the button that says “none” in the basic shaders next to where it says “Surface.” Select Ambient/Reflective Occlusion. At this point, your globe should look like a solid white ball.
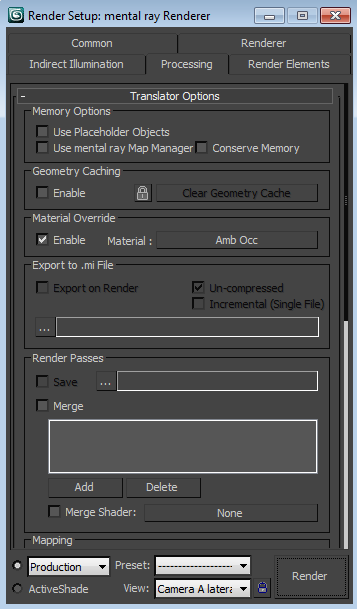
Keep that window open, but go ahead and open up your render setup window as well. Under the processing tab, check the box to enable material override (see below) and you can literally drag and drop your ambient occlusion texture into the box next to where it says “material:”. That overrides all the materials in your scene with the one you’re creating now. This is especially cool because if you want to go back to your original textures all you have to do is uncheck the box, and bingo there you are, back in your scene just the way you left it.
If you render at this point, chances are that everything, or near everything, will be white. That’s not very helpful, so go ahead and get into your parameters and change the Max Distance to a higher number (see below). I am using 100 as the max distance with my own ambient occlusion pass at the moment (yes, I am literally writing this while I’m rendering a shot, ‘cuz y’know, it was on my mind). Now, try rendering again (either by hitting the render button, or by hitting the F9 key.) Is it everything that you’d hoped it would be? If not, maybe try adjusting to different numbers, or experimenting with the other parameter options.
And there you go.
Now it’s up to you to decide how you want to use it in either Photoshop or After Effects, or another similar program. In general, you’re looking at stacking layers, and setting your ambient occlusion pass to the multiply setting, so that only the shadows come through.
Enjoy and good luck!
Animation Woes
The more I think about it, the more I am convinced that Autodesk (the makers of many 3D animation softwares) must be in business with some medical arena selling carpal tunnel wrist braces and glasses. These programs seem positively designed to make you squint and make foolish repetitive motions with your wrist. When I had an arm in a sling for a bit a couple of years back, 3DsMax was the one program I never was able to drive left handed with any proficiency. Left click, right click, middle mouse click and drag while holding down the option key without letting go of anything, even though you have to move further than your arm can reach with one motion. All to reach that little tiny shape on the other side of your scene, you know, the one that you can barely see because you didn’t want it in the shot, so none of your lights are hitting it. It’s that slightly less black bit sitting in space over there. Yeah. Maybe I’m just bitter because my shots have been giving me grief here lately. But really, the more times you redo something, the more obvious the inherent flaws are. But hey, even if this was a sign of disaster for me the other day, isn’t it still kind of pretty!
My Very Own Rotating Presurgical Head
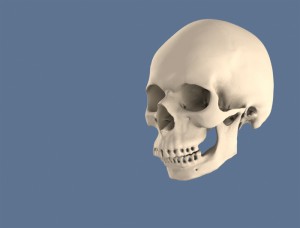
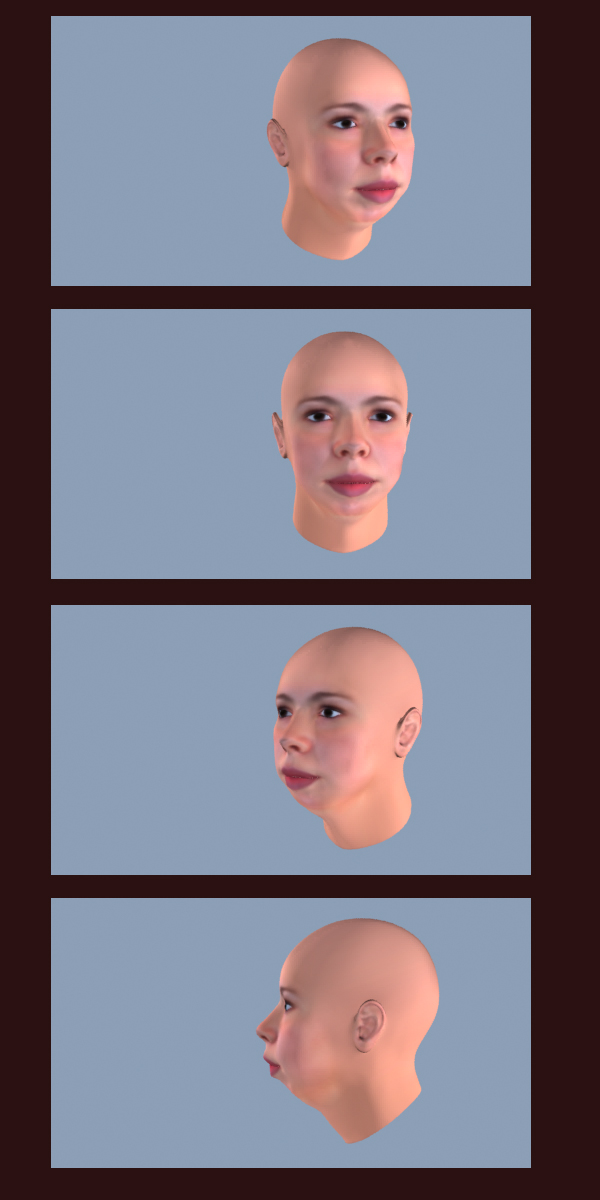
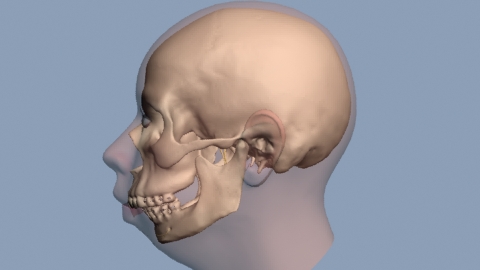
Tonight I ran my first bit of actual animation on the patient education piece! No glitches at this point, and everything seems to be rendering quickly so far. I’d thought I was setting myself up for doom when I put that skylight in the scene, but apparently not. Take a look at a few frames from tonight’s test run. That would be the slow rotation on the presurgical head which will then fade into the slow rotation of the presurgical skull. I haven’t done anything with the background so far, and honestly I’m not sure I’ll want to do much. I want the focus on the head, and the feeling to be uncluttered. I also picked some background music today for the piece, so that is exciting as well. I love it when these projects finally start to come together!
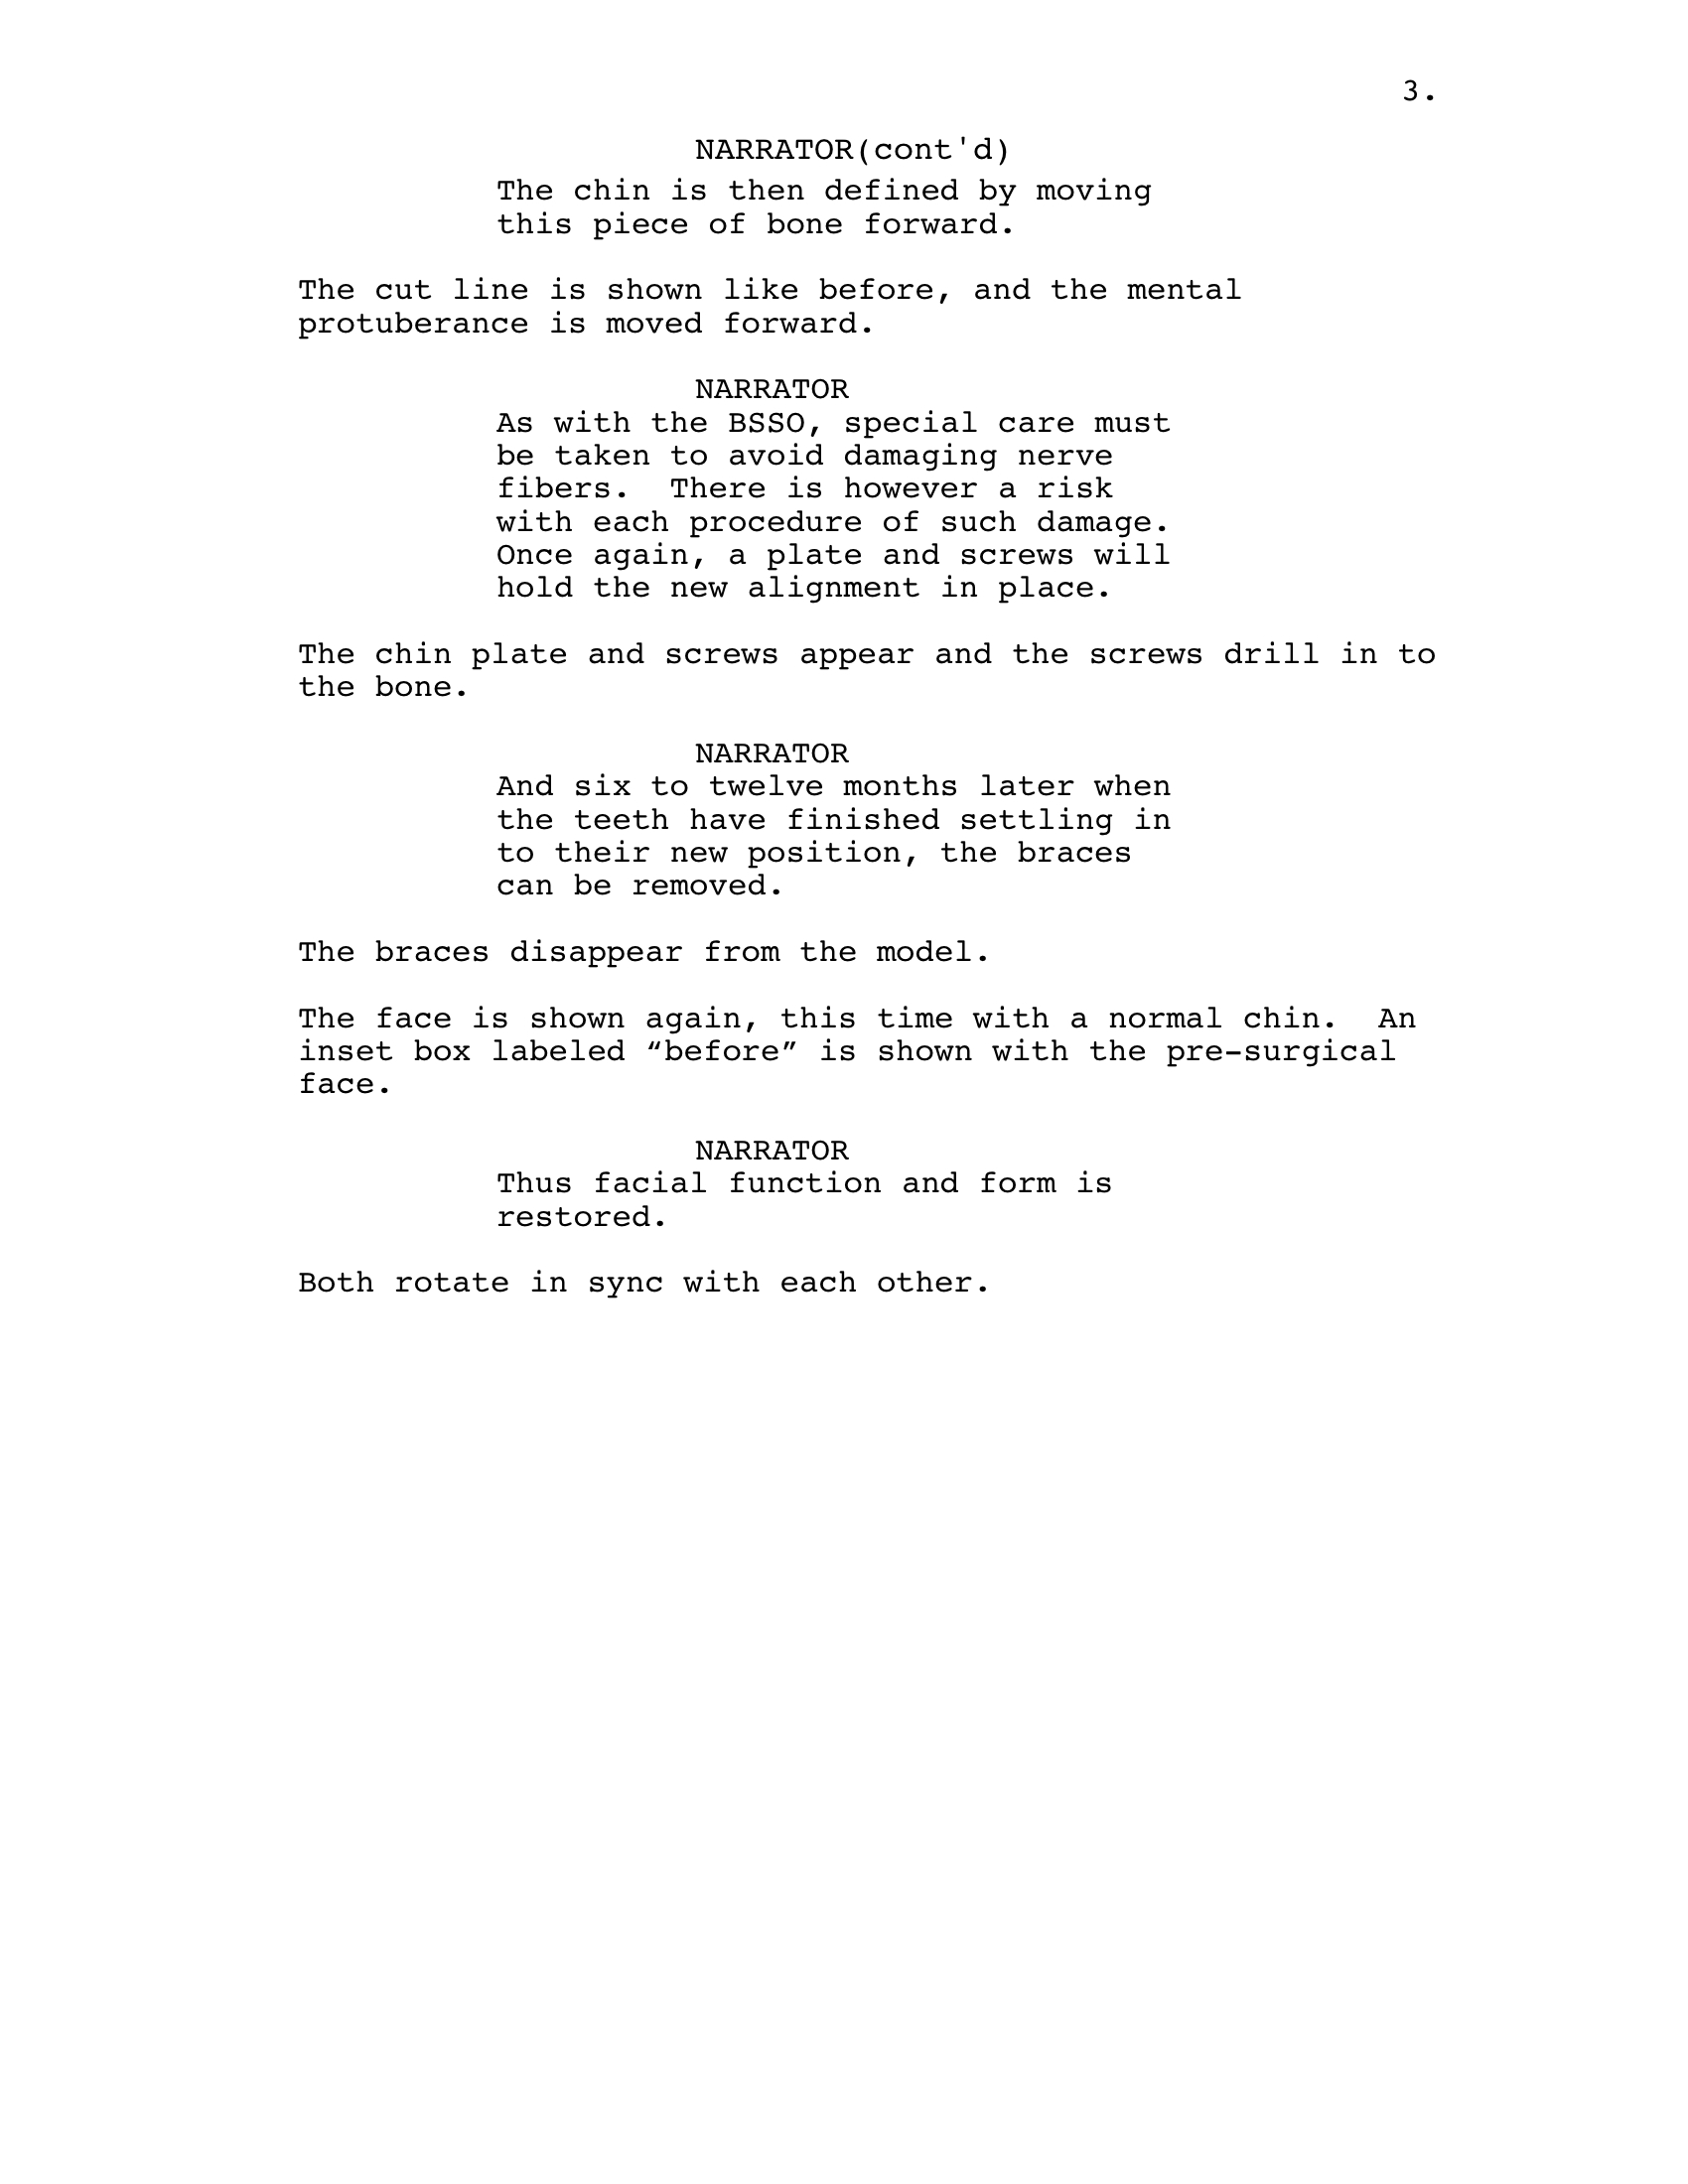
more tweaking with the skull
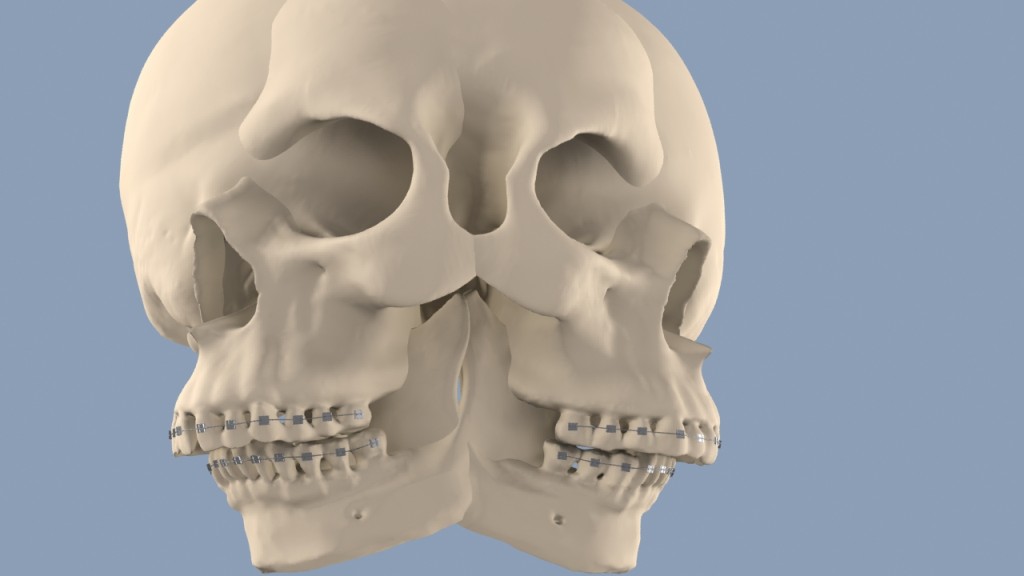
Awe yeah! That looks to me like a skull that fits entirely inside the head I made for it! It was poking out in a few places before, but now, I’d say that’s a fit I can work with. I do believe my animation’s got a matching presurgical face and skull now!
**Edit** – Actually, I got a little prematurely excited there, and have since gone back and reworked things a bit. The current model, looks more like this (keep in mind that this model features a shortened mandible)…
Now I will just have to go back in and realign my braces.
Free Autodesk Software
I don’t know whether to be angry about this, because my student edition software certainly wasn’t free, or happy at the idea of being able to get this software on others’ computers, like when I’m in Texas and I’ll be literally driving over the only computer I have licensed with such software without knowing another soul out that way who has it should anything happen to this machine. Regardless, it’s certainly worth shining a light on…
Free Autodesk software to students and faculty. It’s a three year license, so you can’t count on using it forever, but three years isn’t bad at all.
Animating in a Snowstorm
The City of Chicago is buried under blankets upon blankets of snow. And I am taking the day to work on my animation project. I have literally been working on getting this skull in proper shape for months now. And it is sooooo close!
For those of you who do not work in 3D animation programs, this is the kind of screen I have been living with of late…
All that mess, and when you zoom out, it’s just…
I’ve been doing this all the way around the skull, slowly stitching edges together. And now I’m patching up the parts where the CT scattered due to metal pieces on the plastic skull we placed in there.
It’s been a long process, but I intend to finish this today. I have a bowl full of braces for modeling next, (yes, my skull is getting braces) and then I can put together an animated storyboard. I need to ask fast, because the semester is flying by and I intend to present this work for graduation in April along with a paper detailing the process and what I have learned from it. It never feels like enough time, but I still believe it can be done.
So you just keep on keepin’ on out there, Snowmageddon. I’ve got plenty to do right here inside.
More Work On My Research Project Animation
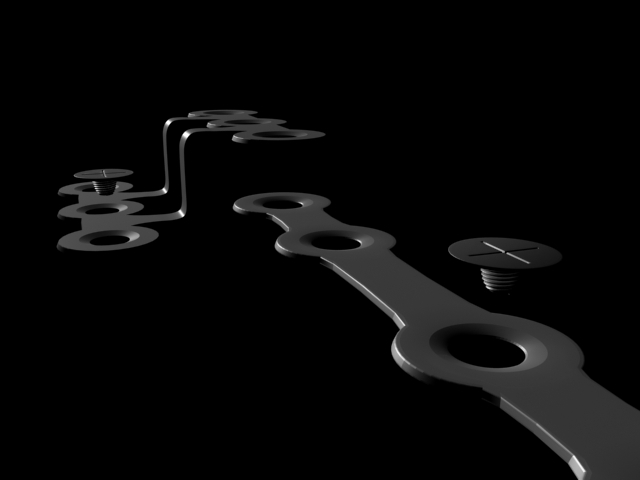
Well, it’s been a working weekend, and most of that work has gone towards my animation on orthagnathic surgery. Yesterday I got my surgical plates and screws mostly together, though they could still use a few tweaks to get out the faceting, and there is one angle in the chin plate that I would still like to soften. But mostly, this is what I’m going for.
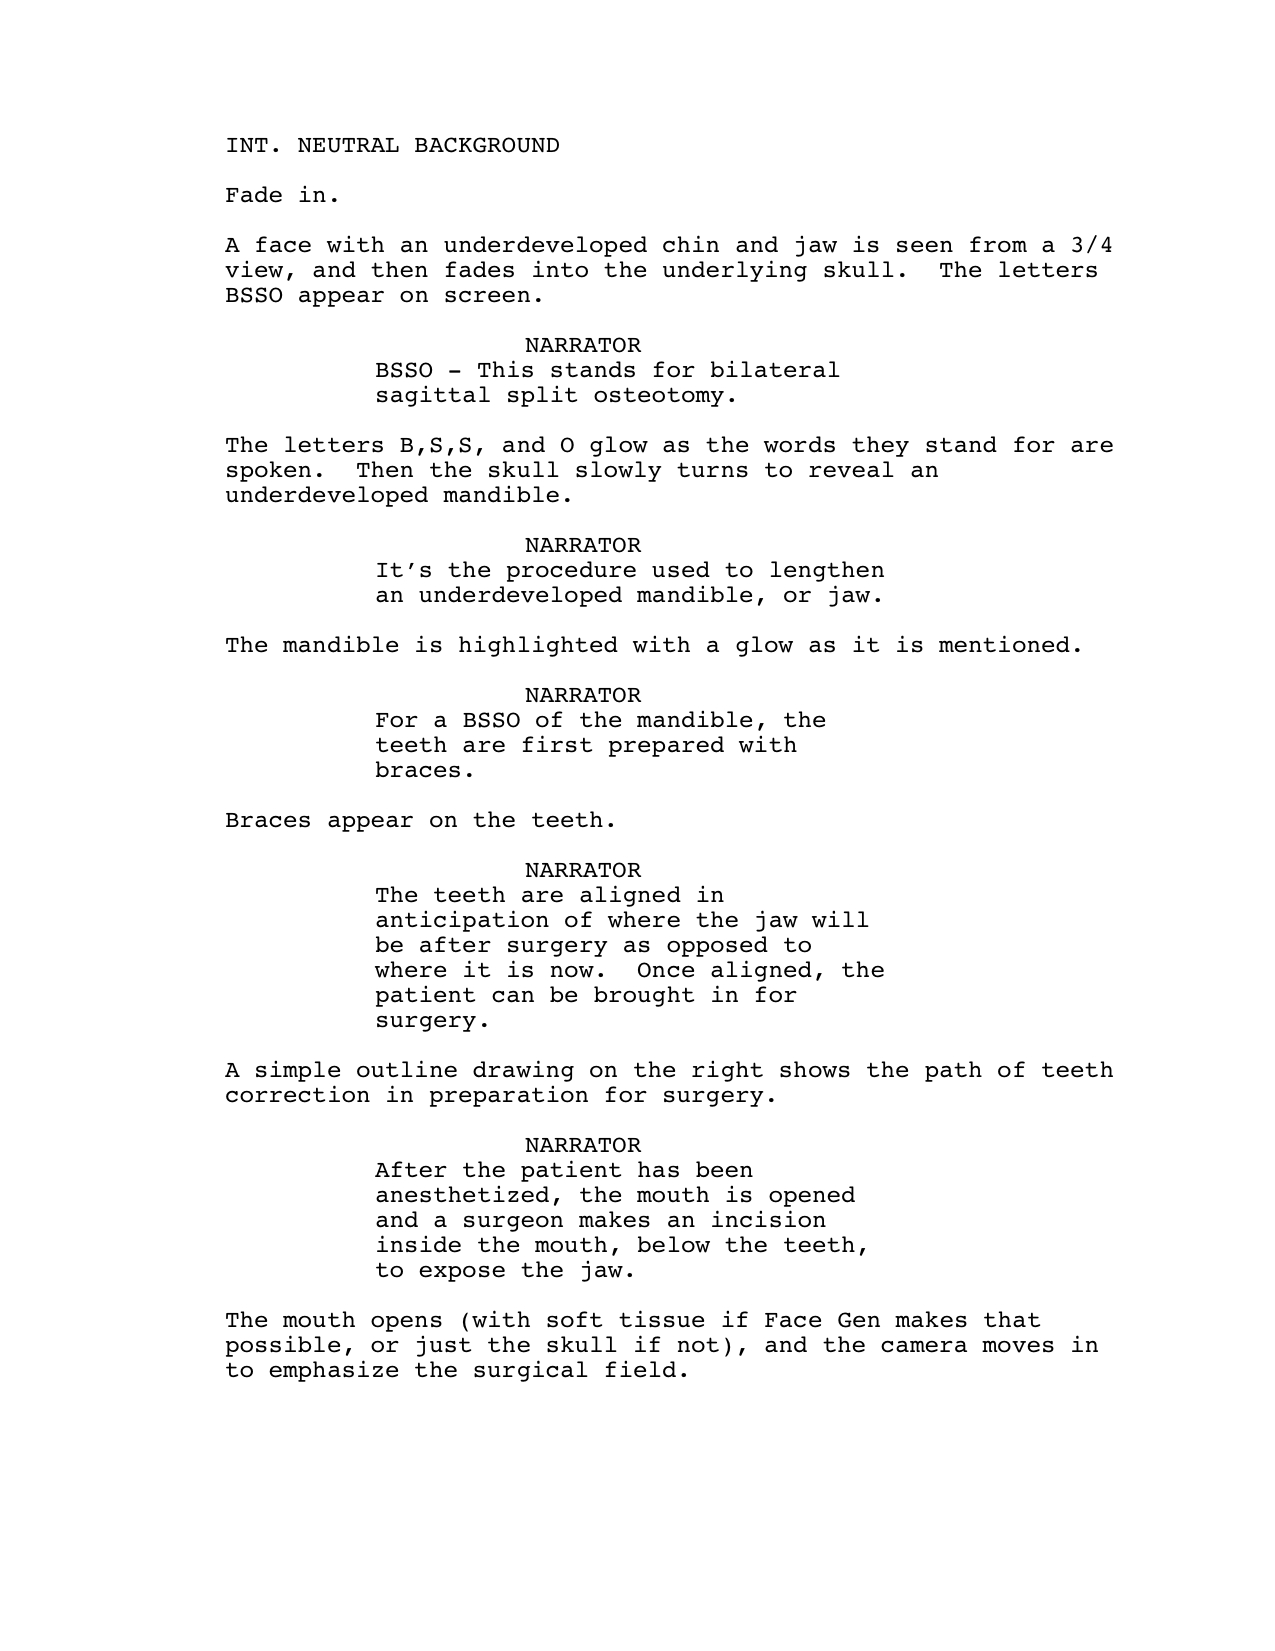
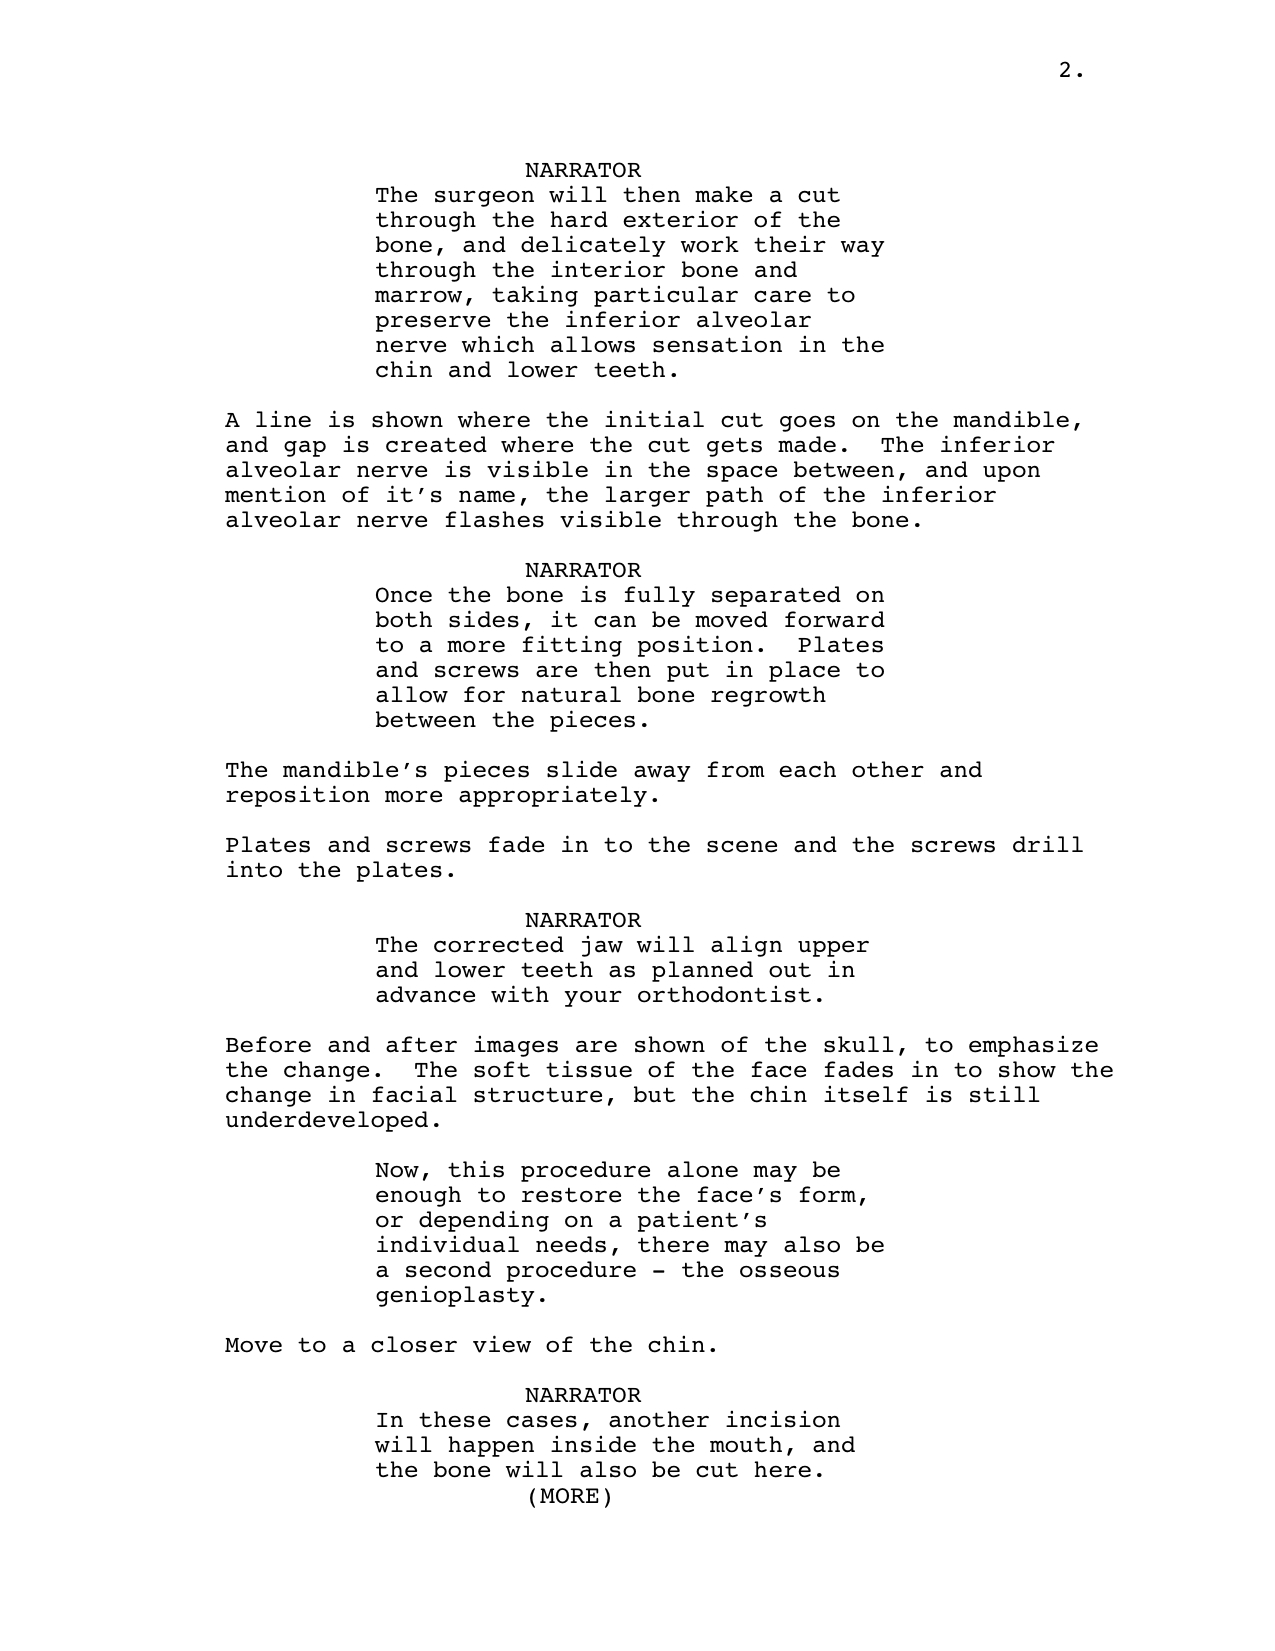
And then today I finished my re-write on the script. I’d still like to warn patients about the breathing tube and catheter, but it just doesn’t sink up with the animation visually or in terms of the type of information being given. I’m hoping that I will have time to create some kind of Know Before You Go page that can be included in the dvd, or even printed out and given to patients with the animation disk. Anyway, here is the script as it currently stands. I think it works.
