Blood Vessel Fly Through
I’ve mentioned here before that I’ve been working on this blood vessel fly through animation for my first animation in Maya. Well, just last week, I got my render passes and started compositing them in After Effects. Really, this just amounted to using a standard beauty pass, and a luminance depth pass.
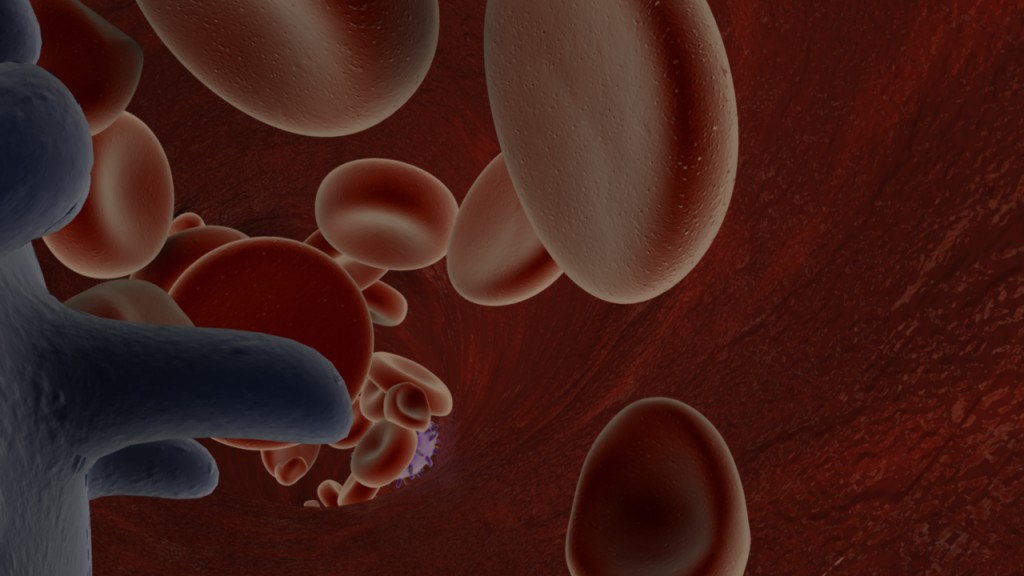
If you’re new to 3D animation, a beauty pass, or it may also be called your master layer, is the basic image you’re rendering out of your scene. For instance, this is frame #38 from that pass…
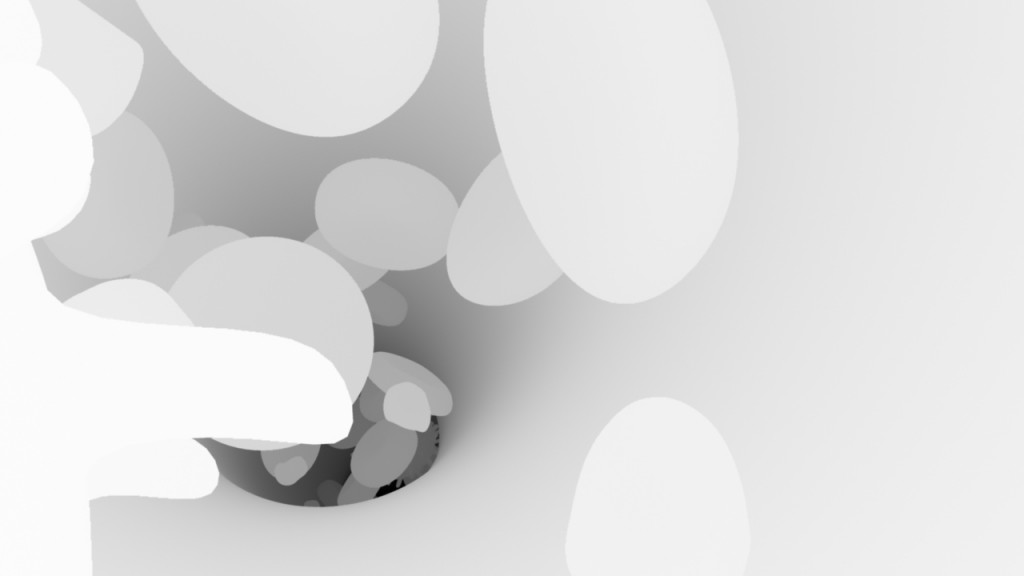
A luminance depth pass on the other hand, is a black and white gradation representing the distance of objects in your scene to the camera. In 3DsMax this is called a z-depth pass. But in Maya, it’s best to use a luminance depth pass (yet another of the subtle differences between the two programs). My luminance depth pass for frame #38 looks like this…
Using the program After Effects, you can place a luminance depth layer in your timeline. Hide it, because it’s not that interesting to look at in and of itself. And then create an adjustment layer and apply a blur effect. In my case I chose the lens blur, but I understand that there are different ways of going about this. Once you are in your lens blur settings you can point that layer at your hidden layer, and it will use the black and white gradient as a guide or mask to set the blur according to the distance of objects. You’ll have to play with your settings a bit to get it right, but I’m happy with the subtle blur I got in the background of my animation in the end.
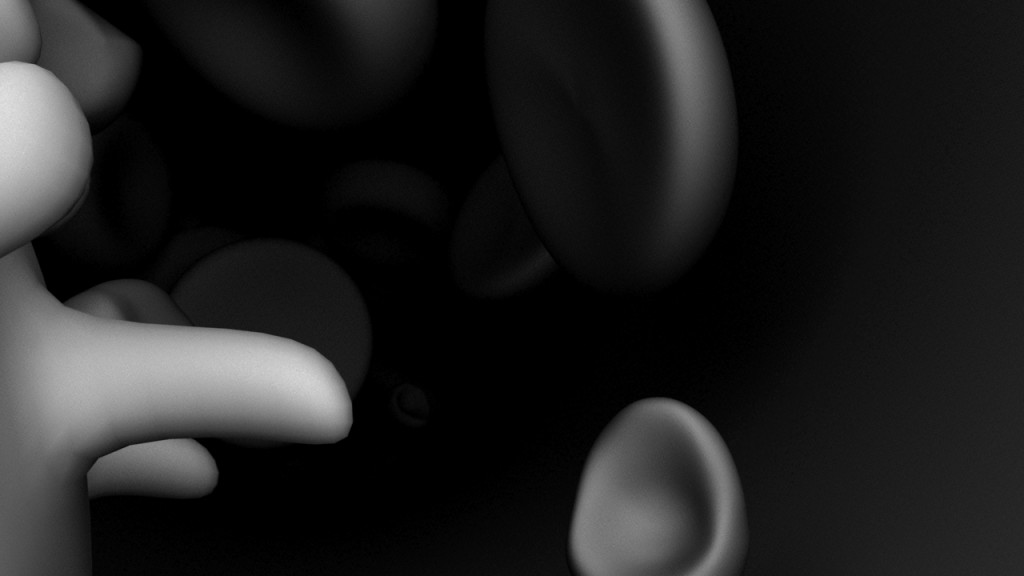
I had also intended to use an ambient occlusion pass, but mine came out too dark to make use of it. Again, if you are unfamiliar with this idea, the principle is that your render produces images based on the proximity of objects to the camera and each other. The image is darkest where things are in close proximity and lightest where they are not. They are also lighter when they are closer to the camera and fade off into the background as they get further away. Here is my frame #38 again to better illustrate the idea…
Because my scene is so dense and crowded, much of my ambient occlusion pass just came out black, so I wound up not using it at all. If I had, I would have placed it as a layer in After Effects, turned down the opacity, and set the blend mode to multiply so that the shadows would come through just lightly over the scene.
I also put a quick title card at the beginning of the clip and then exported the whole thing as a quicktime movie. This allowed me to bring it all in to my editing software (Final Cut Pro). There I made a few final tweaks, and added sound.
And here is the end result, hosted on Vimeo. I’ve also got it up on YouTube, so feel free to take a look there if Vimeo isn’t working for any reason.
Blood Vessel Fly Through from sara egner on Vimeo.
So yeah, pretty neat! And it feels great to have the big project for my Maya class taken care of so I can focus on my other work this last couple weeks of the fall semester.


