Aging
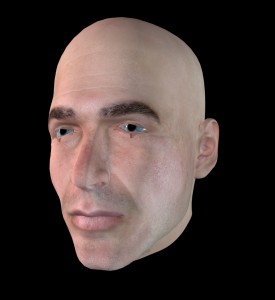
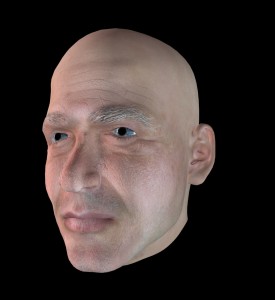
Meet Simon…
Simon is one of the default figures from the program Poser. I recently grabbed him for use in a 3D animation we are creating about cataract surgery. The thing is, he’s the oldest looking head I could find in our files, but he still doesn’t look old enough to be having cataract surgery to me.
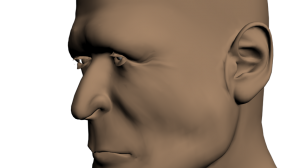
Now, initially, I thought that I could make my facial adjustments in Poser and import that work directly into 3DsMax. The catch with that was, that while there are a lot of cool facial adjustments that Poser allows you to make, the adjusted texture map wasn’t exporting correctly, so you were left without use of the photo realistic skin. I used one such image for the animatic, and simply created a basic skin tone for the figure. Here is one of the stills from that scene and you can see that a lot of work would need to happen to make that skin come across more realistically…
Texture maps are actually pretty strange looking when unwrapped to a 2D plane. So rather than trying to paint a new texture map for this head, and have to guess at where the nose and lips should be to paint them in, I decided to go back to the original Simon with the good texture map and see what adjustments I could make to that outside of Poser.
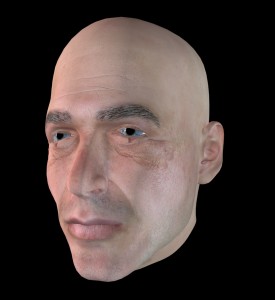
The first area I looked at were the eyes. I wanted to make them baggier and I needed the eyebrows to show some graying. I drew some simple wrinkles into a bump map and placed that into the material in 3DsMax and got the following…
The outcome was a far cry from perfect, but allowed me to see how this was going to work. So I went back to work on it. I further grayed the eyebrows, and started finding good pictures of people with strong wrinkles. This whole week I’ve felt like Dr. Frankenstein, sifting through old people to harvest their wrinkles for my own creation! I also made some minor adjustments to the heads shape itself in 3DsMax using the paint deformation modifier. This allowed me to push and pull certain areas without ruining the texture map’s positioning. Stamping wrinkles into a bump map layer in Photoshop, I wound up coming up with something like this…
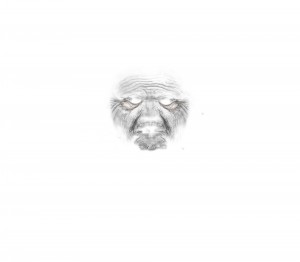 ..which when applied as a bump map to the head’s material, gives you awesome wrinkles!
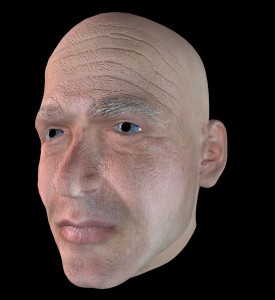
And in his latest incarnation, he has been toned down to look like this…
He still needs a little more work, but for now, I’m really happy with the aging I’ve managed to get on him. The shape changes are subtle, but they help. The wrinkles are playing off pretty naturally, and I’m really excited about that. I just need to find a few more and then I can go into futzing with the way the skin handles light.
Overall though, this has just been a really neat project. So often when we think about aging, it’s a worry, it’s unwanted. But this has been an awesome chance to just study faces and enjoy how cool some of these “ravages of time” really are. I like that our faces change over our lives. It’s neat. Someone reminded me recently that wrinkles run perpendicularly to muscle striations in the face, and looking at so many of them for so long, it feels like a very human thing. It’s like, in time we reveal our inner workings, let down the mask a little. Don’t get me wrong, I’m not exactly anxious to take on so many lines myself here yet, but they are neat. They tell a story. And aging this little digital man is really fun.
