Changes
Well today pretty much wraps the semester for me. It’s been one long and crazy stressful week, but I’ve survived it now. I need to say that part of this week’s stress comes down to a request I have received to censor certain information from this very blog. I hope to say more about that in the weeks to come, but I’m not entirely sure how to even discuss the situation at this point. I did want to say however that there are at least a few posts I will be altering or cutting outright. And I wanted to make clear that I will always be upfront about edits that happen long after initial publication. I believe that a blog like this looses authenticity when an author is constantly going back and re-writing things, changing the past. This is, at its root, a log of my experiences delving into medical art. And at present it is a log of my experiences in grad school. So it is my promise to you, my awesome readers, that any changes made or information removed will be clearly labeled as such. I also promise to keep changes to a minimum. I feel good about the work I’ve done here, and I don’t plan to go undoing it all now. Can you believe I’ve been doing this since 2008 now? It’s about to be 2011 already! Time does fly. But I have to say that this particular week, I am happy to see flap it’s little wings on by. I am ready for a break indeed!
200 Countries, 200 Years, 4 Minutes
So, this is a pretty interesting animated statistical representation of world health over the last 200 years…
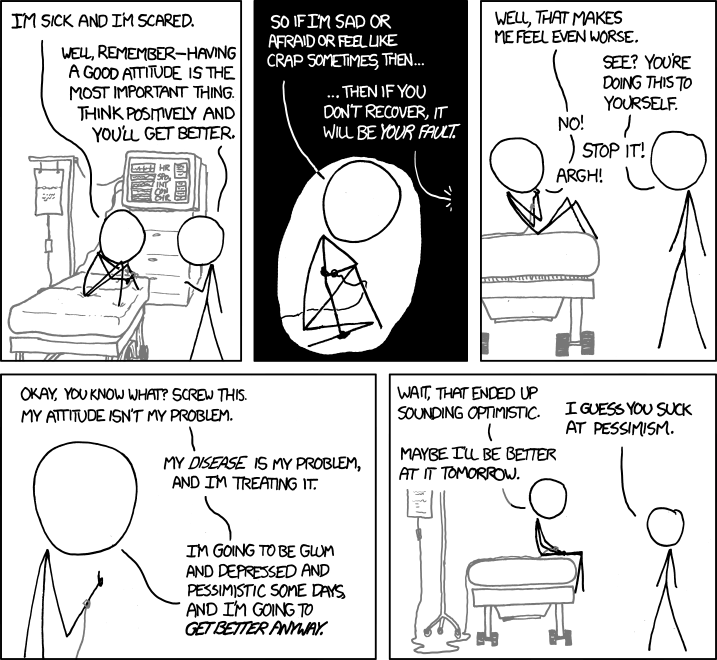
An XKCD About Illness
I just felt the need to repost this from XKCD.
It’s called “Positive Attitude”
It sounds like the author of this, my favorite web comic strip, has been dealing with some family health issues lately. Wishing him all the luck in the world, and thanks again for writing such brilliant and poignant comics.
Blood Vessel Fly Through
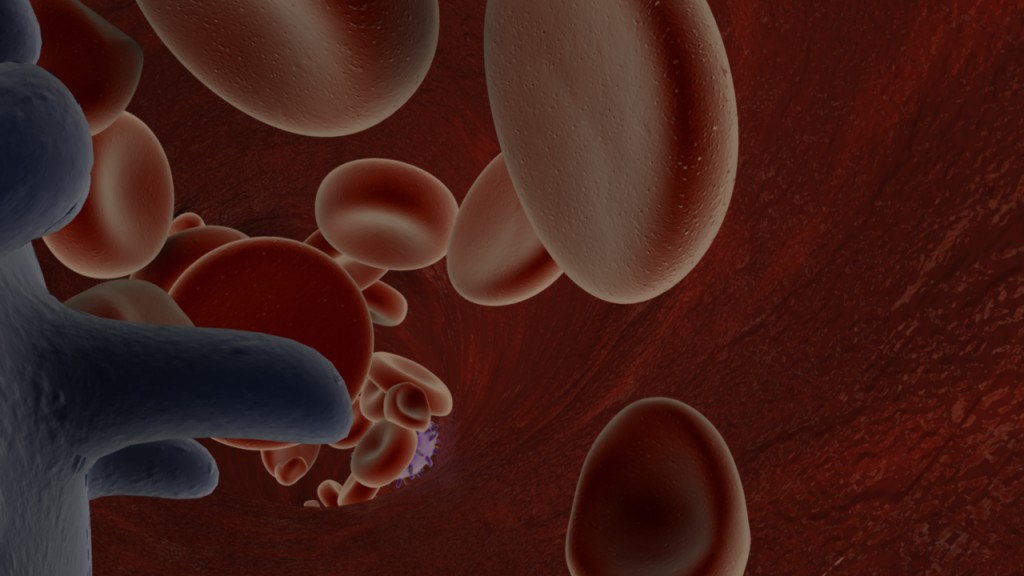
I’ve mentioned here before that I’ve been working on this blood vessel fly through animation for my first animation in Maya. Well, just last week, I got my render passes and started compositing them in After Effects. Really, this just amounted to using a standard beauty pass, and a luminance depth pass.
If you’re new to 3D animation, a beauty pass, or it may also be called your master layer, is the basic image you’re rendering out of your scene. For instance, this is frame #38 from that pass…
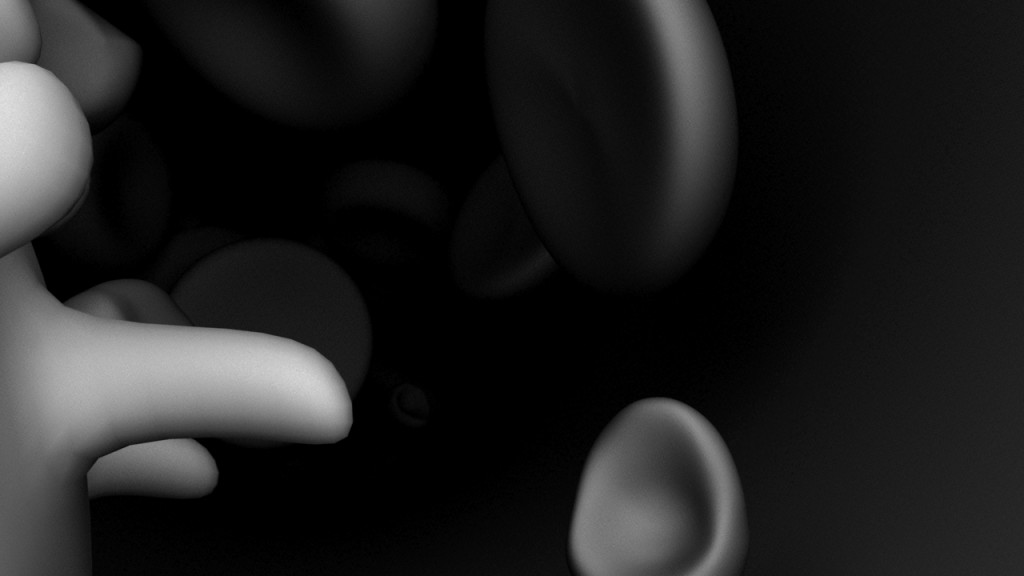
A luminance depth pass on the other hand, is a black and white gradation representing the distance of objects in your scene to the camera. In 3DsMax this is called a z-depth pass. But in Maya, it’s best to use a luminance depth pass (yet another of the subtle differences between the two programs). My luminance depth pass for frame #38 looks like this…
Using the program After Effects, you can place a luminance depth layer in your timeline. Hide it, because it’s not that interesting to look at in and of itself. And then create an adjustment layer and apply a blur effect. In my case I chose the lens blur, but I understand that there are different ways of going about this. Once you are in your lens blur settings you can point that layer at your hidden layer, and it will use the black and white gradient as a guide or mask to set the blur according to the distance of objects. You’ll have to play with your settings a bit to get it right, but I’m happy with the subtle blur I got in the background of my animation in the end.
I had also intended to use an ambient occlusion pass, but mine came out too dark to make use of it. Again, if you are unfamiliar with this idea, the principle is that your render produces images based on the proximity of objects to the camera and each other. The image is darkest where things are in close proximity and lightest where they are not. They are also lighter when they are closer to the camera and fade off into the background as they get further away. Here is my frame #38 again to better illustrate the idea…
Because my scene is so dense and crowded, much of my ambient occlusion pass just came out black, so I wound up not using it at all. If I had, I would have placed it as a layer in After Effects, turned down the opacity, and set the blend mode to multiply so that the shadows would come through just lightly over the scene.
I also put a quick title card at the beginning of the clip and then exported the whole thing as a quicktime movie. This allowed me to bring it all in to my editing software (Final Cut Pro). There I made a few final tweaks, and added sound.
And here is the end result, hosted on Vimeo. I’ve also got it up on YouTube, so feel free to take a look there if Vimeo isn’t working for any reason.
Blood Vessel Fly Through from sara egner on Vimeo.
So yeah, pretty neat! And it feels great to have the big project for my Maya class taken care of so I can focus on my other work this last couple weeks of the fall semester.
The Voracious Blogocyte
Hey look everybody; Matt Cirigliano has a blog!
http://voracious.mcarts.net/
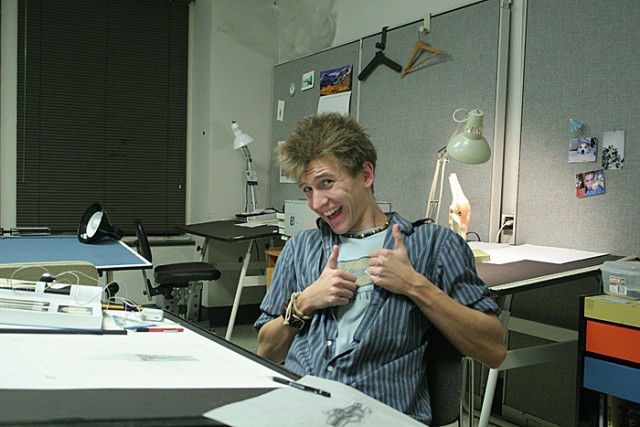
and cuing the obligatory silly photo from our first year in UIC’s biomedical visualization program…
Matt is an incredibly talented illustrator and 3D artist. Add to that the patience of a saint, and the drive to go that extra mile to make a piece really stand out. His work comes in two speeds, fun and epic. And either way you’re getting something awesome. I recommend giving his blog a read.
Dilating Artificial Eyes
Last summer I met an occularist, Fred Harwin, and got to talking about the possibilities of making an artificial eye dilate. The idea is that if you found light reactive or UV reactive pigments, that perhaps you could bring out the iris when in bright sunlight, and then that paint could disappear in darker situations thus simulating the natural dilation of an eye. Well, the other night my old friend Ian Coulter called me about some reading he had been doing to this end. I’d asked him some months back about if he’d ever come across anything like that in his years of sculpting. Nothing came to mind at the time, but he got back with me the other day with a few links of interest.
http://www.pburch.net/dyeing/dyeblog/C763608095/E20100908081145/index.html
http://www.forscher.com.br/ingles/index_ingles.htm
http://www.solarcolordust.com/Site/Products.html
Now I know, throwing down a bunch of links isn’t exactly quality journalism. But the truth of the matter is, I want to keep track of them here for later reference myself.
It seems like no one is really designing these kinds of pigments for use in eyes, but I think that even making a bright purple eye would be worth it. If it worked, you’d have something to go back to the company with and surely more natural colors could be designed. Solar Color even offers free samples if you’re ready to show off a good project. What could be cooler than this?
Making Prints
I’m going to have some prints made of that last painting of mine. I spoke with a printer today and I like this place a lot better than the last place I spoke with. It sounds like I can get good archival inks and papers with these guys, and they’re good enough to be able to look at my digital image, but also match it using the original canvas since I still have it in my possession for the time being. That’s good, since the digital files tend to come through a little bit on the bright side. The place I’m using is called Gamma Imaging and they seem to be really on top of their game.
I’m planning to sell prints for $100 each, plus shipping and handling. Each will be signed and numbered. I’m going to make this a run of twelve. Please contact me if you are interested in buying one. Here is fine, or you can contact me directly.
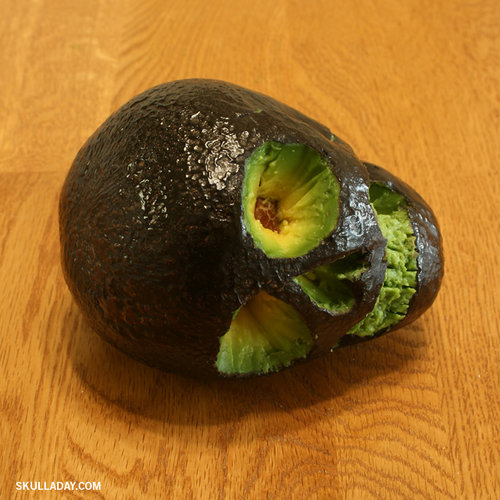
Skull a Day
Ok, I just found out there is a Skull a Day website. How delightful.
Color Test
Want to test your color acuity?
X-Rite photo posted this little quiz…
More Work On My Research Project Animation
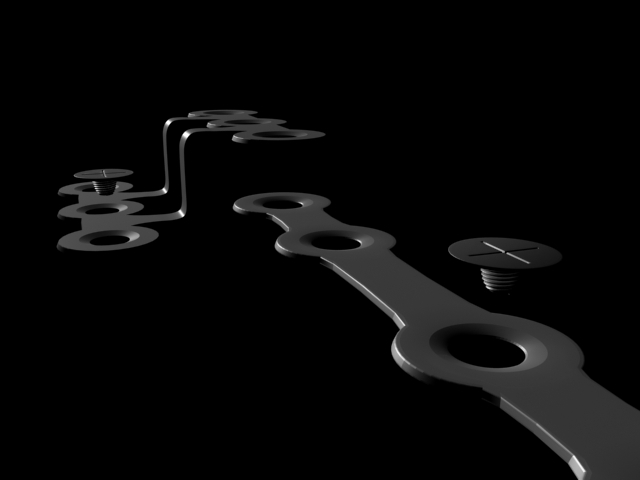
Well, it’s been a working weekend, and most of that work has gone towards my animation on orthagnathic surgery. Yesterday I got my surgical plates and screws mostly together, though they could still use a few tweaks to get out the faceting, and there is one angle in the chin plate that I would still like to soften. But mostly, this is what I’m going for.
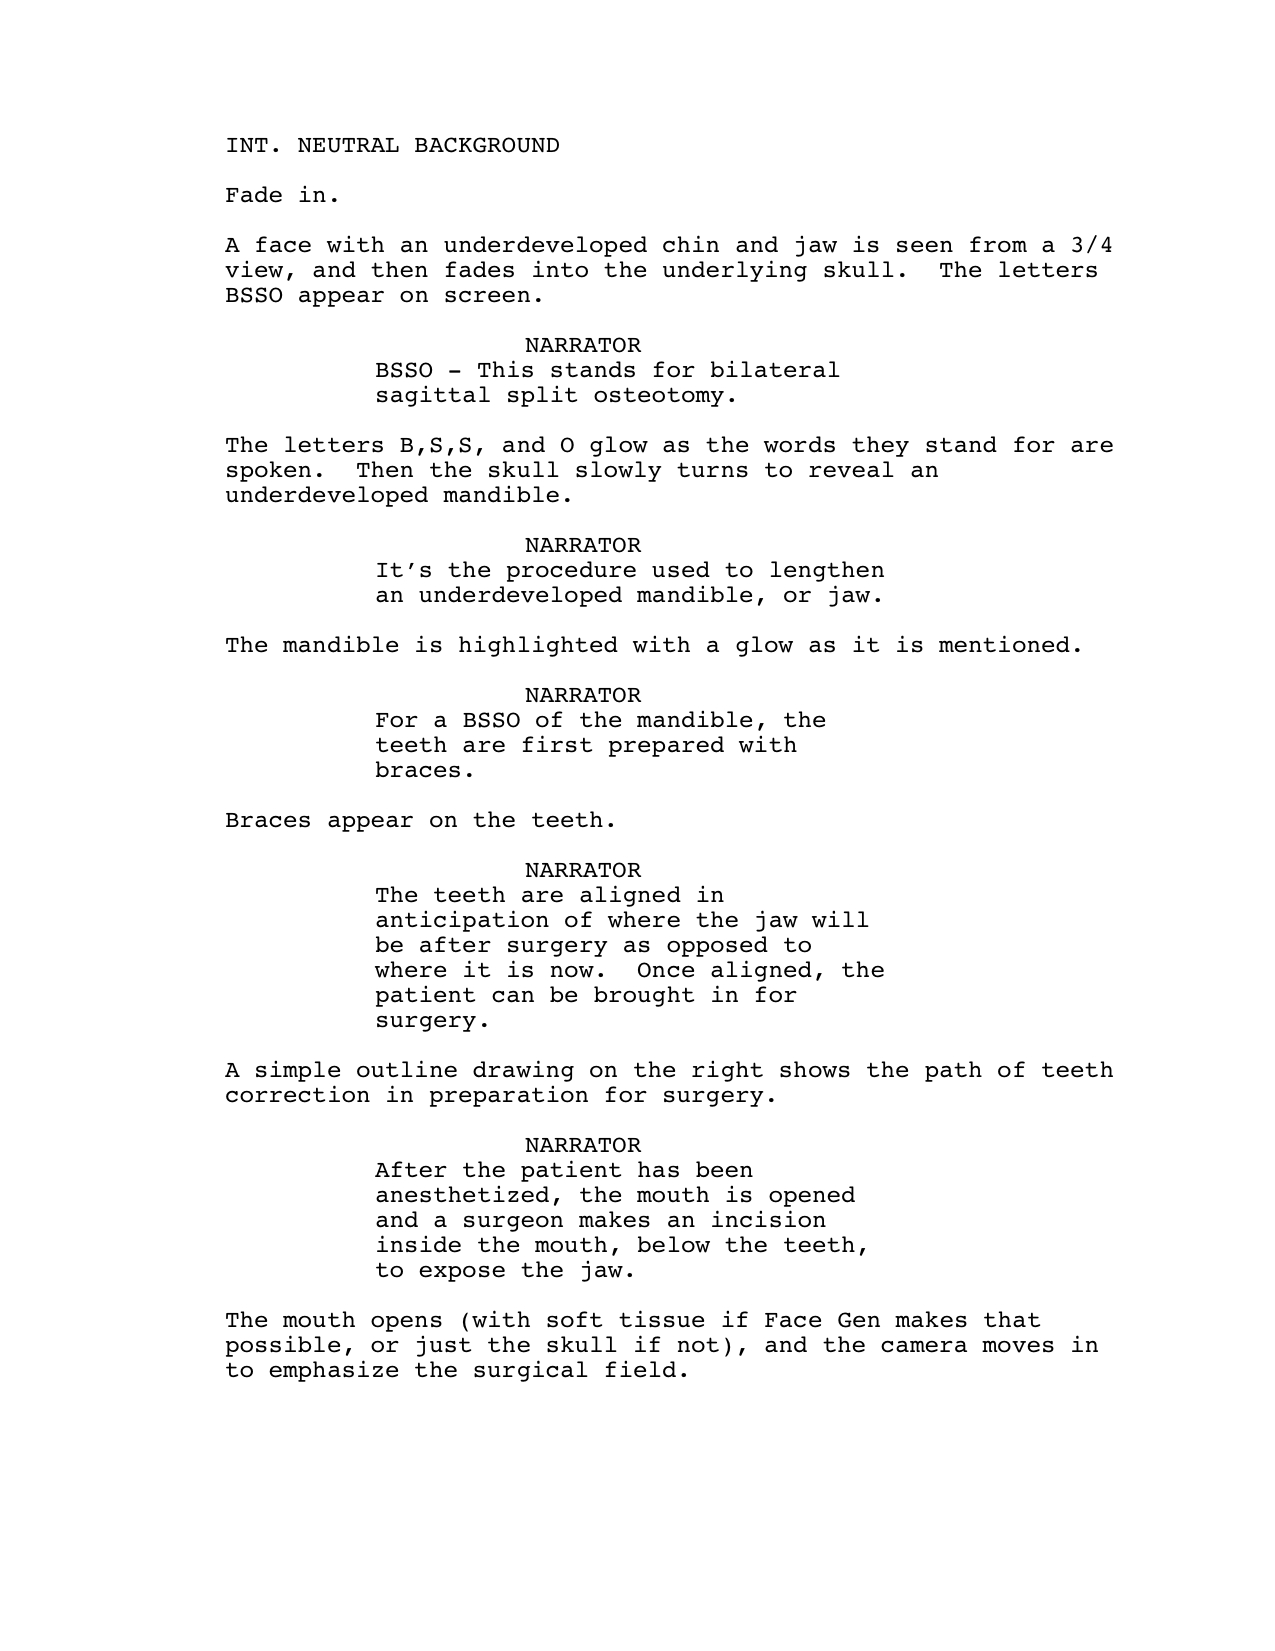
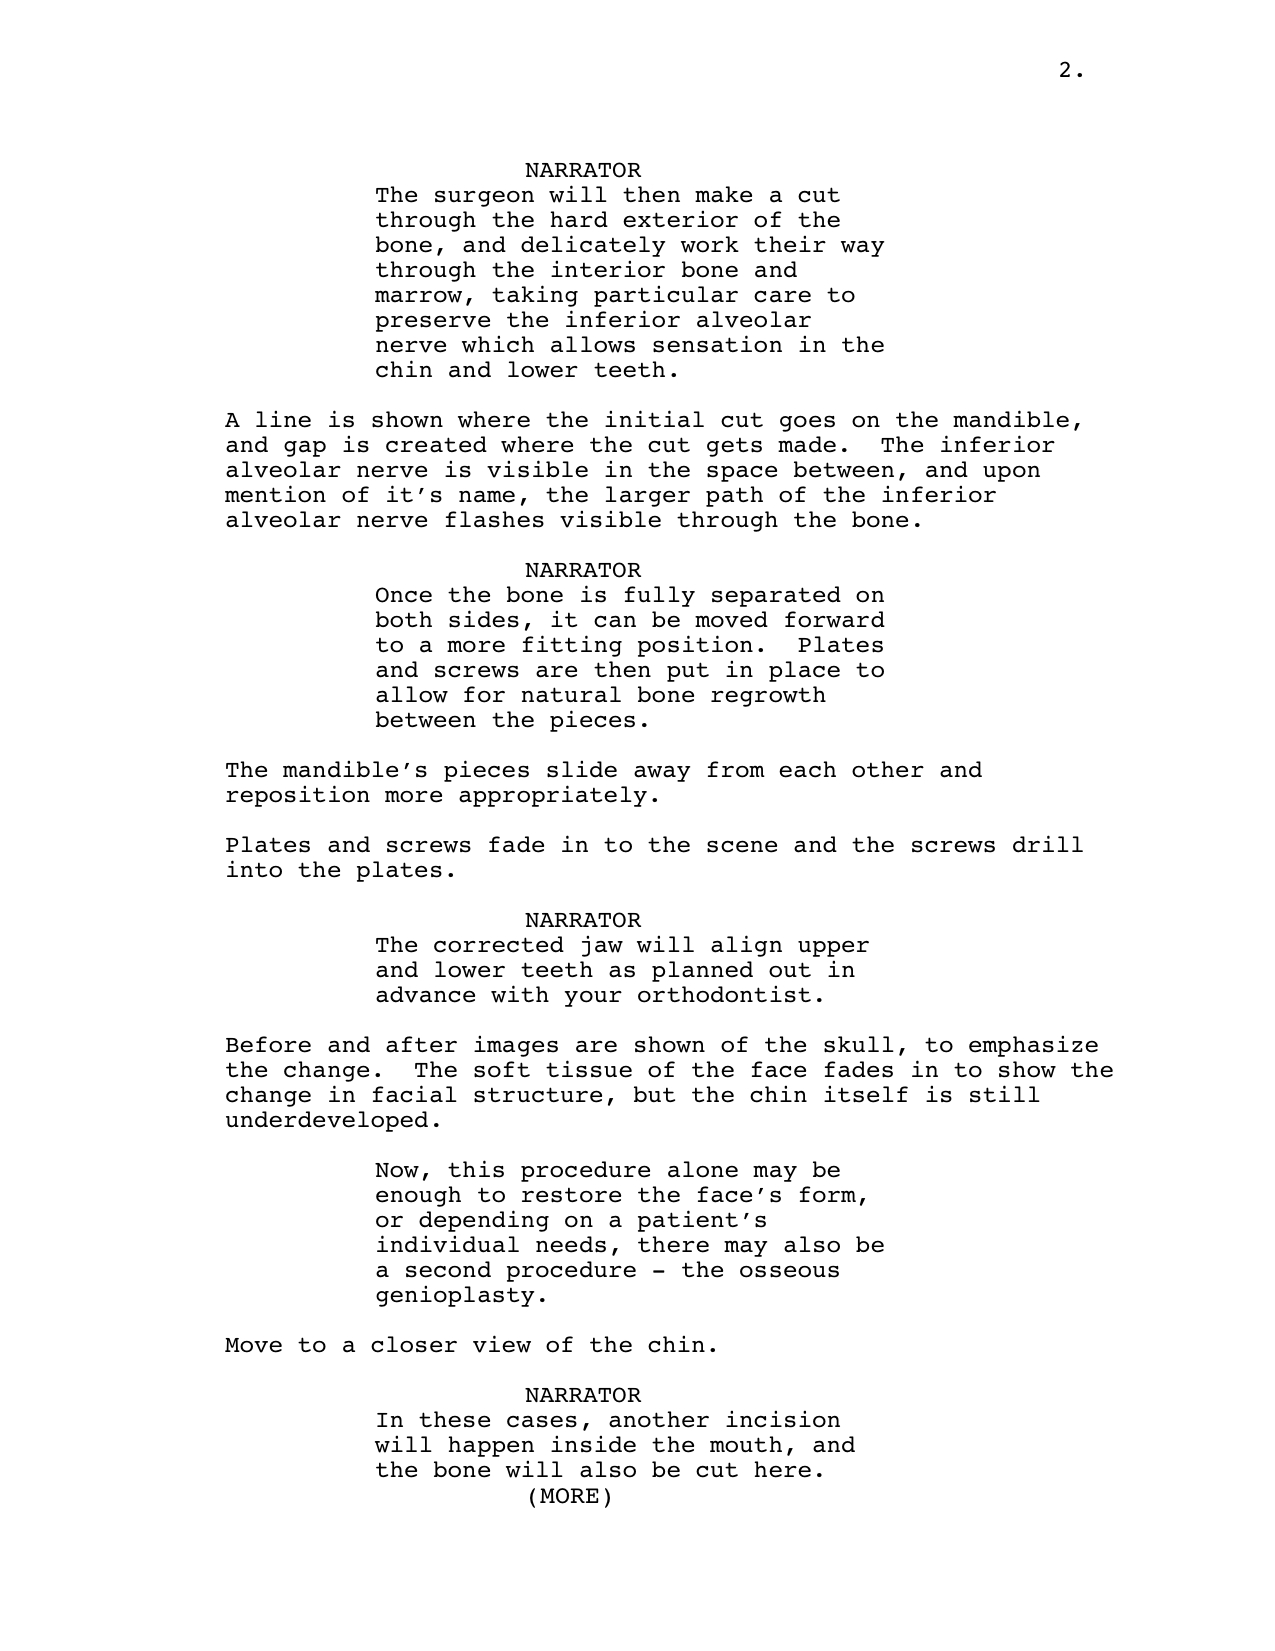
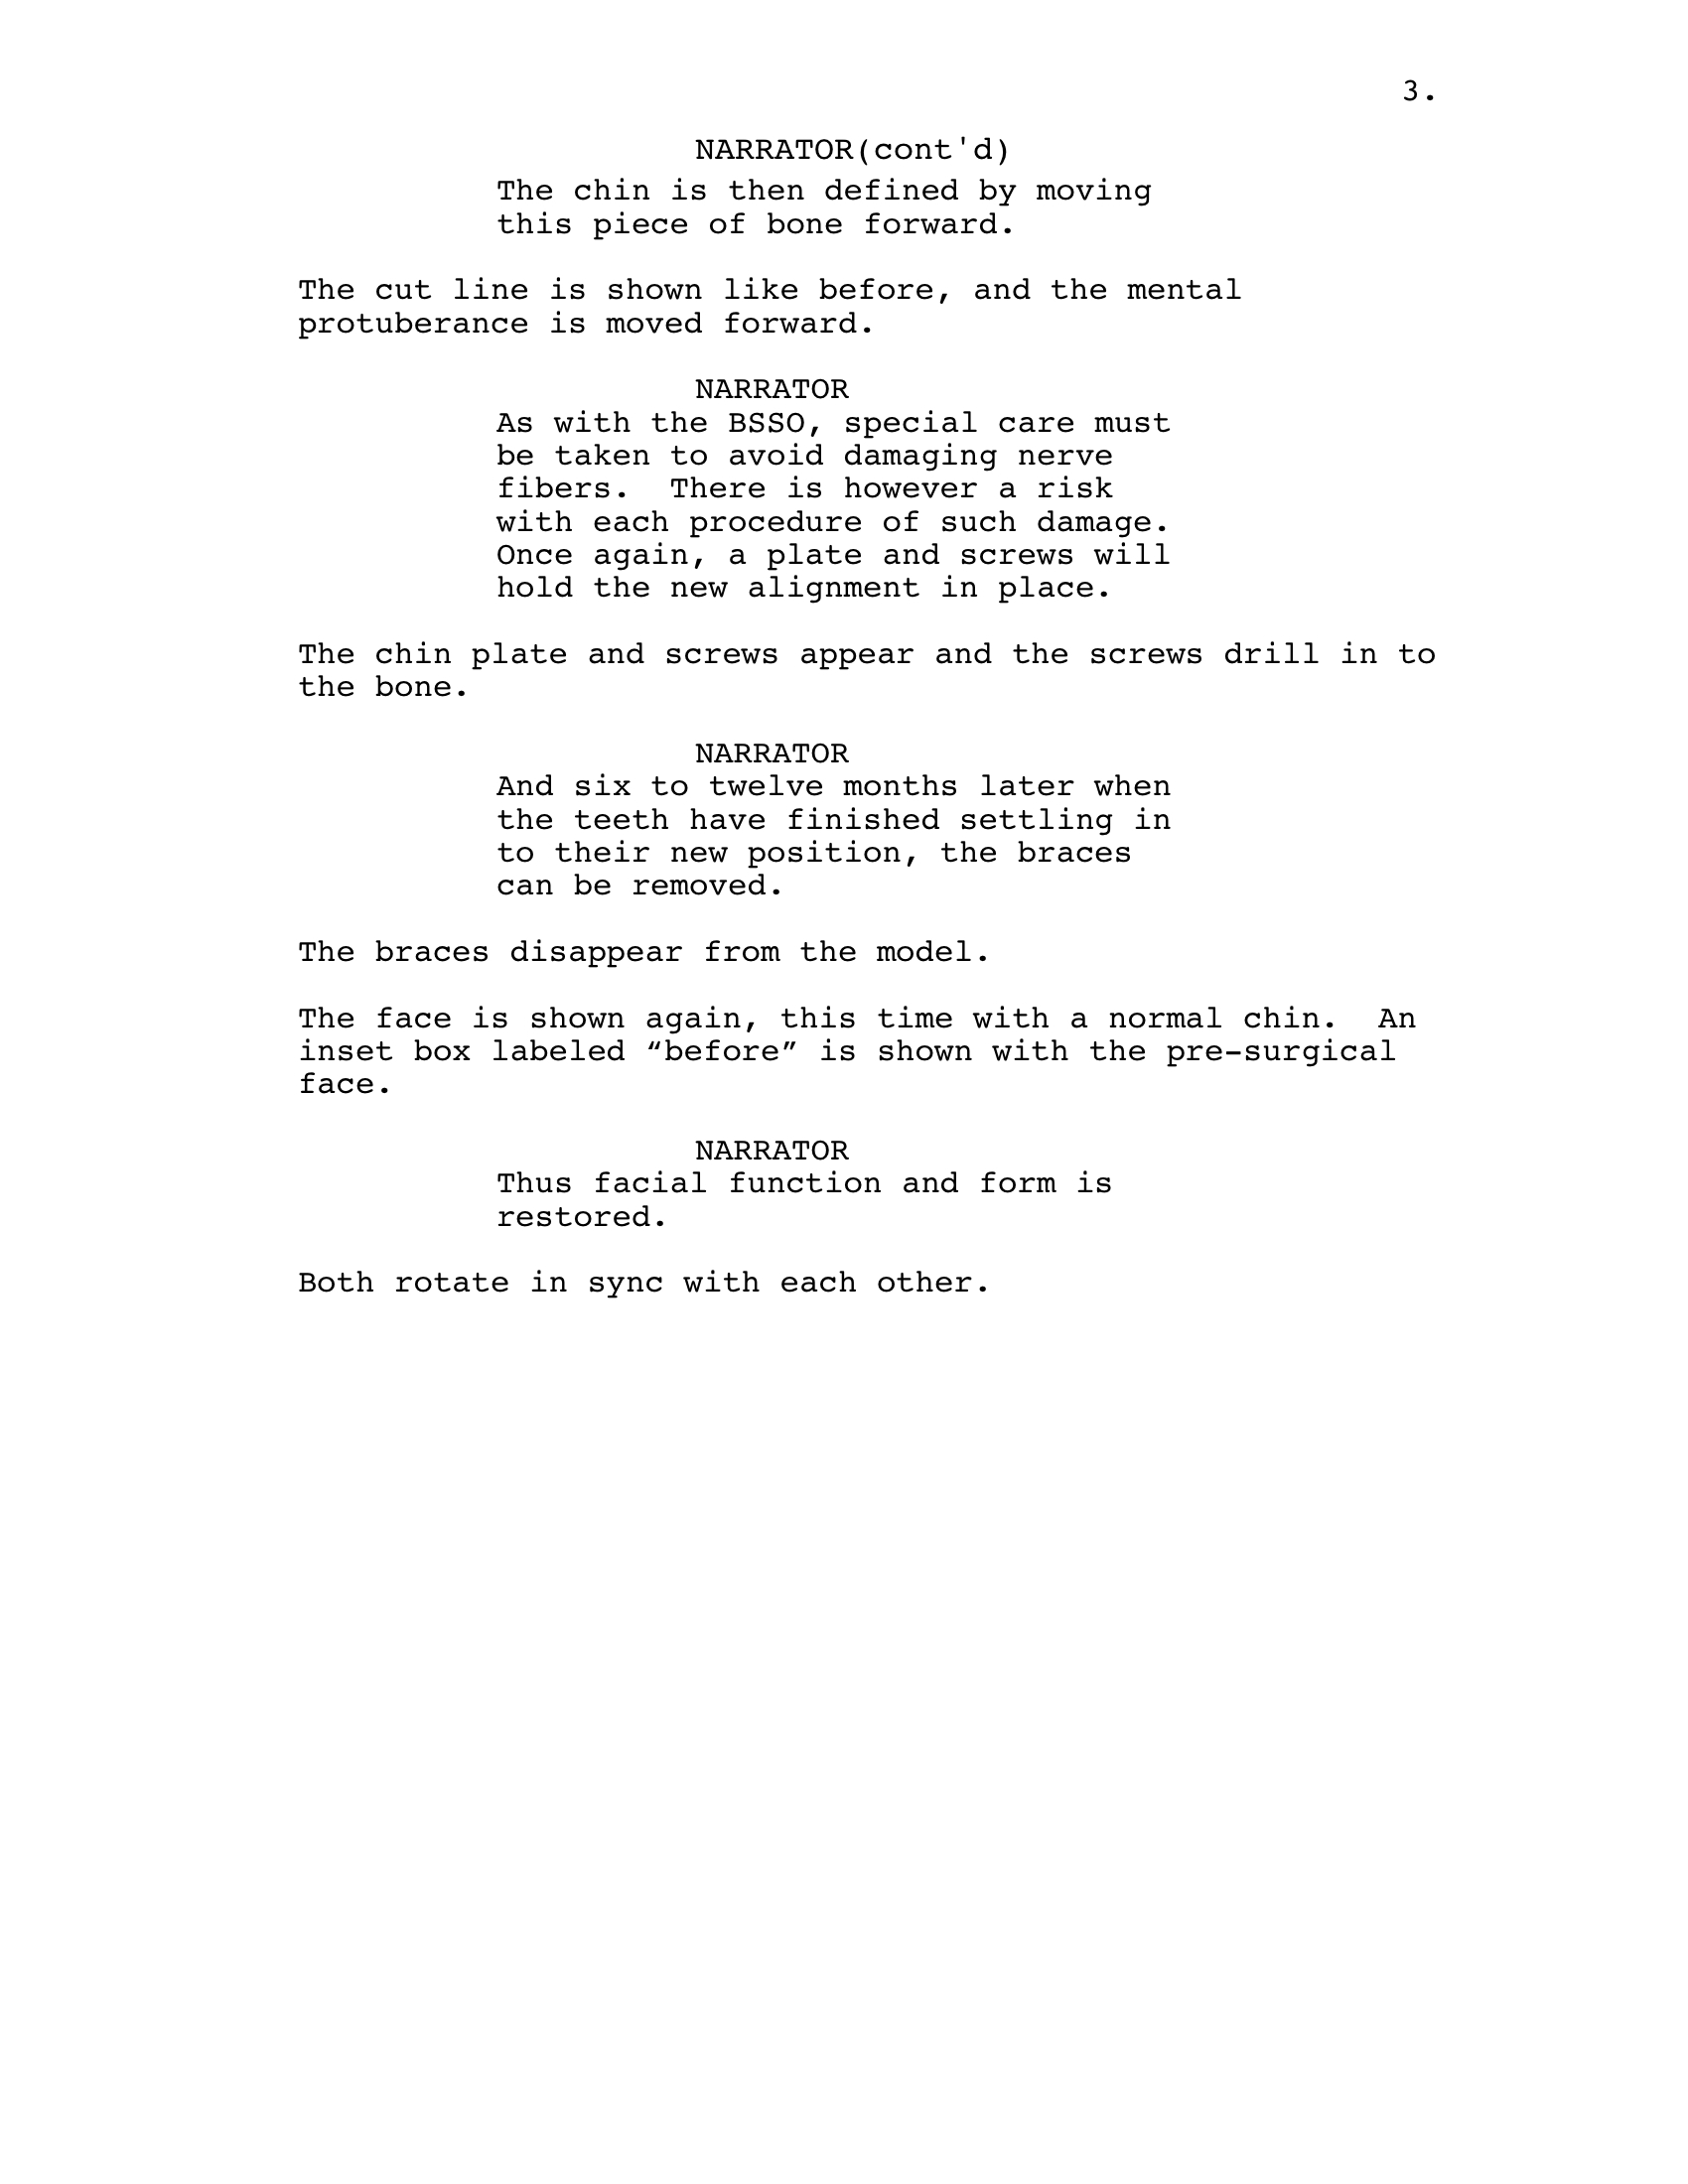
And then today I finished my re-write on the script. I’d still like to warn patients about the breathing tube and catheter, but it just doesn’t sink up with the animation visually or in terms of the type of information being given. I’m hoping that I will have time to create some kind of Know Before You Go page that can be included in the dvd, or even printed out and given to patients with the animation disk. Anyway, here is the script as it currently stands. I think it works.
