Digital Compositing of The Path Scent Takes
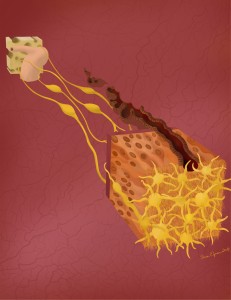
Some of you may remember the primarily Photoshop created version of my olfactory scene from my earlier post, “Just Finished! From Nose to Brain”
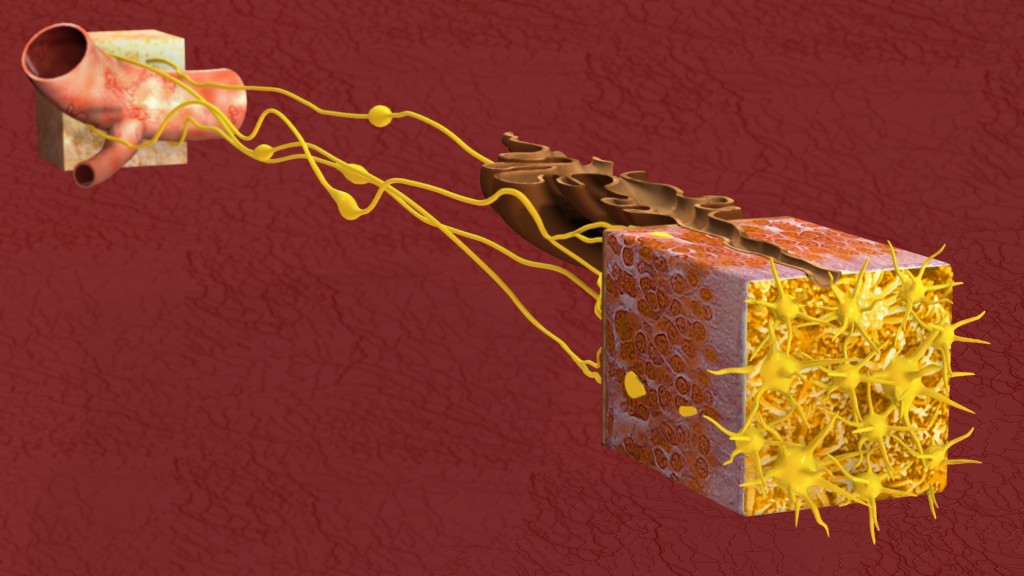
Well I have now just finished the primarily 3D developed version of the same image.
This one was created mostly in 3DsMax and then rendered out in separate passes which were then taken into Photoshop for final compositing.
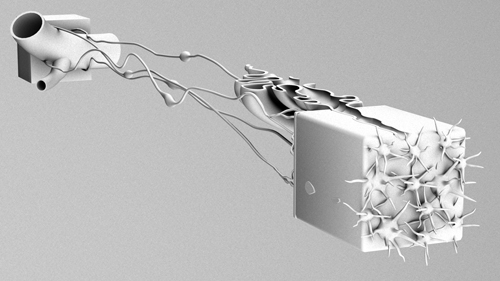
I rendered out a pass both with and without self illumination on the olfactory vessicles, and then moderated between the two versions to find the balance I liked best. I also used a specular pass, though to be honest, that really only added a little to the scene. I had an ambient occlusion pass, which if you haven’t played with those and you do this kind of work, I highly recommend trying it. Here is an example of what an ambient occlusion pass looks like by itself. By placing it as a layer on top of your image and adjusting your settings to multiply, you get a really nice shading effect. Seriously, try it, it’s awesome.
I also rendered out a pass of just the background, as well as an alpha map which I wound up using to adjust my blurring back there.
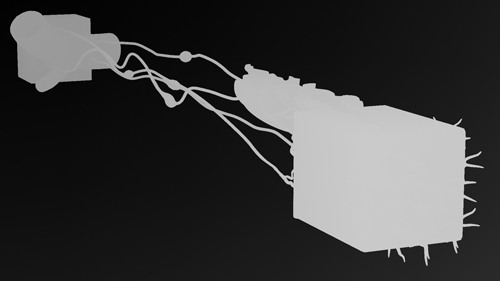
I got that blur by using a z depth pass, which allows you to create digitally the depth of field effect that comes naturally with a camera. This is another of those that is better just seen then described so I will include an image of that pass here as well.
Basically, what you do with this is apply it to a channel in your Photoshop file. Your channels palate is right there along with your layers palate. Once you have it there, you can use it to apply the lens blur filter to your entire piece. It helps if you first merge all the layers of your piece together (or ideally, you duplicate them first and then merge just in case!) The light to dark gradient in the z-depth pass indicates the proximity and distance of the objects in your scene. So long as you have your lens blur settings reading from this channel, you will be able to adjust the depth of field for your image. It’s really cool.
So put it all together and you get finesse!


