Bugs!
So, I’ve been doing a lot of work in Cinema 4D at the new job lately (with Sapling Learning), and most recently that’s been getting to make bugs and make them fly. Basically we’re animating a classic genetics example with different colored bugs, and what this has meant for me is that I’ve been able to make one of the more complex models I’ve done to date with this program in making my little bug to begin with, and then I’ve also been able to get into joints and IK rigging with the program. This was something I’d done once before in 3DsMax, but not really had a lot of experience with. The main thing I wanted the joints for was the flapping of his wings, but by giving him a spine I was able to turn his head and body a little as well and the little guy that much more life.
I had some difficulty for a while with getting the joints to work correctly. I wasn’t able to use any of the templates, so in the end I just used the joint tool and ctrl-clicked my way through the construction of wings. You then go through and place the IK chains which will define how your object moves as a whole. Cinema 4D will automatically assign your object a skin tag which will allow you to get more natural looking movements. To set up the wings I used a linked symmetry in modeling the joints. It was great for modeling, and for recording the keyframed animation of the wings flapping, but that later proved problematic when I tried to move my bug around the scene.
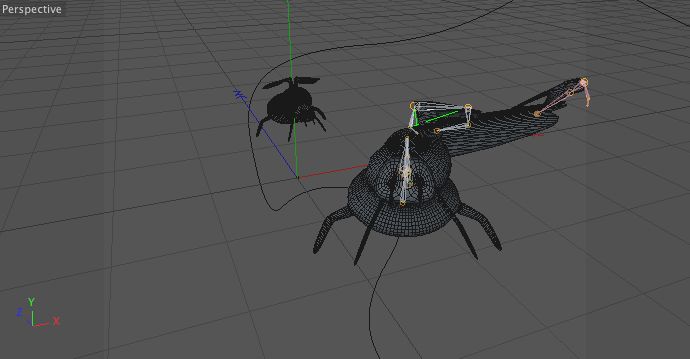
What you’re seeing there is my poor little bug’s right wing being pulled off as he moves away from the Z axis in an attempt to keep that linked symmetry across that axis. Naturally I was convinced that I’d made a huge mistake and there was no getting out of it without undoing at least a day’s work. But it wasn’t the case. As it turns out, when you select the individual joints themselves that are doing the mirrored symmetry, you find a tab that allows you to adjust that symmetry. And because my model had a spine, I was able to change the symmetry from world to object and select a joint in the spine as that object. So I didn’t loose my joint structure, or even my keyframing of the flapping.
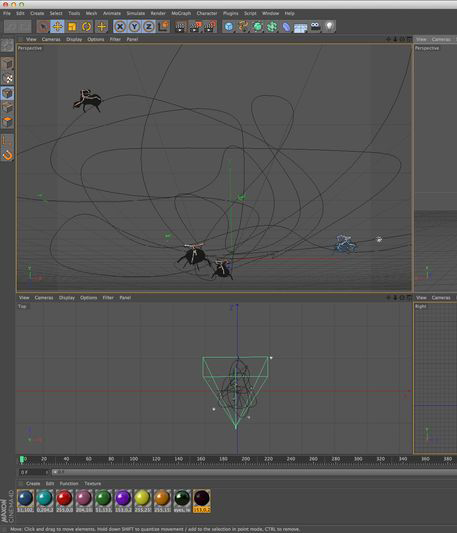
Being free to roam a 3D world again, I was able to make copies of my bugs and draw splines for them to fly along. In the end it all looks and feels a little like designing a roller coaster.
It’s strange, modeling in so many layers. Conceptually I sometimes have difficulty getting my head around moving the skeleton and taking the bug with it, vs moving the geometry, or the hypernurb or skin itself. It’s easy to get confused (well, it is for me anyways). But I have to say that I think there is something to all these rumors of Cinema 4D being more intuitive than other competing programs. Sometimes things just work.
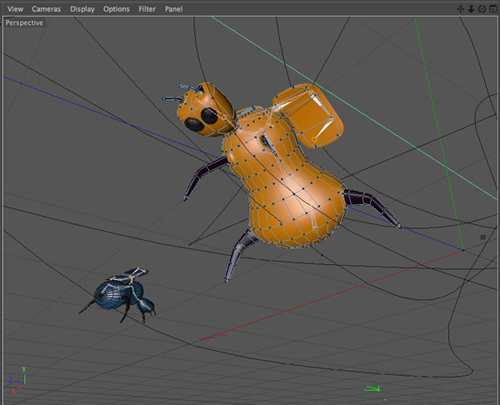
Oh, and one last note for all the rookies out there like me… My art director suggested a couple changes, one of which was giving my bugs some eyes when she saw what I had going. So I did, but had a little trouble with them falling right back out of my bug’s head when they would fly. There was no binding or boolean that was quite going to get me around this. But having that spine in place saved me again. I made the eyes a child of the last joint that controlled the head’s movement and that did the trick perfectly.
I’m pretty well on to After Effects with it all at this point (time to make it pretty, and also bring the focus back to making it a clear and understandable example of the principles it was created to display in the first place), but I just wanted to get a few notes down here as to process and getting unstuck as problems come up. I’m finding that whether or not any of you readers are using this blog to work your way out of tricky spots in animating, I seem to be coming back to it to remind myself of things more and more.


