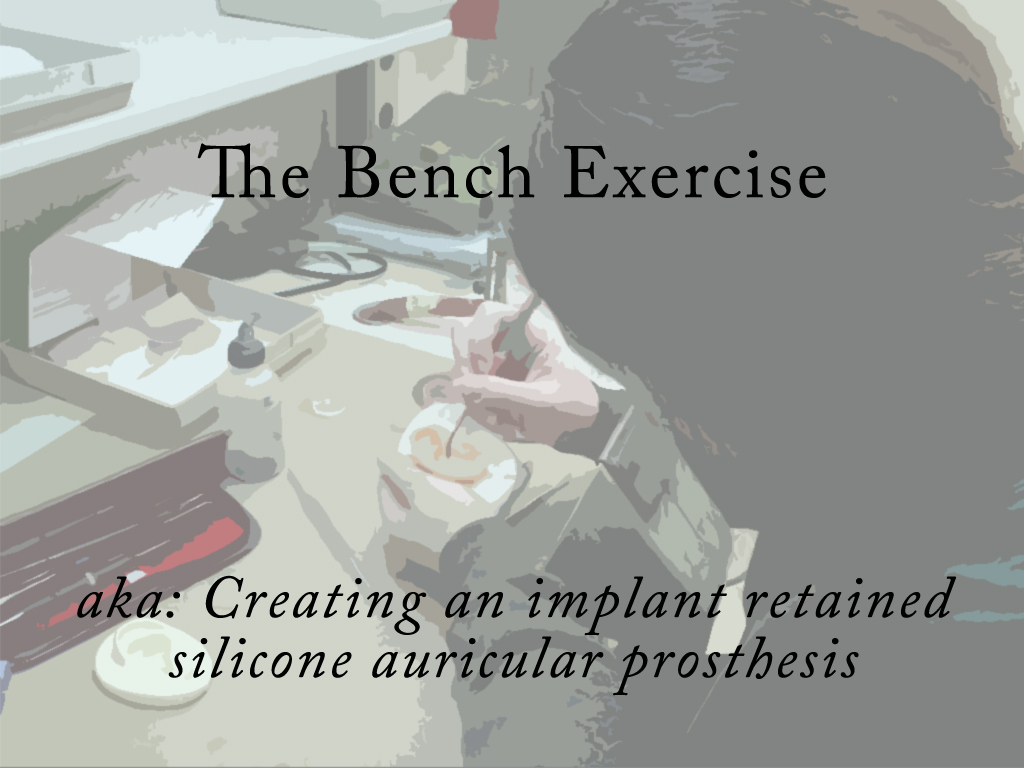
Creating an Implant-Retained Auricular Prosthesis
Doing a little organizing of images over here tonight. I’ve been in full on shutterbug mode around the clinic this month, and now it’s time to go through all those images for the presentations we are giving on Monday. Once again, it’s a Power Point format, and once again I find myself wavering between a lot of text on the screen and being more image based.
The presentations we are giving are all with regard to a bench exercise we recently did wherein we created an auricular prosthesis with acrylic substructure and clips for implant retention.
For this one we started with an assigned treatment side impression from a patient, and a cast ear from a patient. The cast ear was scanned with the laser scanner, and then milled into hard blue wax using a CNC milling, or rapid prototyping, process. A vacuuform impression was then made from the blue wax model and we all individually poured hot wax into the form to create a working wax model of the shape for ourselves.
We also each poured casts reflecting the treatment side of a patient, and used these as bases on which to sculpt. We were given clips, like those that a patient would use to attach a prosthesis if they had implants, and these were positioned along the stone bar replica of the treatment side casts. And we were asked to create a light cure acrylic substructure to join these clips and provide stability to the prosthesis on the whole. The working soft wax from the vacuuform impression was positioned on to the stone cast over the substructures that we created and fit individually to that positioning.
The sculpture was then perfected using a variety of sculpting tools, made smooth, and then lightly textured.
From this sculpture a mold was made. First we cut keys into the stone cast itself. Then the outer edges around the cast were boxed up (given walls.) Then with a separator covering the stone (I believe in my case I used liquid foil), we poured new stone to fill in the space behind the back of the ear. We only poured to the helical rim (outer edge of the ear) to prevent undercuts in our mold later. Once this stone had fully set, I was able to cut keys into that layer, and cover the new stone with liquid foil as a separator. I then mixed and poured new stone to create the top of my mold.
Once all aspects of the mold were set, it was time to melt the wax sculpture inside. It’s always a little bit nerve wracking doing this, because you’re melting away the part you worked on the longest. But you need to remove the wax completely and even steam or boil out any wax residue before you can go on to the next step.
With a clean mold, and with some kind of separator in place (I believe this time I used Colombia Model Gloss), and a properly prepped acrylic substructure (the substructures must first be cleaned with acetone, and then coated with a primer and let to sit for half an hour) you can pack your mold. I chose to match my colors to a photo I found on the internet. I started by painting in my red glaze, as is customary. I then moved on to plant a couple freckles, and place some vasculature using colored yarn. I painted a tan glaze in along the areas of the ear most kissed by the sun, and a cartilage glaze in the areas where the cartilage is right against the skin and lightens the color, and a shadow glaze into the crevices and places that often appear darker in an ear. Finally I poured my base silicone into the rest of the ear and closed the mold with the acrylic substructure attached to the bar.
In my case, I allowed my silicone to sit and bench cure over the next couple days and didn’t actually put it in the oven until later. It is my understanding that they acrylic will not bind with the silicone without some time in the oven, so I didn’t want to skip that step later, even though the silicone had most likely fully cured by then itself.
When I opened the mold, there was a lot of run off, or flashing, to trim off of the silicone everywhere the mold’s pieces came together. I also cut a whole where the ear would naturally open to provide hearing. Most patients can still hear at least somewhat despite not having the external features of an ear, so generally an auricular prosthesis provides an opening to allow sound to travel.
I think the trickiest part in trimming was trying to get around the clips in the back. I think this will become easier as I get better with razor knives. I certainly hope so anyways.
I did some last minute extrinsic coloring using the A-564 silicone. I used the technique where you sprinkle powdered sugar over the silicone while it is still wet and allow it to cure that way only to wash the sugar off later and keep the texture it’s left behind. This prevents the prosthesis from being overly shiny by breaking up the surface subtly.
All in all, I think that the ear looks pretty good. I would post a picture, but I’m not sure we can given that the original shape did come from a patient, even if the coloring didn’t. So you’ll just have to believe me when I tell you of its finesse 🙂
Anyways, that’s the process more or less.
