Archive for the ‘3D’ tag
Roger Ebert’s Blog
So, I was reading an article about 3D cinema and thought I would post it here. It’s an argument against the survivability of 3D as a medium as put forth by Walter Murch, author of In The Blink of an Eye, and editor of such films as The Unbearable Lightness of Being, Apocalypse Now, and The Godfather. I saw him speak once, when I was an undergrad in film school back in the 90s. He had just finished working on Cold Mountain and he was fascinating to listen to. Truly, he is one of the Hollywood greats, known both for his editing, but also specific attention to sound design.
The article is here.
http://blogs.suntimes.com/ebert/2011/01/post_4.html
Then, as I was reading, I realized that this was Roger Ebert’s blog. We heard last week that Roger Ebert had written something about the prosthetic chin he recently had made, and specifically mentions UIC’s very own Dr. David Reisberg. It’s a really nice little article, and cool to see such a story written from the patient’s perspective.
http://blogs.suntimes.com/ebert/2011/01/after_surgery_i_studiously_avo.html
So thank you Roger Ebert, for the excellent blog. And I guess this post can be tagged with both 3D and anaplastology!
Rapid Prototyping
One of the things that has been particularly emphasized in my anaplastology training is the usefulness of rapid prototyping. Wikipedia defines rapid prototyping as “the automatic construction of physical objects using additive manufacturing technology.” My own understanding has always been that it includes both additive and subtractive manufacturing. Either way, you get to essentially print out 3D objects from a file, and that’s pretty cool.
For clinical usage, this is particularly helpful alongside a laser scanner. If you have both, you can scan in casts made from impressions taken from patients, alter them digitally, and then print out the altered models for use in your own physical creation. The catch is that technology is expensive. The party line has traditionally been that rapid prototyping in particular is expensive. But the touch of awesome is that those prices seem to be coming down.
At the clinic we have a CNC milling machine. It’s a big deal. Maybe just a year ago the clinic was featured in the news and that very machine was photographed to represent our cutting edge technology. And it is useful in what we do.
Just a few weeks ago I was visiting Texas, and an old friend mentioned a 3D printing company where you could send your own files for manufacturing, Shapeways.com. They charge by the square centimeter. And it’s affordable enough for my friends to be using it to make game pieces. That’s clearly not as practical as having your own machine, but it does show a movement in accessibility.
Then just last week someone was posting an article from Cornell University on the AMI list about how 3D printing may soon be a household capability. I have to think that whether or not that is the case, clinically at least, this technology is about to be very accessible. I’m glad that we are learning to use it now.
Of course all that being said, I haven’t heard a word about laser scanners coming down in price yet. But knock on wood, it’s bound to happen too. And I, for one, know a thing or two about digital manipulation. All of my animation software is directly applicable to just such work.
This is something that I can do.
Blood Vessel Fly Through
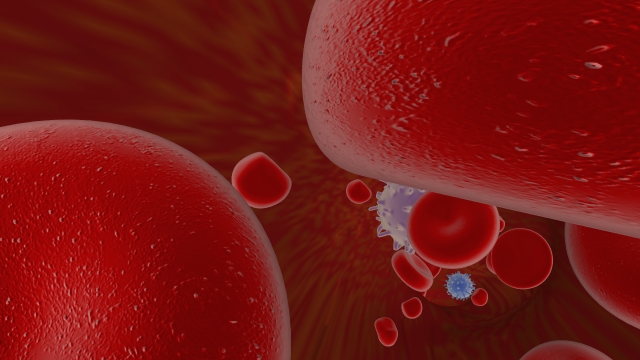
I’ve mentioned here before that I’ve been working on this blood vessel fly through animation for my first animation in Maya. Well, just last week, I got my render passes and started compositing them in After Effects. Really, this just amounted to using a standard beauty pass, and a luminance depth pass.
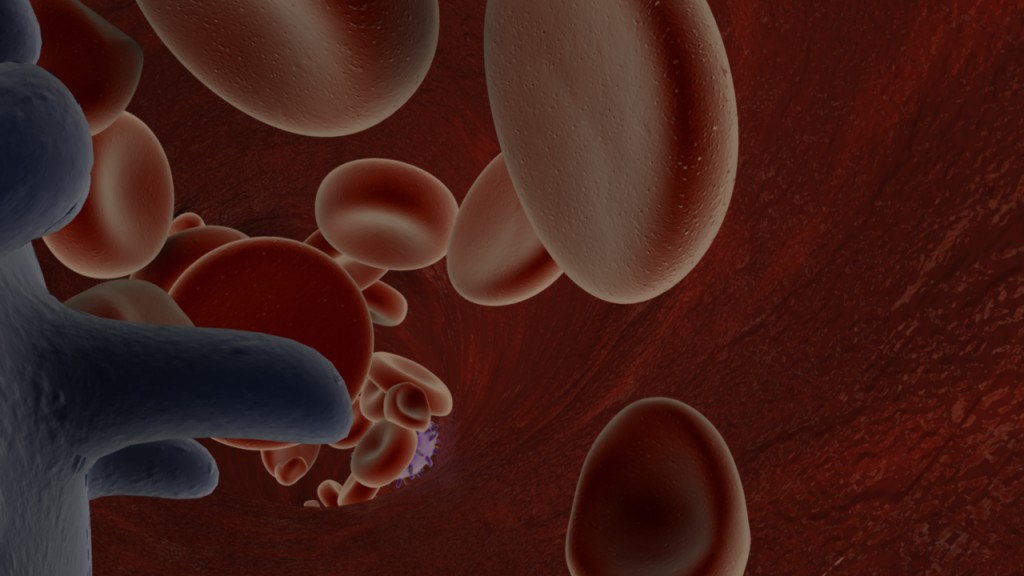
If you’re new to 3D animation, a beauty pass, or it may also be called your master layer, is the basic image you’re rendering out of your scene. For instance, this is frame #38 from that pass…
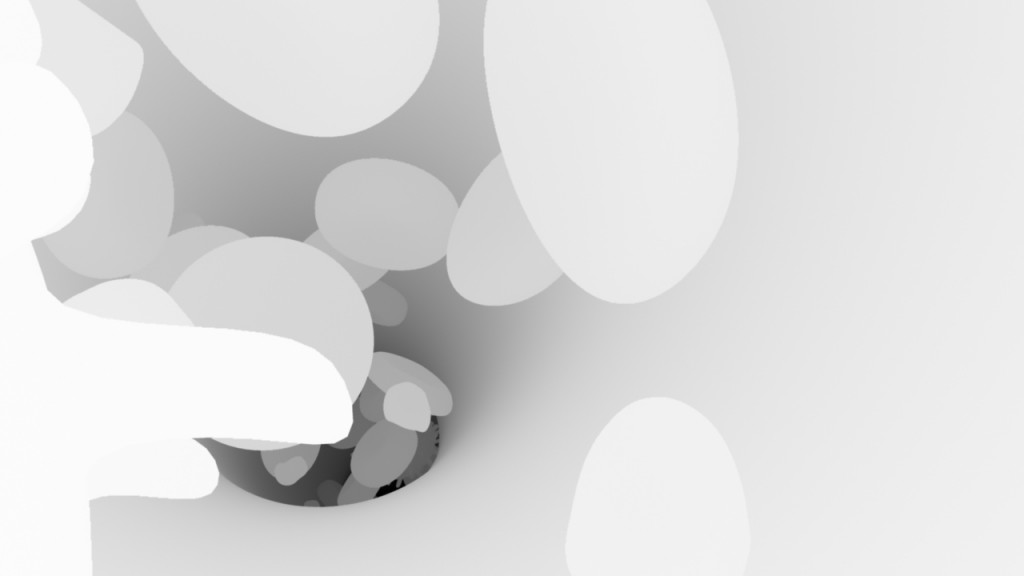
A luminance depth pass on the other hand, is a black and white gradation representing the distance of objects in your scene to the camera. In 3DsMax this is called a z-depth pass. But in Maya, it’s best to use a luminance depth pass (yet another of the subtle differences between the two programs). My luminance depth pass for frame #38 looks like this…
Using the program After Effects, you can place a luminance depth layer in your timeline. Hide it, because it’s not that interesting to look at in and of itself. And then create an adjustment layer and apply a blur effect. In my case I chose the lens blur, but I understand that there are different ways of going about this. Once you are in your lens blur settings you can point that layer at your hidden layer, and it will use the black and white gradient as a guide or mask to set the blur according to the distance of objects. You’ll have to play with your settings a bit to get it right, but I’m happy with the subtle blur I got in the background of my animation in the end.
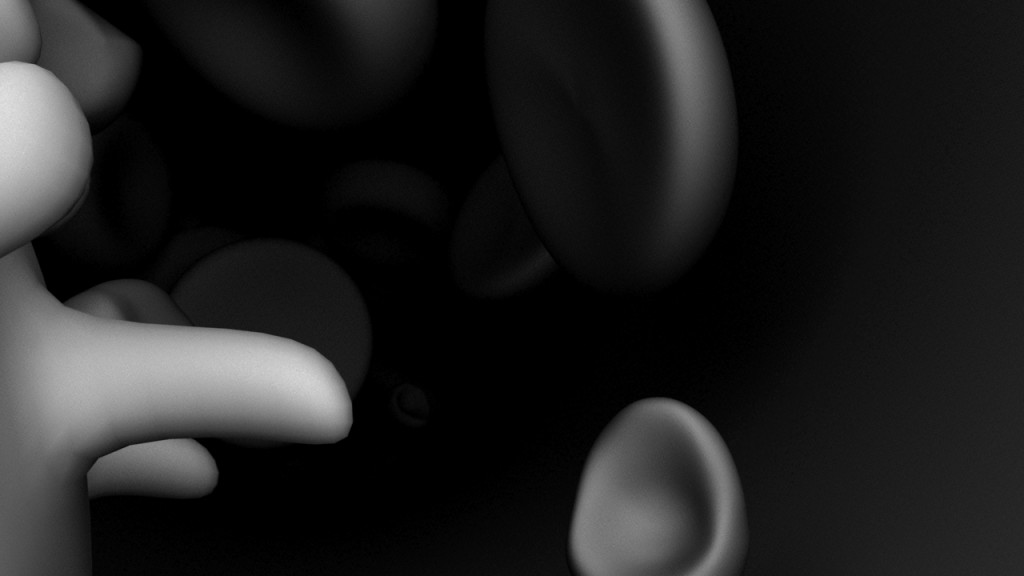
I had also intended to use an ambient occlusion pass, but mine came out too dark to make use of it. Again, if you are unfamiliar with this idea, the principle is that your render produces images based on the proximity of objects to the camera and each other. The image is darkest where things are in close proximity and lightest where they are not. They are also lighter when they are closer to the camera and fade off into the background as they get further away. Here is my frame #38 again to better illustrate the idea…
Because my scene is so dense and crowded, much of my ambient occlusion pass just came out black, so I wound up not using it at all. If I had, I would have placed it as a layer in After Effects, turned down the opacity, and set the blend mode to multiply so that the shadows would come through just lightly over the scene.
I also put a quick title card at the beginning of the clip and then exported the whole thing as a quicktime movie. This allowed me to bring it all in to my editing software (Final Cut Pro). There I made a few final tweaks, and added sound.
And here is the end result, hosted on Vimeo. I’ve also got it up on YouTube, so feel free to take a look there if Vimeo isn’t working for any reason.
Blood Vessel Fly Through from sara egner on Vimeo.
So yeah, pretty neat! And it feels great to have the big project for my Maya class taken care of so I can focus on my other work this last couple weeks of the fall semester.
Maya – learning about textures and lighting
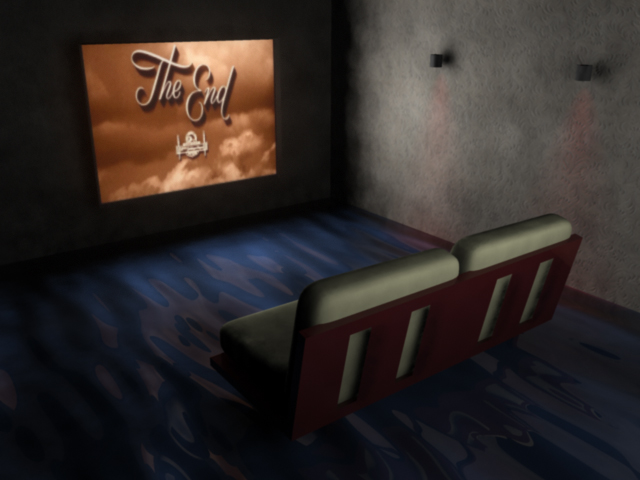
Been working with lighting and textures lately in Maya. Inevitable technical frustrations aside, some of this stuff is actually pretty cool. This particular scene is lit (with the exception of two small low intensity red spot lights against the wall) completely with planes textured with a surface shader. The surface shaders were turned up to white and then the value increased in the settings until the texture itself (and thus the plane) was actually projecting a nice white light. The planes themselves have their primary visibility turned off within their render stats. One is just in front of the glowing screen, and the other is behind the room to cast light as if it were coming from another room or area.
You’ll also notice the use of an ocean shader for the flooring. I mean, who wouldn’t want a home entertainment den that was also it’s own fountain or pool? This is just simple use of the ocean shader that comes with Maya. You can pick your colors. I grabbed reflective colors from around the room (particularly the movie playing, which by the way is the last frame of The Wizard of Oz – in case you were curious.)
Sometimes it’s fun doing things that aren’t anatomical at all.
Through a Blood Vessel
Last week I finally managed to export a playblast from Maya of my blood vessel project. It’s nothing too impressive at this stage, but I’m liking the roller coaster ride feeling of it…
Here are a few stills to give you a better idea of what the final render will look like…
I recently decided to end the ride with the blood cells being pulled off course up into a blood clot. Seemed like a fitting end to the journey. But I’m currently having some difficulty with rendering images that use a jpeg in the color channel. I’m still not certain if this is a matter of my laptop’s capabillity or some limitation of the Maya Hardware renderer which has allowed me to do some other tricks with my textures that I really don’t want to give up. Anyway, here is a screen shot of that final clot area as it stands now.
I still need to model some fibrin in there to really say blood clot, but the rendering difficulties have made it very difficult to do anything lately. I’m trying to change up the texture of the vessel walls themselves as well. Fingers crossed for awesome results!
New Tricks For Me in Mold Making
Recently I had the opportunity to learn about a different kind of mold making. In my modeling classes at school, we have worked in plaster, and constructed 3-part molds for prosthetic ears. This time I got a glimpse into some different tactics and materials for mold making with sculptor, Ian Coulter.
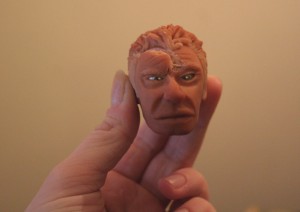
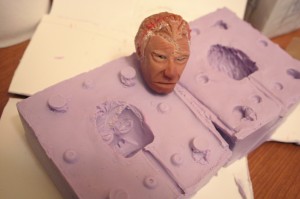
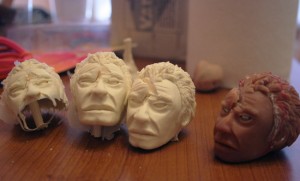
The first thing was finding something to copy. After a lot of sculpting and striving for that perfect thing to replicate, we decided to take something old and flawed, and really push the limits of what we could get. So we picked an old sculpture I had done of Norman Mailer, my first likeness, which minutes after baking I managed to slam a lid onto and crack open.
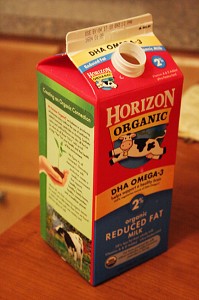
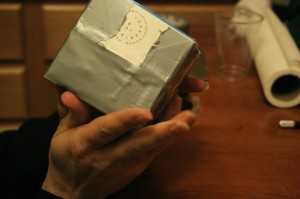
The next step was making a box to house the mold. For this we started with a milk carton.
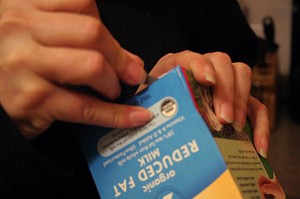
I am told that some people go to a lot of trouble to build wooden boxes for this purpose, but the wax paper used in your basic carton seems to do the trick just fine. So we got to cutting this one open.
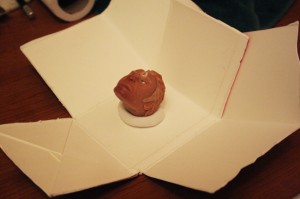
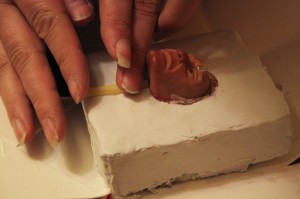
Once cut open into a foldable box, the sculpture gets placed onto a soft round ball of molding clay. We called this ball the base.
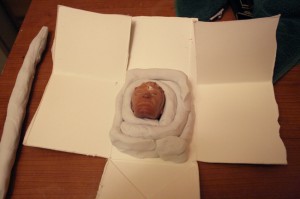
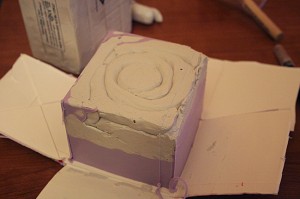
We then went ahead and drew a line around the point to which we intended to build this half of the mold. And then we made long snakes out of the modeling clay and began wrapping outward to fill that half of the mold.
We used smaller snakes right around the sculpture, and larger snakes as we reached the edges of the box. Using the snaked shape helps later when you have to get all this stuff back off again.
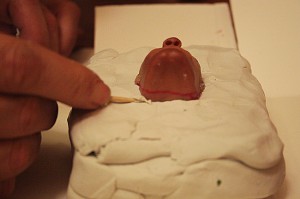
The clay will then be smoothed out to prevent the rubber from seeping down into the cracks when it gets poured later.
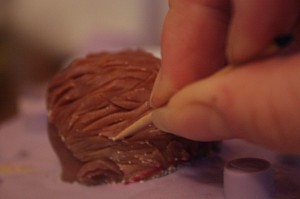
A toothpick makes a good tool for cleaning up the area right around the sculpture itself.
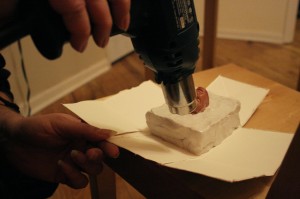
A heat gun makes a good tool for melting the fingerprints out of the clay and getting things extra smooth.
Keeping the surface of the clay smooth is important because this will become the surface between the two rubber halves of the mold later on, and any divits or scratches could potentially become mechanical adhesives and cause problems with opening and closing the mold later.
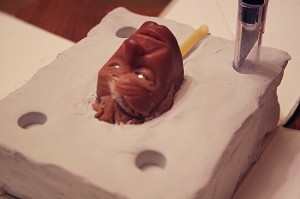
Next it was time to think about where we would be pouring in to. We chose the base of the head because it had less detail than the face or hair and therefore could be sanded off if need be later.
We cut a straw and placed it to create this space.
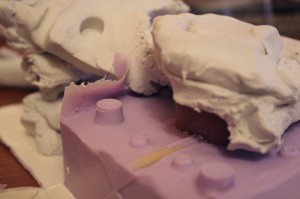
Using the cap of my X-acto knife we set up four primary keys around the piece.
We used a sharpie to set up some lesser keys as well. The important part about this part is ensuring that these indentures go straight up and down. Once again, you want to avoid mechanical barriers to opening your mold back up again. But you do want both sides of the mold to lock into alignment and resist side to side slipping.
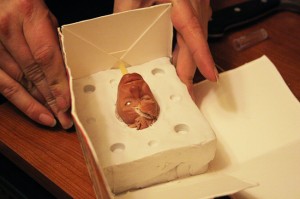
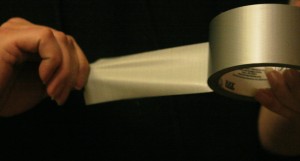
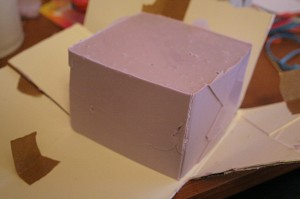
The next step is getting that box back together and sealed up with tape.
Now you’re ready to mix up some rubber!
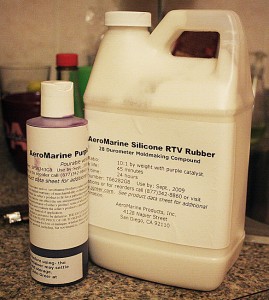
In my case it was Aero Marine silicone RTV rubber, with purple catalyst.
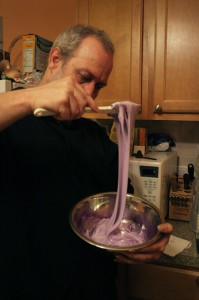
As is typical with silicones, you mix them at a 10-1 ratio. It makes a big goopy mess, and you can take your time getting it into the box because this stuff takes a good long while to dry.
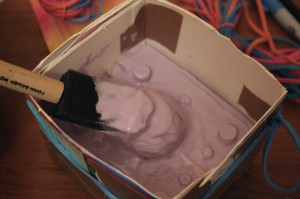
Once your rubber is mixed, you can get the best results by painting some directly on to the sculpture. This allows you to push the material into all the cracks and crevices and avoid air bubbles getting caught in your detail. Use a brush you don’t mind loosing for this task.
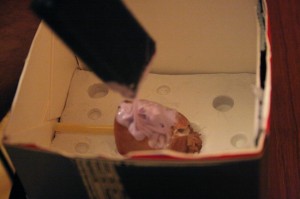
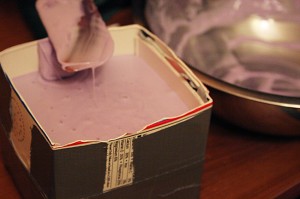
Then you can just pour the rest over the top and let it settle on down. When I did this I made it a point to rattle the box a little, pick it up and drop it a few times, to move any trapped air upward. At school we have an actual vibrating plate to do this with plaster. This rubber actually did a pretty good job moving air upward on it’s own, what with the slow drying time. This half of the mold took about a day and a half to dry. The other half I sped up by adding more catalyst and as a result did catch more air bubbles in that half (though still none anywhere that really mattered).
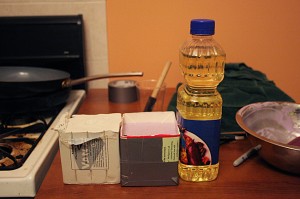
We left the rubber to set for the next couple days, braced between a bottle of oil and the package of modeling clay for extra support. With the slow dry, you could actually blow air bubbles away off the surface as they rose to the surface.
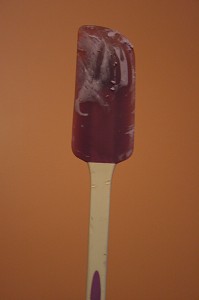
I wound up waiting longer than I needed to because rather than put fingerprints into the mold itself I was testing the bowl and spatula where the rubber had been mixed to know when it was cured. Well I hit a surprise when something was going on with the spatula that inhibited the curing of the rubber.
I have no idea what caused this. Ian tells me that he has used a similar spatula time and time again for this process. My only guess is that some chemical be it from a food or cleaning agent affected the rubber of the spatula over the years and turned out to be an inhibitor. I never was able to fully get the stuff off of it.
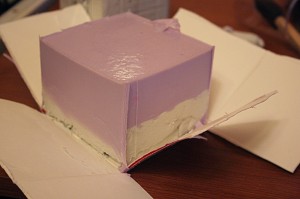
The mold itself set just beautifully though.
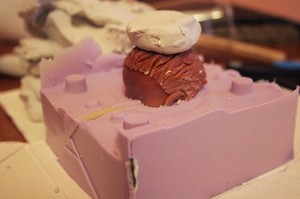
Once open, I just flipped it over and started peeling away the modeling clay. It is important when you do this not to move the original sculpture. I found it helpful to remember the base we had started with when I got to this part. That little circle marks the most clay against the sculpture.
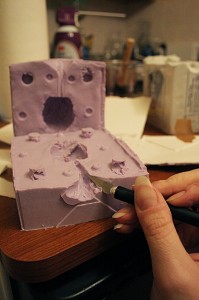
From here you just want to trim up the edges of your mold and clean off any excess modeling clay that has stuck to your original sculpture.
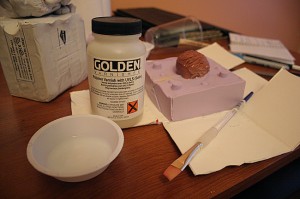
Once cleaned up, it’s time to paint some release over the rubber. I went ahead and coated the sculpture too on account of all the detail in the hair.
Unfortunately the product I used for a release turned out to be a poor choice. I have since been advised that the important detail to look for is that you use something acrylic. In my case I used a polymer varnish that I commonly use with my acrylic paints, but that is not acrylic itself. Next time I intend to use my Speedball matte medium acrylic polymer instead.
Once the release is set, it’s time to tape the box back up and pour the other side. Again, you want to start by painting the sculpture directly first.
In my case, I tried placing a little piece of Super Sculpey against the wall to help with opening the mold later. Given the troubles I had with the release, this did wind up helping a little, but really that’s a more useful trick in plaster than it is in rubber. Once this side has set, you have yourself a mold!
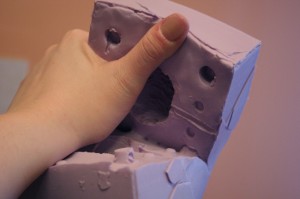
It’s a really strong mold too. When the release I painted failed, I knocked this thing all over the place trying to get it open. I literally jumped up and down on top of it at one point to loosen the seam. It was literally an all day process ripping this thing open.
And then finally, I had an open mold!
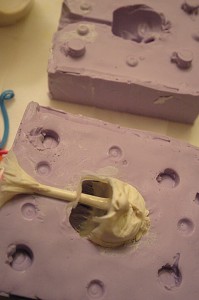
So then I checked the channel left by the straw, ensuring clear passage for the resin to pour, and cut a funnel shape into the surface side of the mold.
If you intend to use the mold for a lot of copies, it’s best to use some form of barrier around the sculpture’s impression to prevent the mold from drying out. I didn’t use anything for the first couple pours, but then later I experimented with baby powder. I’m told that WD40 is great for this as well.
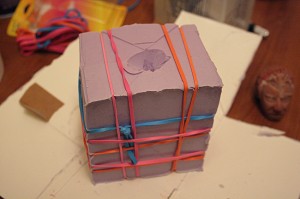
You then want to close the mold and band it together.
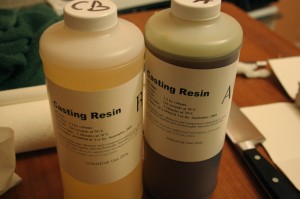
The resin I used was a two part mix, mixed at a one to one ratio. From what I understand, this is typical of resins.
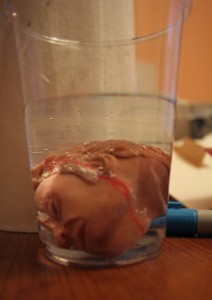
Before you start mixing up your resin, it’s best to have some idea how much you’re going to need. To accomplish this, I poured some water in a cup and marked a line at it’s surface level. Then I placed the sculpture into the water and marked the point to which the water level rose. Doing this with an actual measuring cup would of course be a more accurate accounting for the amount of resin needed, but I didn’t have one handy, so the visual was at least helpful in making an estimate.
The resin once mixed, gets poured into the funnel shape, and down the channel to fill the impression inside. The resin starts setting up in about ten minutes time, so you have to do this quickly. My first pour ran into trouble, as I kept getting stuck on the air inside by pouring down the only channel. This made the pour too slow, and before I could get it all in, the resin began to heat and harden and I was out of luck.
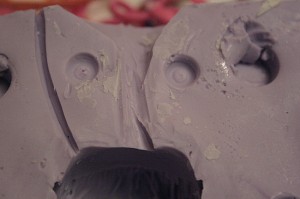
So before pouring the next one, I cut in an extra air escape channel. I’m told that with practice it gets easier to keep the poured resin stream thin enough to run down the edges and not require an extra air channel. That makes sense, but this was easier.
It worked like a charm too. The next pours went much better.
The only problem I continued to have was the one piece of the mold that rose slightly above the pour point. Try as I might, I couldn’t quite get a solid pool of resin in there.
When I got a chance to ask about it later I was advised to cut the pour channel to bring resin in from the top. I haven’t tried that yet, but it sounds reasonable. The next mold I make, I’ll be sure to channel the pour in to the highest point in the sculpture to avoid similar difficulty.
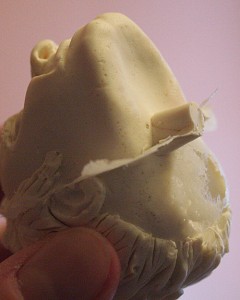
All in all, I was really impressed with the accuracy and detail of these materials. The resiliency of the rubber was really impressive as well. To be able to go from literally jumping on the mold to getting such impeccably detailed copies was really amazing.
I am really looking forward to utilizing the rest of this stuff for my next project – pocket study skulls!
If you would like to see more images from my time experimenting with this stuff, I’ve posted them all over at http://snapshotgenius.com/gallery/firstrubbermold
Animation Finished!
This week I finally finished the 3D animation that I have been working on this semester. It’s subject is the sliding filament theory of muscle contraction and I believe that I have managed to put together something clear.
I find that I still struggle in places with 3DsMax, but learning After Effects and coming back to working in Final Cut Pro again was a lot of fun. Our class on the whole created some really great work.
